이 버전에는 잘못된 편집 사항이 있을 수 있습니다. 최신 확인된 스냅샷으로 전환하십시오.
필요한 것
-
이 단계는 번역되지 않았습니다. 번역을 도와주십시오
-
Use a plastic prying tool or your fingernail to pop the back cover off of the phone.
-
-
이 단계는 번역되지 않았습니다. 번역을 도와주십시오
-
Locate the battery notch and remove the battery, using either your finger or a plastic prying tool.
-
-
-
이 단계는 번역되지 않았습니다. 번역을 도와주십시오
-
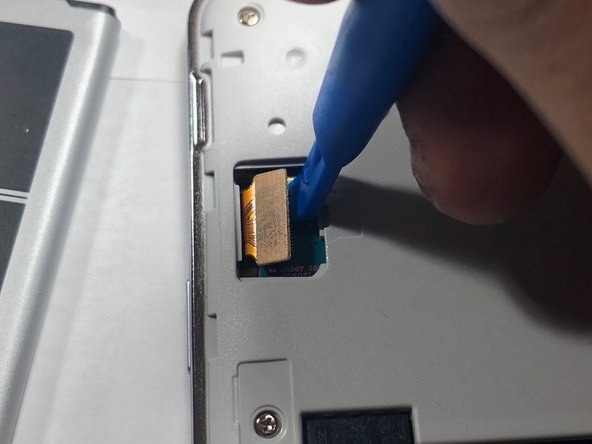
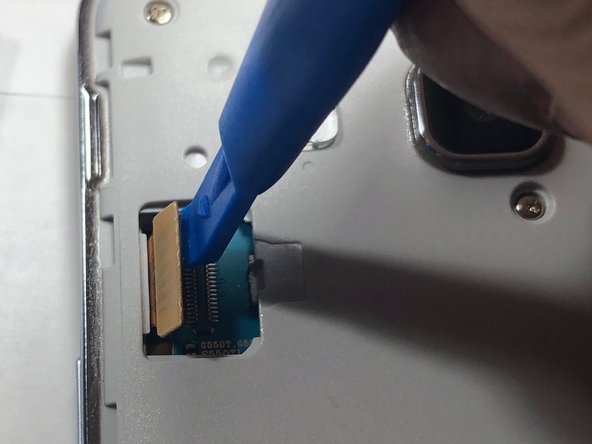
Using a plastic pry tool, carefully pry the LCD ribbon cable from the logic board.
-
-
이 단계는 번역되지 않았습니다. 번역을 도와주십시오
-
Take a Phillips #00 head and remove all 9 screws. Once done place them aside where you won't lose them.
-
-
이 단계는 번역되지 않았습니다. 번역을 도와주십시오
-
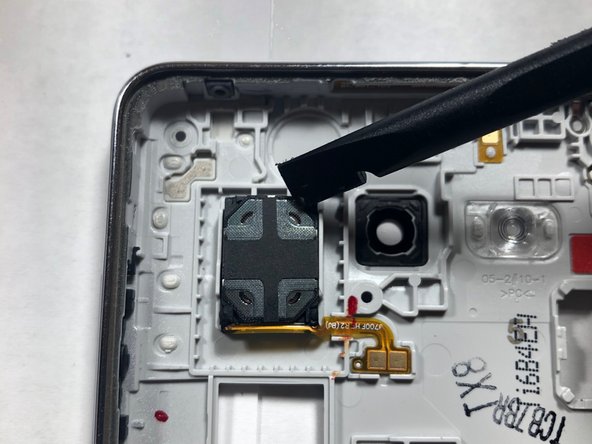
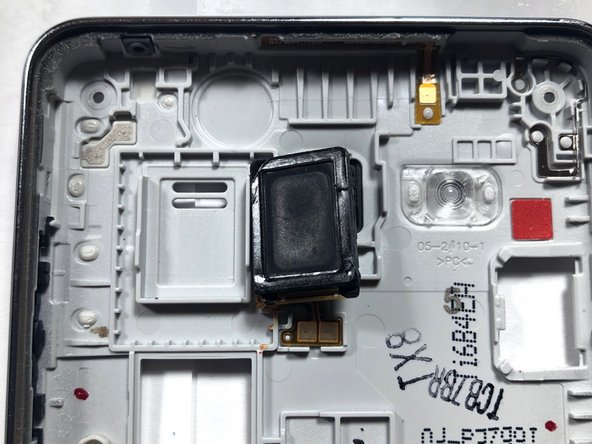
Once both the LCD and back assembly come apart, look at the back assembly where the speaker is located.
-
Once located, take the plastic pry tool to remove the speaker from its housing and replace it with a new one.
-
-
이 단계는 번역되지 않았습니다. 번역을 도와주십시오
-
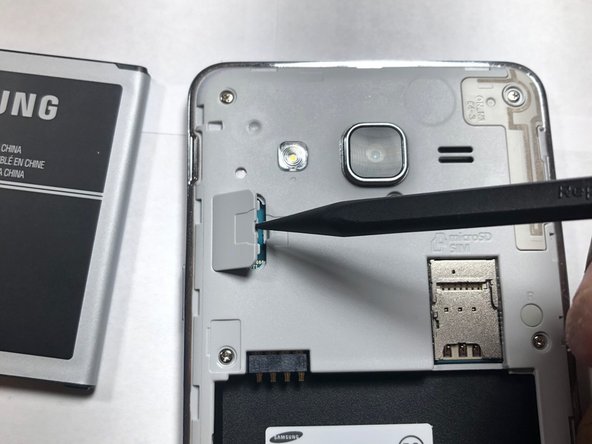
Use a plastic pry tool to lift the front-facing camera from its housing.
-
-
이 단계는 번역되지 않았습니다. 번역을 도와주십시오
-
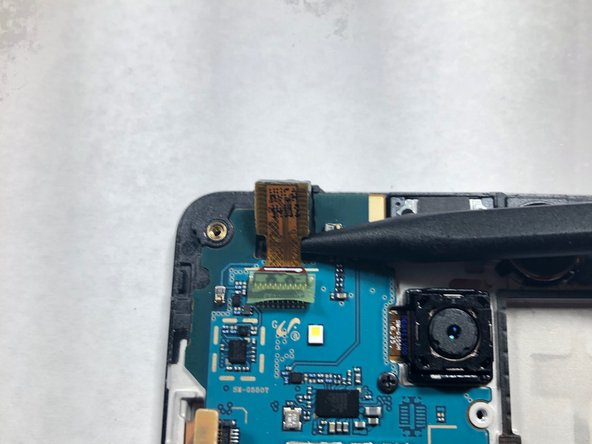
Once the camera is out of the housing, disconnect the camera from the logic board.
-
-
이 단계는 번역되지 않았습니다. 번역을 도와주십시오
-
Using a Phillips #00 screwdriver, remove the screw securing the rear-facing camera.
-
-
이 단계는 번역되지 않았습니다. 번역을 도와주십시오
-
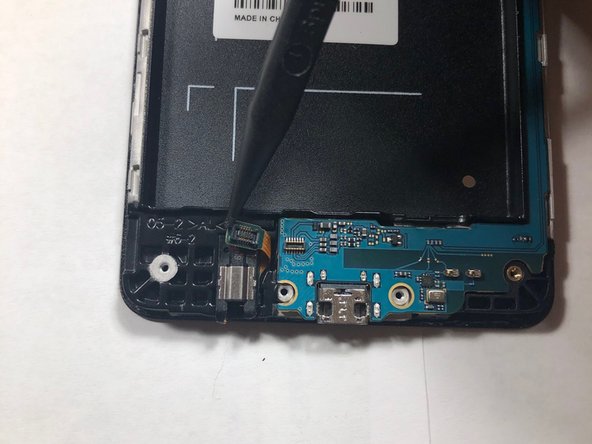
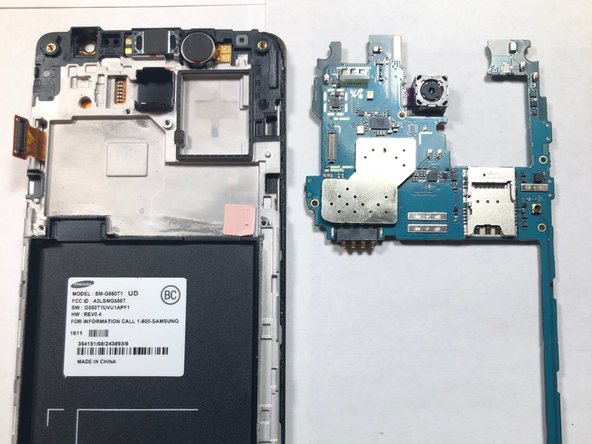
Use a plastic pry tool to disconnect the headphone ribbon from the motherboard.
-
Remove the motherboard from the LCD housing by lifting up from the ends of the logic board.
-
-
이 단계는 번역되지 않았습니다. 번역을 도와주십시오
-
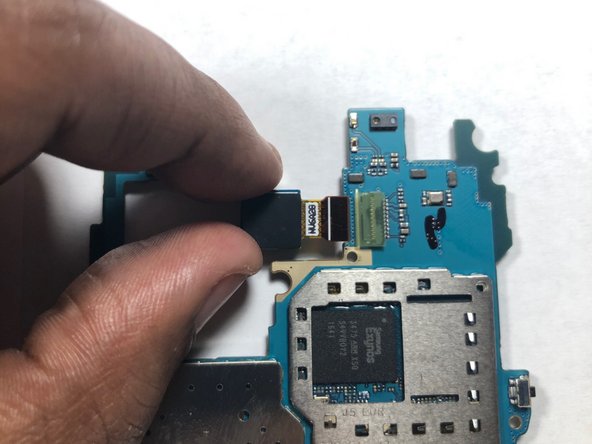
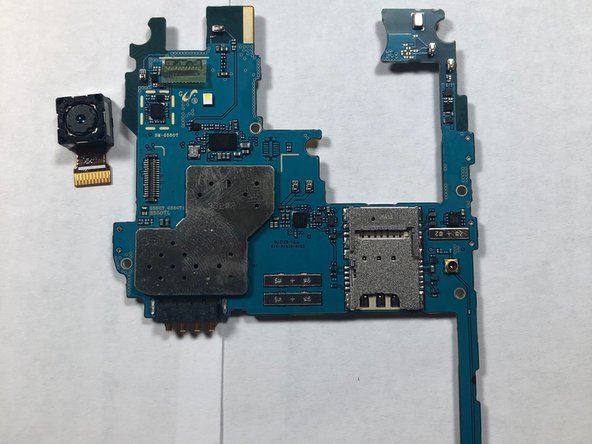
Flip the logic board so the camera lens is facing down rather than at you.
-
Use your finger to remove the camera from its connection on the logic board.
-


다른 한 분이 해당 안내서를 완성하였습니다.

팀

Gateway, Team S1-G5, Luster Fall 2018 Gateway, Team S1-G5, Luster Fall 2018 회원
GCC-LUSTER-F18S1G5
1 회원
안내서 5개 작성하였습니다