주요 콘텐츠로 건너뛰기

Samsung Galaxy Player 4.2 Battery Casing Replacement

보관된 가이드
해당 안내서는 단지 역사적인 목적으로 보관됩니다. 최신 버전 안내서를 사용하여 수리 하십시오.

필요한 것

  1. Samsung Galaxy Player 4.2 Battery Casing Replacement, Battery: 1 단계, 이미지 1/2 Samsung Galaxy Player 4.2 Battery Casing Replacement, Battery: 1 단계, 이미지 2/2
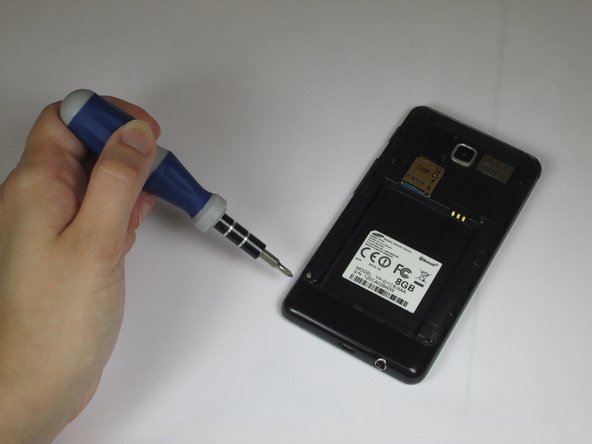
    • Use your finger to press in the battery cover tab on the upper right hand corner of the back of the device.

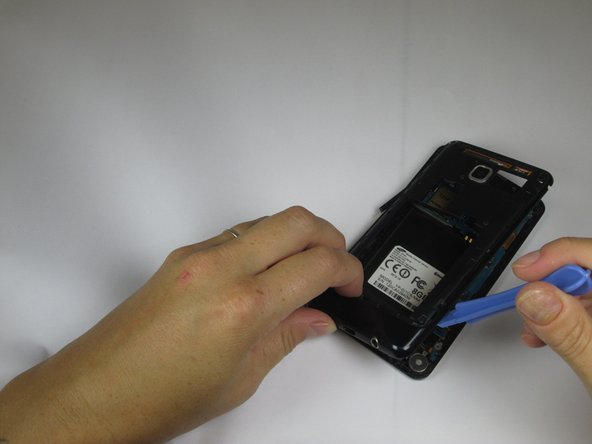
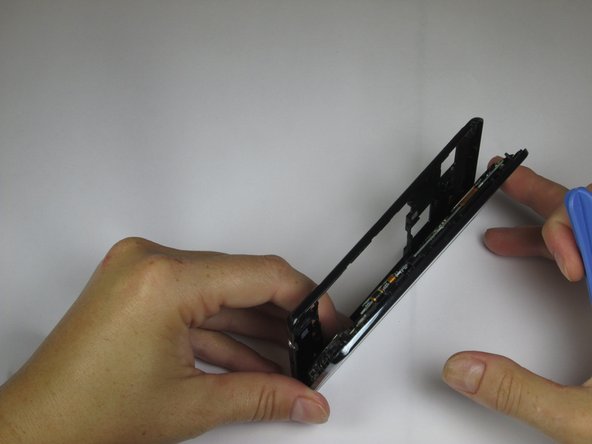
    • Pry the battery cover off the device by pressing in and lifting up.

    • When reassembling, align the top portion of the back cover to the top of the device and press down until it clicks into place.

  2. Samsung Galaxy Player 4.2 Battery Casing Replacement: 2 단계, 이미지 1/2 Samsung Galaxy Player 4.2 Battery Casing Replacement: 2 단계, 이미지 2/2
    • Press your finger into the groove on the bottom left hand side of the battery.

    • Pry the battery out by lifting your finger up.

  3. Samsung Galaxy Player 4.2 Battery Casing Replacement, Battery Casing: 3 단계, 이미지 1/2 Samsung Galaxy Player 4.2 Battery Casing Replacement, Battery Casing: 3 단계, 이미지 2/2
    • Remove the six 2.0mm Phillips #0 screws from the battery casing.

  4. Samsung Galaxy Player 4.2 Battery Casing Replacement: 4 단계, 이미지 1/3 Samsung Galaxy Player 4.2 Battery Casing Replacement: 4 단계, 이미지 2/3 Samsung Galaxy Player 4.2 Battery Casing Replacement: 4 단계, 이미지 3/3
    • Starting at the top, insert the plastic opening tool at the seam between the battery casing and the main body of the device.

    • Pry up, working around the seam from top to bottom.

    • The battery casing fits snuggly against the main body of the device. You may need to apply some moderate force to free it.

    • The volume button may pop out when you free the battery casing.

결론

To reassemble your device, follow these instructions in reverse order.

다른 5명이 해당 안내서를 완성하였습니다.

Brittany McCrigler

회원 가입일: 03/05/12

89,014 평판

안내서 131개 작성하였습니다

iFixit iFixit 회원

Staff

135 회원들

안내서 16,817개 작성하였습니다

댓글 0개

댓글 쓰기

조회 통계:

24 시간 전: 0

7일 전: 0

30일 전: 0

전체 시간: 432