소개
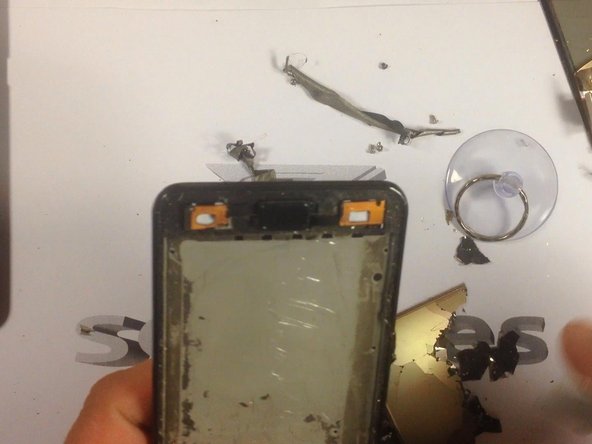
If you have a Samsung GALAXY SII with broken Touchscreen or LCD Display, this manual will guide, how to change them.
This procedure is very hard. You must have good experience to do this !!!
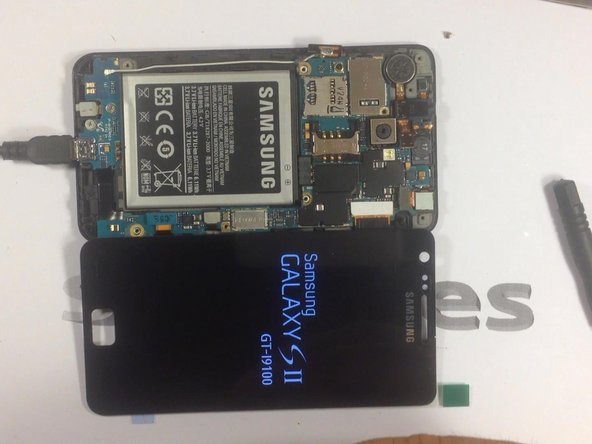
Same steps you can use for replacing Touchscreen&LCD display with frame. This operation is more easy. If you haven't enough experience, I strongly recommend you, to choose this variant.
_______Video manual_______
필요한 것
동영상 개요


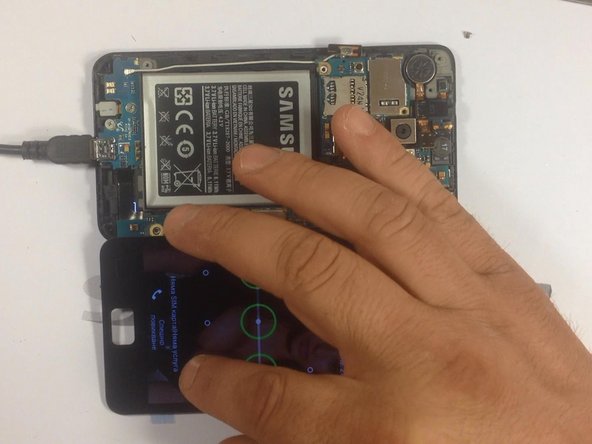

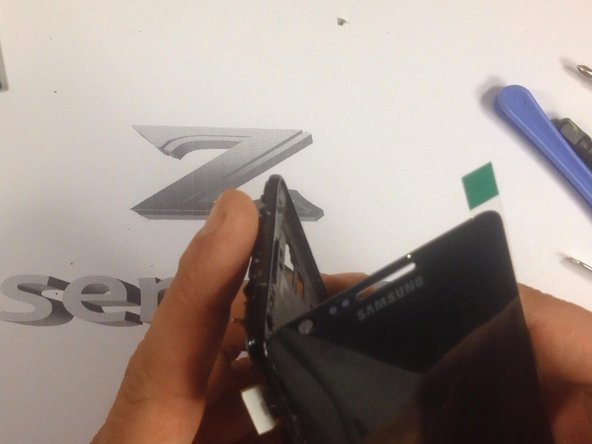


To reassemble your device, follow these instructions in reverse order.
To reassemble your device, follow these instructions in reverse order.
다른 32명이 해당 안내서를 완성하였습니다.

팀

댓글 9개
I attempted to replace the display glass alone on a Virgin Mobile Galaxy SII, and was unsuccessful. Removing the Glass from the Digitizer proved to be extremely difficult. It seems as if the Virgin Mobile version of the SII is not meant for repair, so easily.
To moderators :
please there is a photo of a babe in the video tutorial and in the photo tutorial, not for children.
how much the cost in replacement display with fame.....samsung galaxy s2