이 버전에는 잘못된 편집 사항이 있을 수 있습니다. 최신 확인된 스냅샷으로 전환하십시오.
필요한 것
-
이 단계는 번역되지 않았습니다. 번역을 도와주십시오
-
Unhook the rear using a soft plastic prying tool to remove the rear cover
-
Be careful not to damage the rear cover when unhooking it.
-
-
-
이 단계는 번역되지 않았습니다. 번역을 도와주십시오
-
Detach the Power Key FPCB, that is stick to the bracket by a double-sided tape, using tweezers. Make sure to remove all remaining tape on the bracket.
-
-
이 단계는 번역되지 않았습니다. 번역을 도와주십시오
-
Disconnect LCD Connector,Receiver Connector, Sub-touch Key Connector and Antenna cable from the Main PBA
-
Disconnecting the camera connector isn't necessary!
-
-
이 단계는 번역되지 않았습니다. 번역을 도와주십시오
-
After disconnecting the connectors carefully pull the Main PBA out of the bracket.
-
Make sure that the Power Key FPCB does not get stuck!
-
-
이 단계는 번역되지 않았습니다. 번역을 도와주십시오
-
Remove the antenna cable from the main Antenna PCB on the sub-touch key module of your broken Screen Digitizer Frame
-
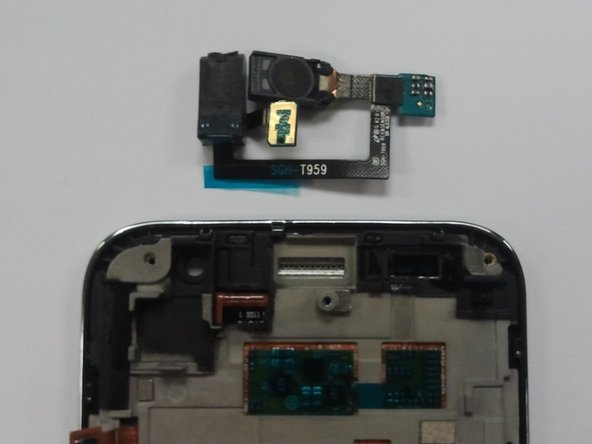
Pull out the Receiver module from the bracket. Be careful not to damage the FPC.
-
Now assembly both Receiver module and antenna cable into the new Screen Digitizer Frame and reverse the process of disassembly!
-


다른 13명이 해당 안내서를 완성하였습니다.