이 버전에는 잘못된 편집 사항이 있을 수 있습니다. 최신 확인된 스냅샷으로 전환하십시오.
필요한 것
-
이 단계는 번역되지 않았습니다. 번역을 도와주십시오
-
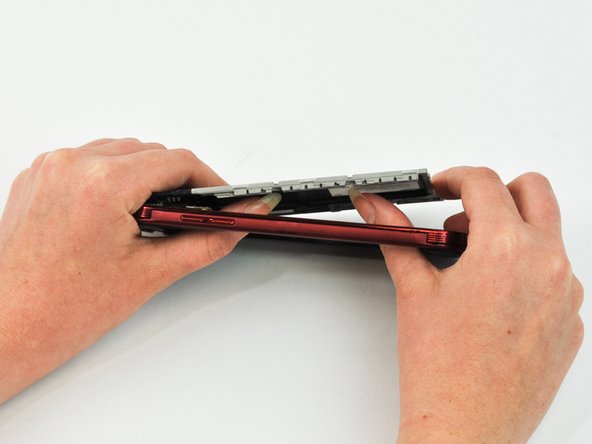
Remove the back casing of the phone using the notch located at the top.
-
-
이 단계는 번역되지 않았습니다. 번역을 도와주십시오
-
Using a plastic opening tool or spudger, pry up the screen after the adhesive has melted.
-
-
이 단계는 번역되지 않았습니다. 번역을 도와주십시오
-
The plastic cover of the phone may separate from the LCD screen. If so, also remove the LCD screen with the regular nylon spudger.
-
-
-
이 단계는 번역되지 않았습니다. 번역을 도와주십시오
-
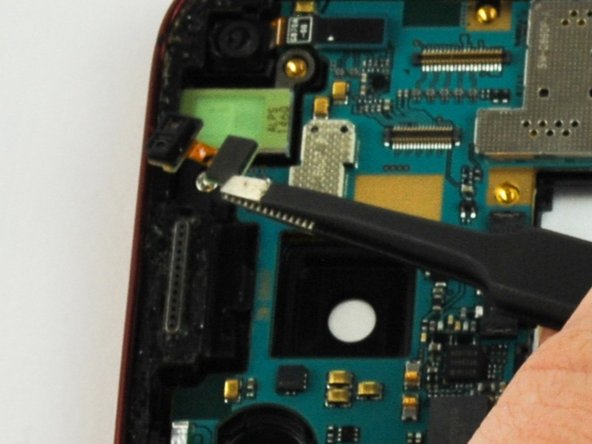
Remove the camera from the plug at the top of the phone with tweezers. It should pop out fairly easily.
-
-
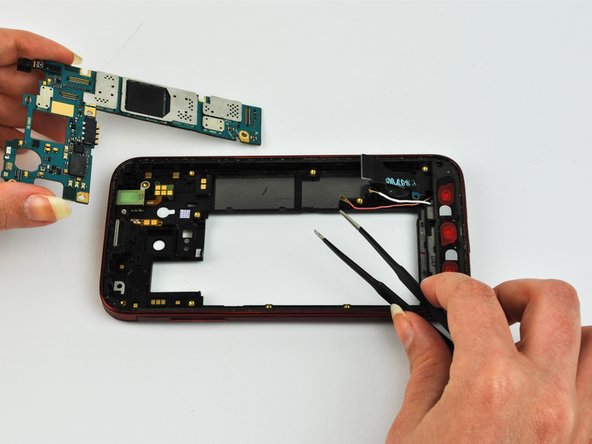
이 단계는 번역되지 않았습니다. 번역을 도와주십시오
-
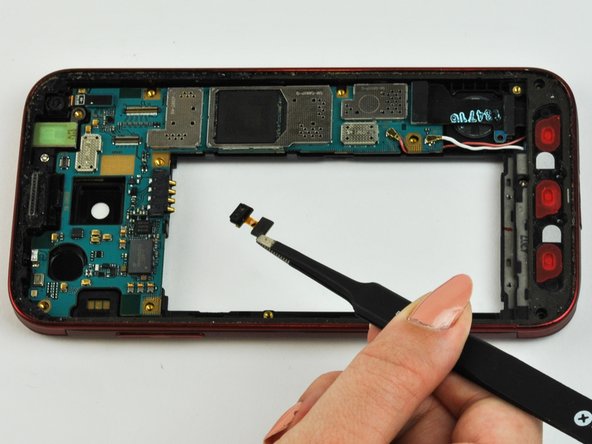
Detach the pink and white wires by pulling gently on the metallic caps that connect them to the motherboard.
-
-
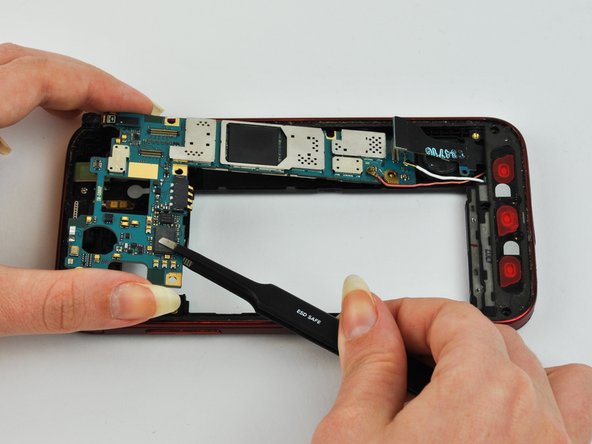
이 단계는 번역되지 않았습니다. 번역을 도와주십시오
-
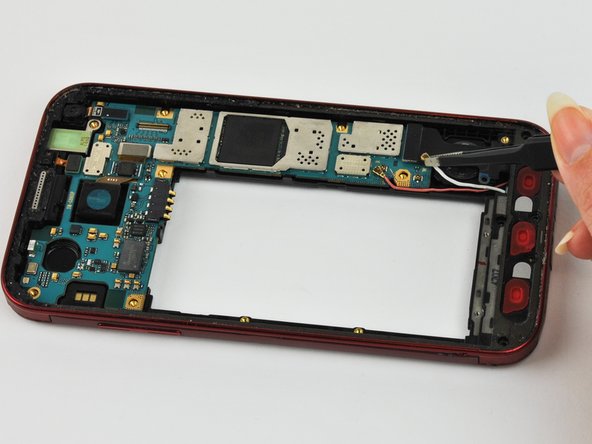
Remove the black connector above the wires by pulling straight up with tweezers.
-


다른 한 분이 해당 안내서를 완성하였습니다.

팀

USF Tampa, Team 1-6, Leahy Spring 2016 USF Tampa, Team 1-6, Leahy Spring 2016 회원
USFT-LEAHY-S16S1G6
3 회원들
안내서 10개 작성하였습니다