소개
Camera glass covers often are subjected to wear and tear when used. Constant exposure to different environments and mishandling of the phone can lead to damage to the parts of the camera on a mobile phone. Use this guide to replace the camera glass covering of a Samsung Galaxy S8 Active mobile phone.
Before using the guide, be sure to disconnect the phone from any power sources. Make sure the phone is turned off.
필요한 것
-
-
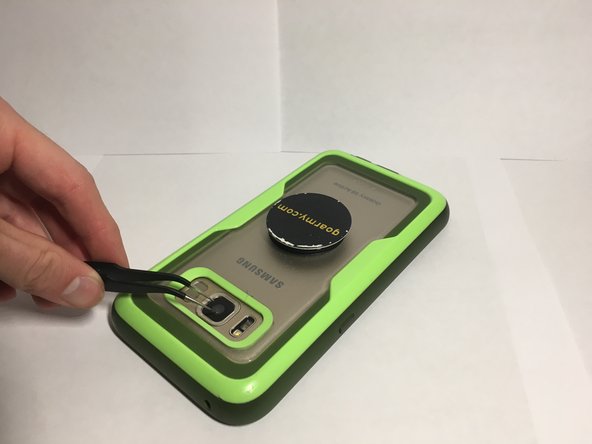
Lay phone face down and remove any coverings to the camera area. This way there are no obstructions to the repair area.
-
-


The device should be in working condition after the last step. Be sure to turn on the phone and verify to see if there are any obstructions to the camera view caused by the new glass covering.
The device should be in working condition after the last step. Be sure to turn on the phone and verify to see if there are any obstructions to the camera view caused by the new glass covering.
다른 한 분이 해당 안내서를 완성하였습니다.
팀

Embry-Riddle Aeronautical University, Team S8-G8, Salas Spring 2020 Embry-Riddle Aeronautical University, Team S8-G8, Salas Spring 2020 회원
ERAU-SALAS-S20S8G8
2 회원들
안내서 1개 작성하였습니다
댓글 한 개
Did you use the rear camera glass from Amazon that you've put a link to under parts? The Amazon seller has stated that it doesn't fit the Samsung S8 Active so unsure whether to purchase. Thanks