이 버전에는 잘못된 편집 사항이 있을 수 있습니다. 최신 확인된 스냅샷으로 전환하십시오.
필요한 것
-
이 단계는 번역되지 않았습니다. 번역을 도와주십시오
-
Place the bottom of the tablet towards you.
-
Remove the 4.1mm screws near the charge port with a Tri-Wing screwdriver.
-
If there are plastic tabs covering these screws, use pointed tweezers to pry the tabs out.
-
-
이 단계는 번역되지 않았습니다. 번역을 도와주십시오
-
Start in the middle of the left side and insert a plastic opening tool between the rear panel and the front panel assembly.
-
Carefully run the plastic opening tool along the left and top edge to pry the rear panel away from the rest of the device.
-
-
이 단계는 번역되지 않았습니다. 번역을 도와주십시오
-
Using the plastic opening tools, continue to carefully run along the right and bottom edge, and then lift the screen from the back panel.
-
-
-
이 단계는 번역되지 않았습니다. 번역을 도와주십시오
-
Flip up the retaining flaps on the ZIF connectors that secure the three large ribbon cables.
-
Carefully pull the three ribbon cables from their sockets on the motherboard.
-
-
이 단계는 번역되지 않았습니다. 번역을 도와주십시오
-
Lift the edge of the battery up with your finger or a spudger.
-
Detach the battery by holding the motherboard down while gently lifting the battery up.
-
-
이 단계는 번역되지 않았습니다. 번역을 도와주십시오
-
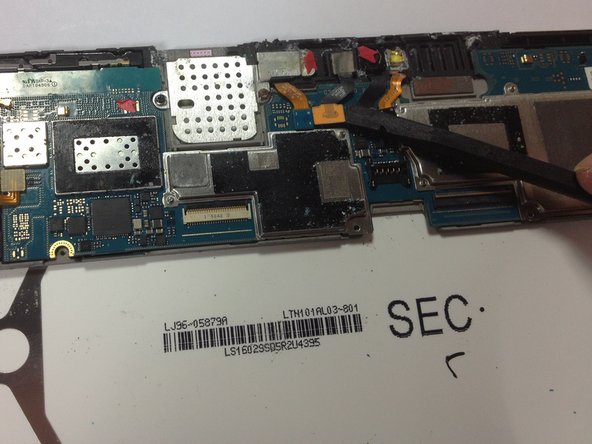
Use the spudger to pry up on orange connection. This is the connection to the front facing camera.
-
-
이 단계는 번역되지 않았습니다. 번역을 도와주십시오
-
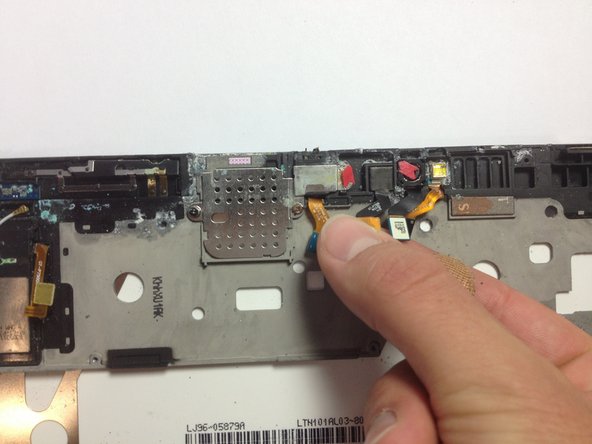
Grab the orange connection with your fingers and lift it up from its slot.
-


다른 3명이 해당 안내서를 완성하였습니다.
팀

Cal Poly, Team 13-5, Forte Fall 2013 Cal Poly, Team 13-5, Forte Fall 2013 회원
CPSU-FORTE-F13S13G5
5 회원들
안내서 17개 작성하였습니다