이 버전에는 잘못된 편집 사항이 있을 수 있습니다. 최신 확인된 스냅샷으로 전환하십시오.
필요한 것
-
이 단계는 번역되지 않았습니다. 번역을 도와주십시오
-
Slightly apply pressure and move the blue plastic opening tool downwards to pop the metallic rectangular connector from its socket on the mother board.
-
-
이 단계는 번역되지 않았습니다. 번역을 도와주십시오
-
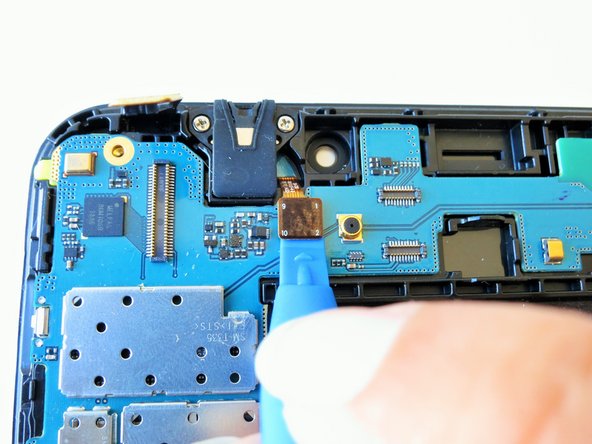
Slightly apply pressure and move the blue plastic opening tool downwards to pop the gold rectangular connector from its socket on the mother board.
-
-
이 단계는 번역되지 않았습니다. 번역을 도와주십시오
-
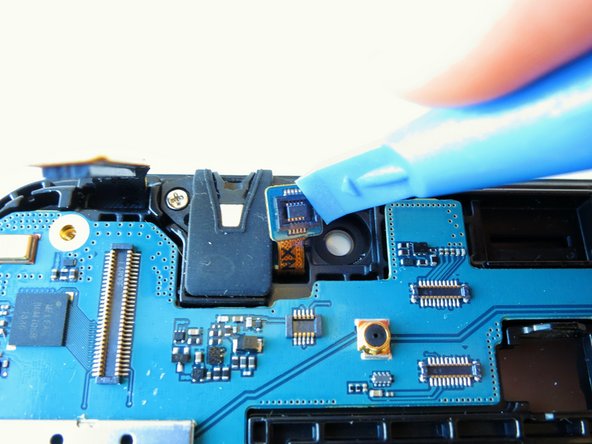
Slightly apply pressure and move the blue plastic opening tool downwards to pop the gold square connector from its socket on the mother board.
-
-
이 단계는 번역되지 않았습니다. 번역을 도와주십시오
-
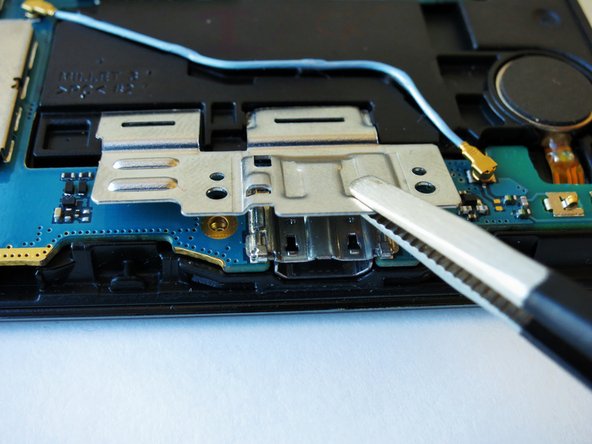
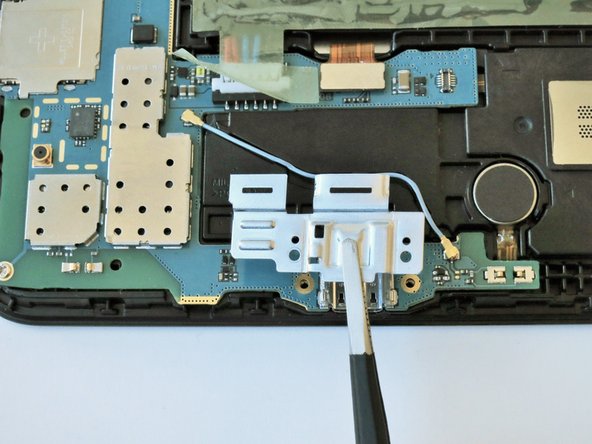
Remove two 2 mm #000 Phillips screws securing the metallic charger port cover to both the logic board and the front panel.
-
-
-
이 단계는 번역되지 않았습니다. 번역을 도와주십시오
-
Squeeze the metal charger port cover piece with the tweezers to gently lift it from it's place.
-
-
이 단계는 번역되지 않았습니다. 번역을 도와주십시오
-
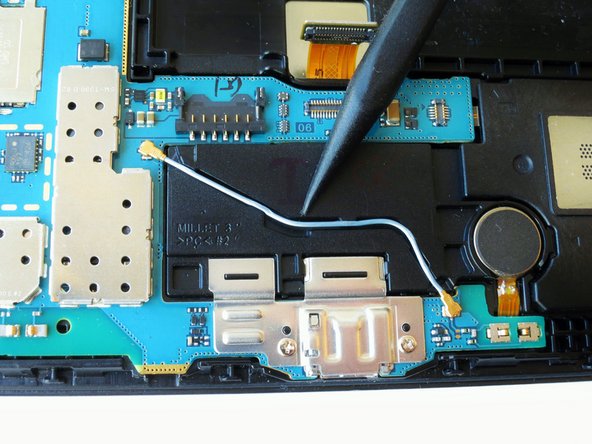
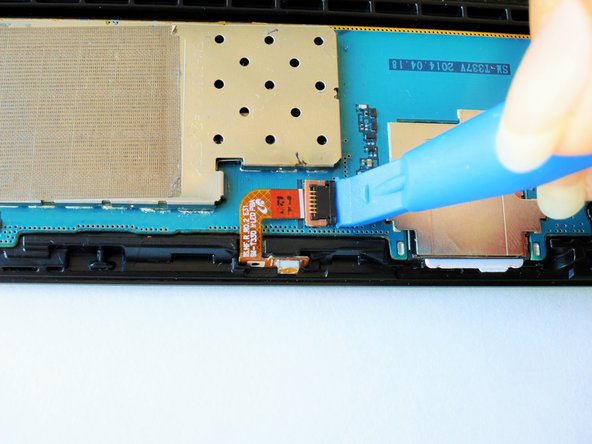
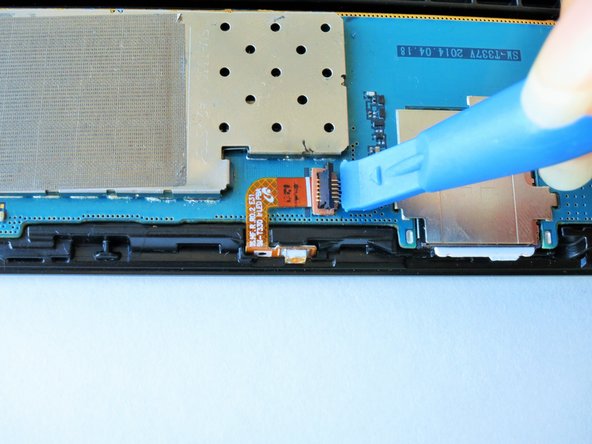
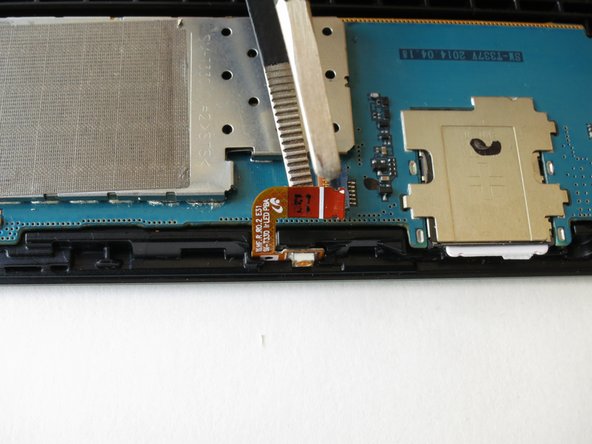
Carefully insert the flat end of the blue plastic opening tool under the black plastic fastener and lift.
-
-
이 단계는 번역되지 않았습니다. 번역을 도와주십시오
-
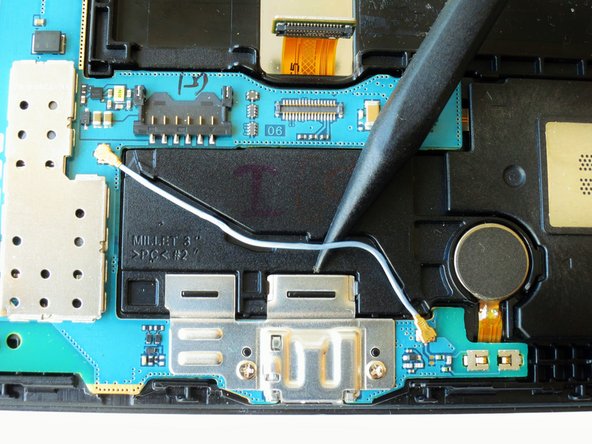
Squeeze the golden cable with the tweezers and gently pull the cable to the left to free the end of the golden cable.
-
-
이 단계는 번역되지 않았습니다. 번역을 도와주십시오
-
Remove three 2 mm #000 Phillips screws securing the mother board to the front panel.
-
-
이 단계는 번역되지 않았습니다. 번역을 도와주십시오
-
Using your hands, hold the opposite ends of the mother board corners, and lift.
-
-
이 단계는 번역되지 않았습니다. 번역을 도와주십시오
-
Insert an opening pick in between the display screen and the display frame.
-
-
이 단계는 번역되지 않았습니다. 번역을 도와주십시오
-
Wedge four of the opening picks in between the display screen and the device backing on all four corners.
-
-
이 단계는 번역되지 않았습니다. 번역을 도와주십시오
-
Wedge the Jimmy between the display and the device backing at a corner.
-
Cut through the adhesive that is securing the screen to the device on all four sides.
-
-
이 단계는 번역되지 않았습니다. 번역을 도와주십시오
-
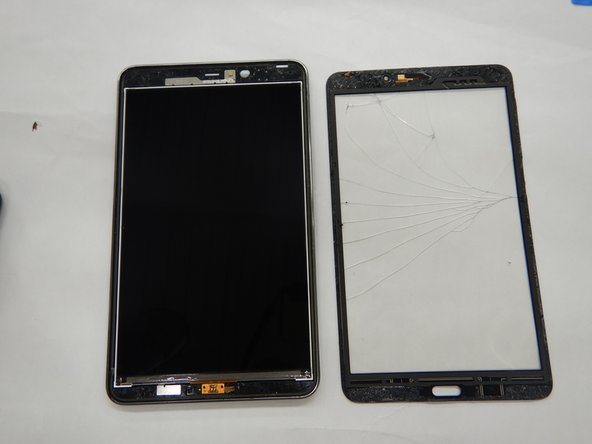
Once the display is completely disconnected from the device gently remove it without touching the screen which lies underneath.
-


다른 2명이 해당 안내서를 완성하였습니다.

팀

The Citadel Military College of South Carolina, Team S1-G2, Eggleston Spring 2020 The Citadel Military College of South Carolina, Team S1-G2, Eggleston Spring 2020 회원
CMCSC-EGGLESTON-S20S1G2
3 회원들
안내서 3개 작성하였습니다