이 버전에는 잘못된 편집 사항이 있을 수 있습니다. 최신 확인된 스냅샷으로 전환하십시오.
필요한 것
-
이 단계는 번역되지 않았습니다. 번역을 도와주십시오
-
Insert a plastic opening tool into the crevice between the screen and the side of the tablet.
-
Go around the entire crevice with the plastic opening tool.
-
Set aside the separated front and rear panels of the device.
-
-
이 단계는 번역되지 않았습니다. 번역을 도와주십시오
-
Remove the six 4 mm Phillips #00 screws that hold the battery in place.
-
-
이 단계는 번역되지 않았습니다. 번역을 도와주십시오
-
Remove the tape that runs along the length of the battery.
-
Lift the retaining flaps of the ZIF connectors on each side of the battery connector.
-
Remove the two ribbon cables that lay across the width of the battery and are connected to the motherboard. Place your finger underneath the ribbon cable and gently lift the cable upwards and off.
-
-
-
이 단계는 번역되지 않았습니다. 번역을 도와주십시오
-
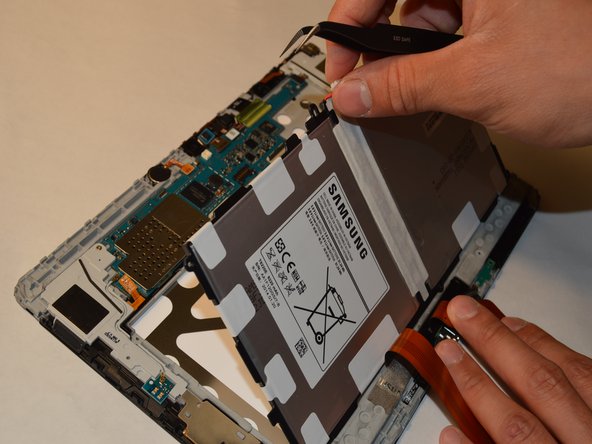
Use a plastic tweezer and remove the top center 6 pin power connector that is attached to the edge of the motherboard.
-
Detach the battery by gently lifting the battery out of the panel.
-
-
이 단계는 번역되지 않았습니다. 번역을 도와주십시오
-
Use plastic tweezers to carefully detach the front-facing camera from the motherboard.
-
-
이 단계는 번역되지 않았습니다. 번역을 도와주십시오
-
Use plastic tweezers and carefully detach the rear-facing camera from the motherboard.
-
-
이 단계는 번역되지 않았습니다. 번역을 도와주십시오
-
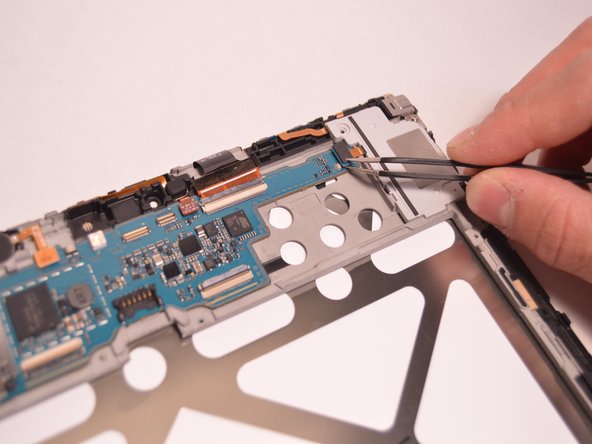
Remove the five ribbon cables holding the motherboard together with a plastic tweezer.
-
-
이 단계는 번역되지 않았습니다. 번역을 도와주십시오
-
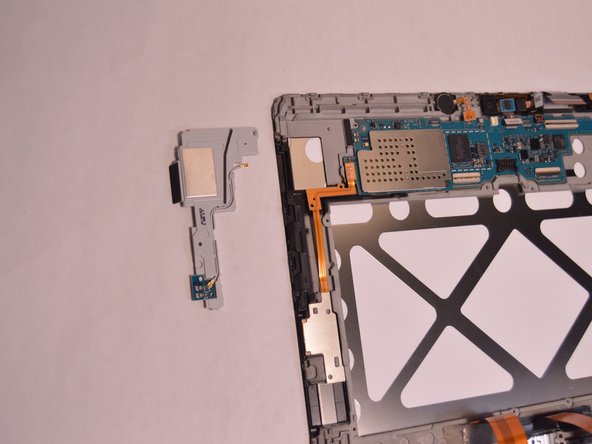
Remove the Phillips #00 screws from the plastic part holding down the motherboard.
-


다른 4명이 해당 안내서를 완성하였습니다.
댓글 3개
very useful,thanks a lot.
Singh
ارغب باصلاح شريحة الاتصال