주요 콘텐츠로 건너뛰기
수리 커뮤니티 가입 - 계정 만들기

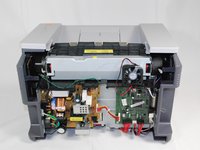
Samsung ML2510 Motor Replacement

필요한 것

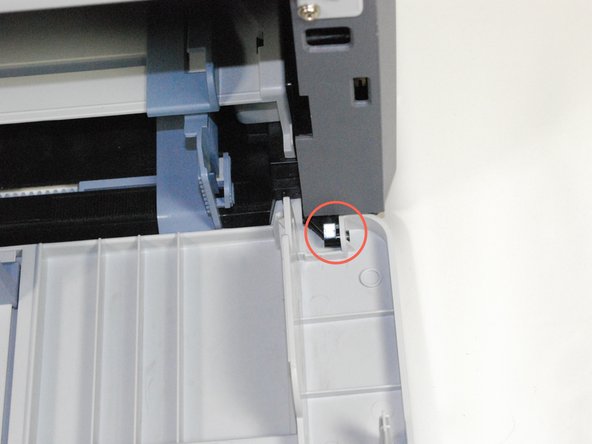
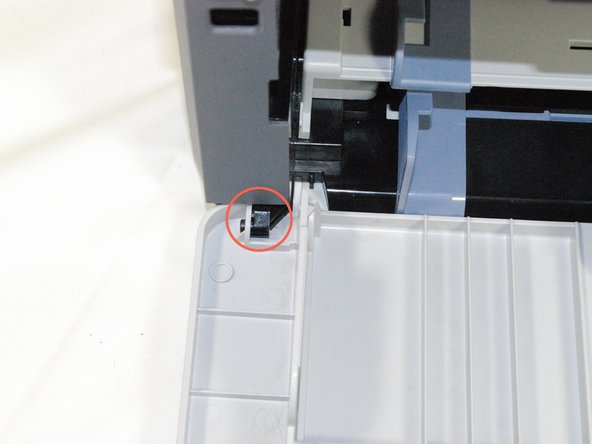
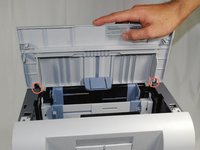
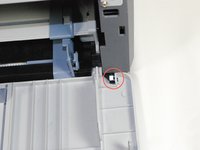
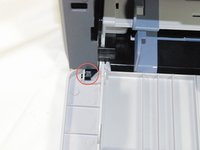
    1. Samsung ML2510 Motor Replacement, Removing Samsung ML2510 Back Panel: 1 단계, 이미지 3개 중 1개 Samsung ML2510 Motor Replacement, Removing Samsung ML2510 Back Panel: 1 단계, 이미지 3개 중 2개 Samsung ML2510 Motor Replacement, Removing Samsung ML2510 Back Panel: 1 단계, 이미지 3개 중 3개
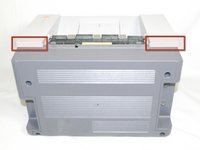
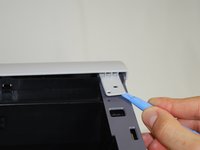
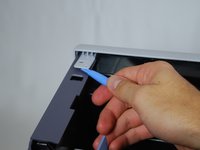
      • Remove the top hinged panel by taking out the pins at the bottom of this panel.

      댓글 쓰기

    2. Samsung ML2510 Motor Replacement: 2 단계, 이미지 1개 중 1개
      • Using a Phillips #2 screwdriver, remove the four screws on the back of the printer.

      댓글 쓰기

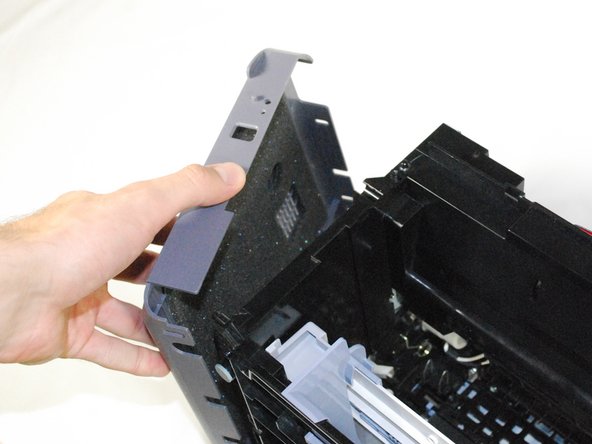
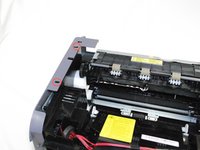
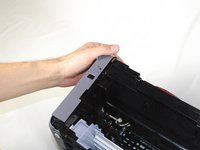
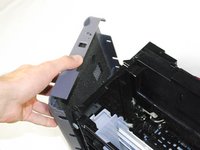
    3. Samsung ML2510 Motor Replacement: 3 단계, 이미지 3개 중 1개 Samsung ML2510 Motor Replacement: 3 단계, 이미지 3개 중 2개 Samsung ML2510 Motor Replacement: 3 단계, 이미지 3개 중 3개
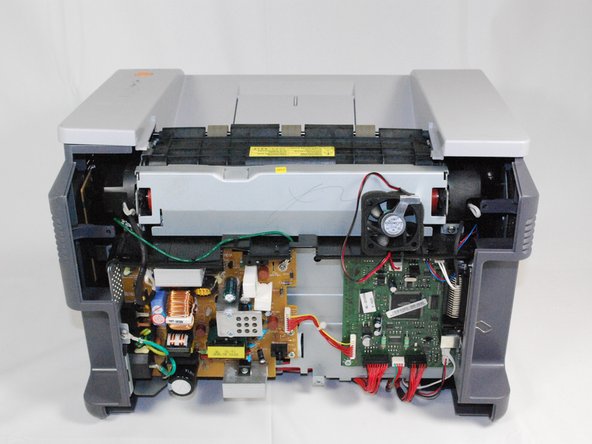
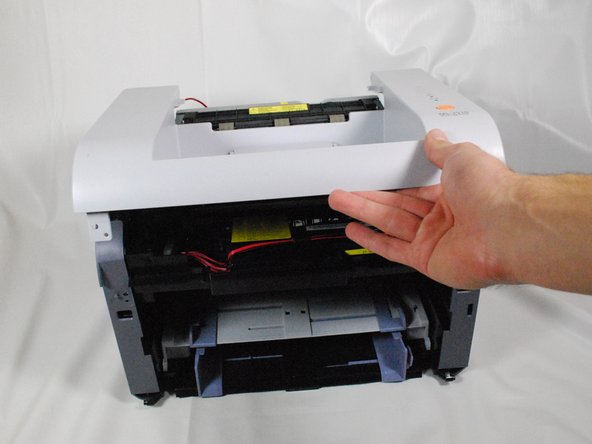
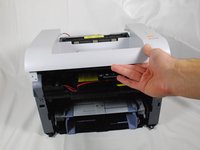
      • Gently lift the top panel while simultaneously pulling off the back panel.

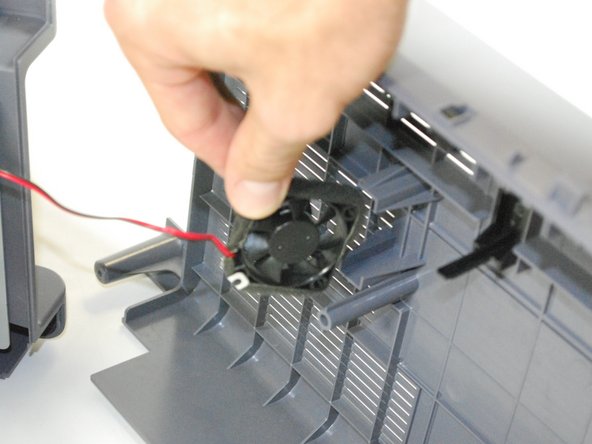
      • Before pulling out the back panel entirely, make sure to remove the rear cooling fan from its slot.

      댓글 쓰기

    1. Samsung ML2510 Motor Replacement, Motor: 4 단계, 이미지 3개 중 1개 Samsung ML2510 Motor Replacement, Motor: 4 단계, 이미지 3개 중 2개 Samsung ML2510 Motor Replacement, Motor: 4 단계, 이미지 3개 중 3개
      • Remove the front panel by gently moving the holes on the panel, one at a time, from the pegs attached to the main body of the printer.

      댓글 쓰기

    2. Samsung ML2510 Motor Replacement: 5 단계, 이미지 1개 중 1개
      • Use a Phillips #2 screwdriver to remove the two, 1", Phillips, PH#2 screws on the front face of the printer.

      댓글 쓰기

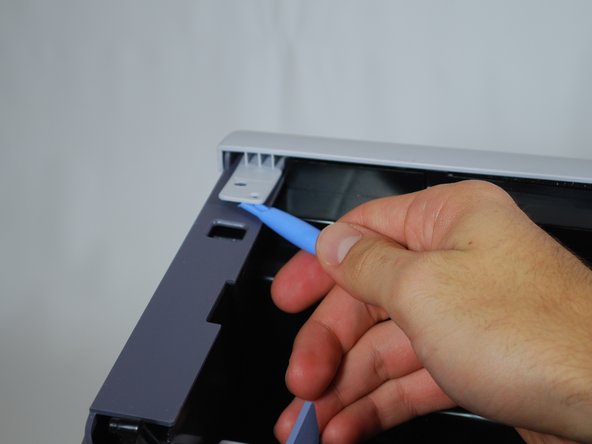
    3. Samsung ML2510 Motor Replacement: 6 단계, 이미지 3개 중 1개 Samsung ML2510 Motor Replacement: 6 단계, 이미지 3개 중 2개 Samsung ML2510 Motor Replacement: 6 단계, 이미지 3개 중 3개
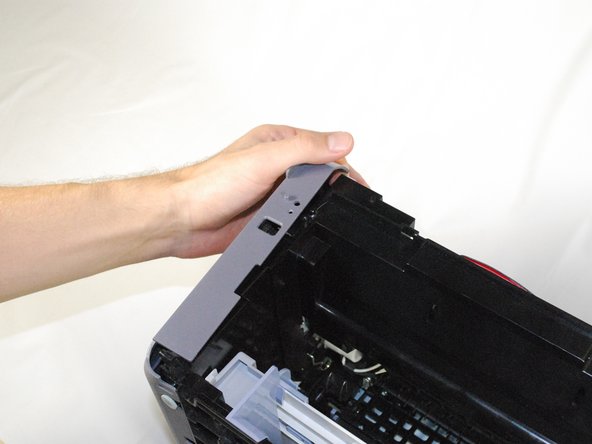
      • Use plastic opening tool to gently lift one side of the top panel from its peg.

      • Repeat the first process for the other side.

      • Lift the top panel from the front of the printer to remove it entirely.

      댓글 쓰기

    4. Samsung ML2510 Motor Replacement: 7 단계, 이미지 3개 중 1개 Samsung ML2510 Motor Replacement: 7 단계, 이미지 3개 중 2개 Samsung ML2510 Motor Replacement: 7 단계, 이미지 3개 중 3개
      • Lift the left side panel up from the raised stops.

      • Gently rotate the panel, as indicated in the picture, to remove the panel entirely.

      댓글 쓰기

    5. Samsung ML2510 Motor Replacement: 8 단계, 이미지 3개 중 1개 Samsung ML2510 Motor Replacement: 8 단계, 이미지 3개 중 2개 Samsung ML2510 Motor Replacement: 8 단계, 이미지 3개 중 3개
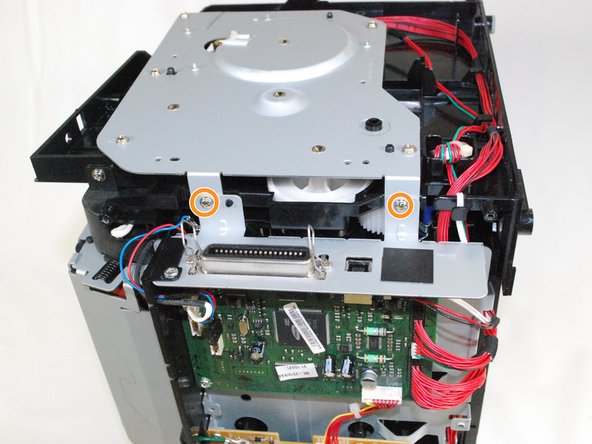
      • Use Phillips #2 screwdriver to remove the five, 1", Phillips, PH#2 screws on the side metal panel.

      • Remove the two, 1", Phillips, PH#2 screws on the back of the printer.

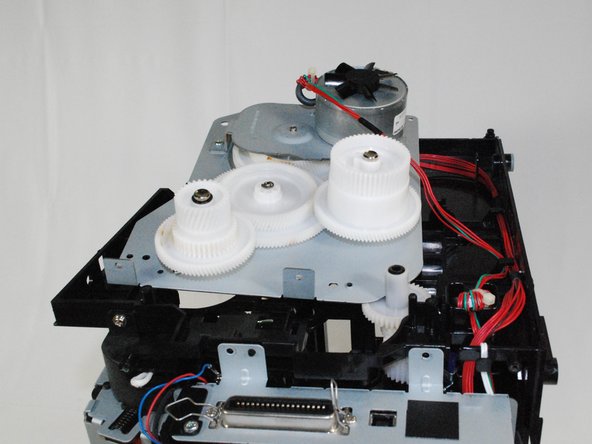
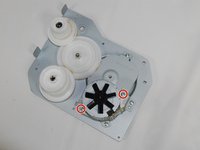
      • Flip over the metal panel to reveal the gear mechanism.

      댓글 쓰기

    6. Samsung ML2510 Motor Replacement: 9 단계, 이미지 3개 중 1개 Samsung ML2510 Motor Replacement: 9 단계, 이미지 3개 중 2개 Samsung ML2510 Motor Replacement: 9 단계, 이미지 3개 중 3개
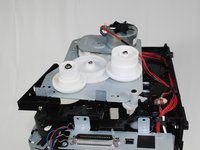
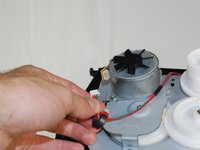
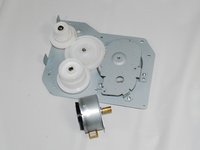
      • Remove the cable attached to the motor.

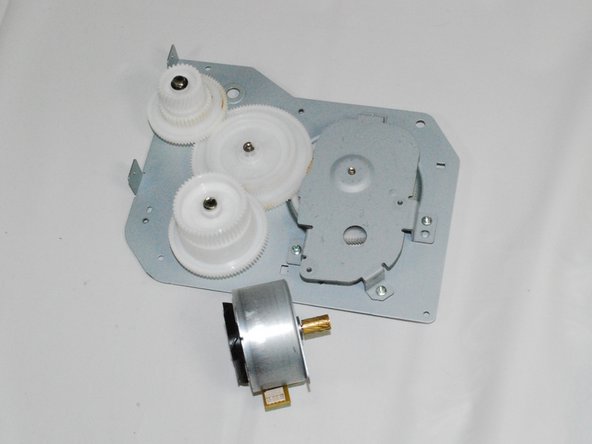
      • The entire panel can be removed from the rest of the printer.

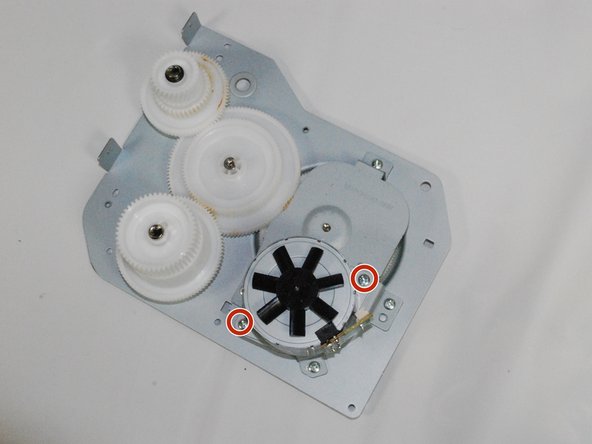
      • Use a Phillips #2 screwdriver to remove the motor from the panel by removing the two, 1", Phillips, PH#2 screws.

      • Replace the motor and reassemble the printer by following the instructions in reverse order.

      댓글 쓰기

결승점

취소: 해당 안내서를 완성하지 않았습니다.

다른 한 분이 해당 안내서를 완성하였습니다.

작성자

7다른 기여자 명과 함께

bbaustin

회원 가입일: 10/12/11

268 평판

안내서 6개를 작성함

Cal Poly, Team 17-18, Regan Fall 2011 Cal Poly, Team 17-18, Regan Fall 2011 회원

CPSU-REGAN-F11S17G18

4 회원들

안내서 53개를 작성함

0가이드 댓글

댓글 쓰기

조회 통계:

지난 24시간: 1

지난 7일: 12

지난 30일: 39

전체 시간: 5,401