이 안내서에는 최근 변경 사항이 더 있습니다. 최신 비검증 버전으로 전환하십시오.
소개
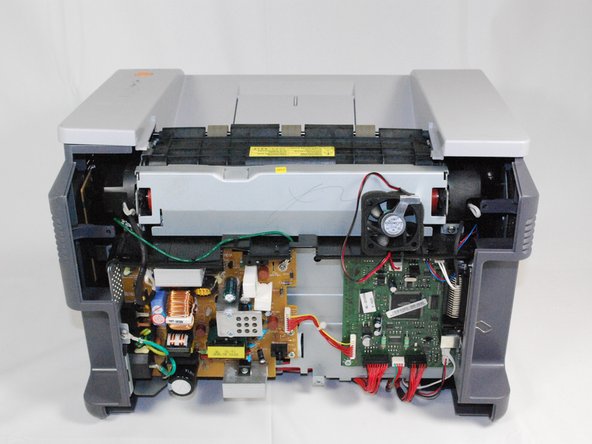
This guide will go over where to locate and replace the rear cooling fan. You will need to reference the Removing Samsung ML2510 Back Panel repair guide to complete this one.
필요한 것
-
-
Remove the top hinged panel by taking out the pins at the bottom of this panel.
-
-
-
-
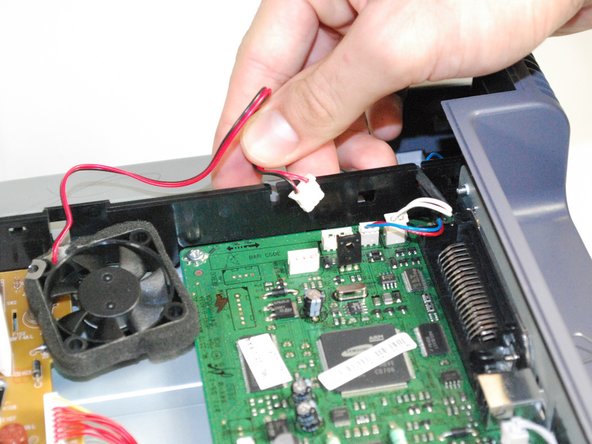
Once the fan is detached, unplug the fan from the circuit board.
-
Slide the fan's wiring through the anchored slit.
-


팀

Cal Poly, Team 17-18, Regan Fall 2011 Cal Poly, Team 17-18, Regan Fall 2011 회원
CPSU-REGAN-F11S17G18
4 회원들
안내서 12개 작성하였습니다
댓글 한 개
My printer is in this state currently. What is the type of fan (brand/specs) that needs to be installed? And perhaps also, where does one obtain such a fan?