주요 콘텐츠로 건너뛰기

이 안내서에는 최근 변경 사항이 더 있습니다. 최신 비검증 버전으로 전환하십시오.

Samsung NP300E5C Screen Replacement

필요한 것

  1. Samsung NP300E5C Screen Replacement, Battery: 1 단계, 이미지 1/1
    • Lay laptop down so that the bottom is facing the sky.

  2. Samsung NP300E5C Screen Replacement: 2 단계, 이미지 1/3 Samsung NP300E5C Screen Replacement: 2 단계, 이미지 2/3 Samsung NP300E5C Screen Replacement: 2 단계, 이미지 3/3
    • Push both tabs away from the center of the device.

    • While both are in the fully unlocked position, slide the battery out.

  3. Samsung NP300E5C Screen Replacement, Screen: 3 단계, 이미지 1/1
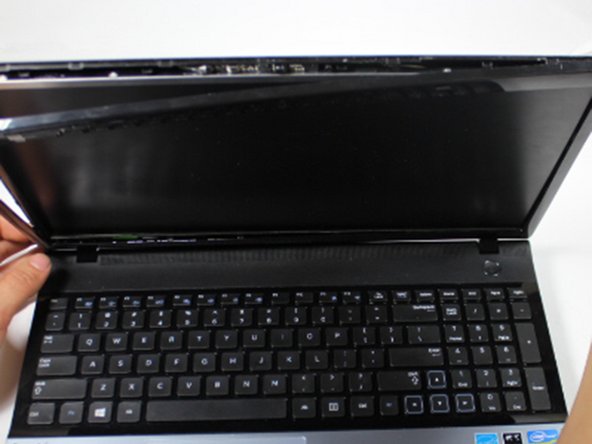
    • Turn the laptop over and open it so that you can see the keyboard and screen.

    • Using a Phillips #000 screwdriver, remove the two 4 mm Phillips #8 screws that are under the black covers on the front of your screen.

    • You can remove the black covers by simply pushing your screwdriver into them.

  4. Samsung NP300E5C Screen Replacement: 4 단계, 이미지 1/3 Samsung NP300E5C Screen Replacement: 4 단계, 이미지 2/3 Samsung NP300E5C Screen Replacement: 4 단계, 이미지 3/3
    • Insert the plastic opening tool into the seam on the top of the screen.

    • The seam is where the back screen cover and the plastic bezel around the edges of the screen meet.

    • Use the plastic opening tool to pop open the clasps that keep the casing on the screen.

    • It helps to use the plastic opening tool like a crowbar.

    • Follow this seam around the laptop's screen with the plastic opening tool until the plastic cover comes off.

    • Don't be afraid to use your fingers to help pop open the clips.

  5. Samsung NP300E5C Screen Replacement: 5 단계, 이미지 1/1
    • Using a Phillips #000 screwdriver, remove the top two 4 mm Phillips #8 screws that join the LCD screen to the plastic casing.

    • Using the same screwdriver, remove the bottom four 4 mm Phillips #8 screws that mount the screen onto the base of the laptop.

    • As you remove these bottom 4 screws, support the screen! As the screws come off, the screen will begin to fall backwards.

  6. Samsung NP300E5C Screen Replacement: 6 단계, 이미지 1/3 Samsung NP300E5C Screen Replacement: 6 단계, 이미지 2/3 Samsung NP300E5C Screen Replacement: 6 단계, 이미지 3/3
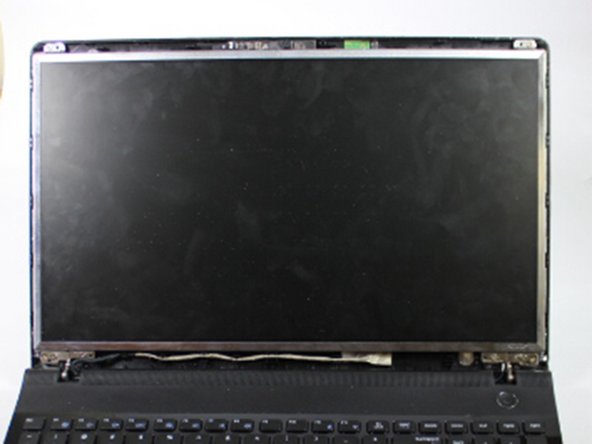
    • Gently lay the LCD on the keyboard, and lay down the back panel of the screen as well. They are not attached and will separate easily.

    • The LCD and the back panel must remain close to one another due to the video connector at the bottom that links the two.

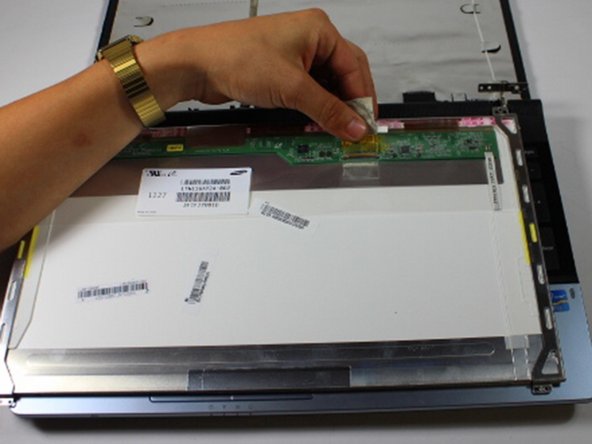
    • Remove the tape that secures the video connector to the LCD.

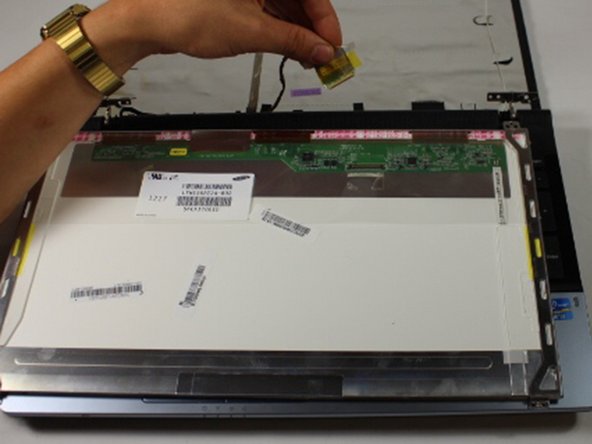
    • While maintaining a firm grip on the LCD, grasp the video connector at its base, and pull it away from you.

    • Don't be afraid to pull, the video connector is not soldered onto the LCD.

결론

To reassemble your device, follow these instructions in reverse order.

다른 10명이 해당 안내서를 완성하였습니다.

aliahsan95

회원 가입일: 09/23/15

937 평판

안내서 4개 작성하였습니다

Baylor, Team 10-13, Williams Fall 2015 Baylor, Team 10-13, Williams Fall 2015 회원

BU-WILLIAMS-F15S10G13

3 회원들

안내서 4개 작성하였습니다

댓글 0개

댓글 쓰기

조회 통계:

24 시간 전: 1

7일 전: 7

30일 전: 30

전체 시간: 5,728