주요 콘텐츠로 건너뛰기

Samsung Refrigerator Evaporator Fan (Freezer Compartment) Replacement

필요한 것

  1. Samsung Refrigerator Evaporator Fan (Freezer Compartment) Replacement, Unplug your refrigerator: 1 단계, 이미지 1/1
    • Unplug your refrigerator before you begin your repair.

  2. Samsung Refrigerator Evaporator Fan (Freezer Compartment) Replacement, Open the freezer drawer: 2 단계, 이미지 1/1
    • Slide the freezer drawer fully open.

  3. Samsung Refrigerator Evaporator Fan (Freezer Compartment) Replacement, Remove the freezer bins: 3 단계, 이미지 1/1
    • Lift and remove all the freezer bins from the drawer.

    • You should be left with a freezer door attached by two rails.

  4. Samsung Refrigerator Evaporator Fan (Freezer Compartment) Replacement, Remove the freezer door: 4 단계, 이미지 1/3 Samsung Refrigerator Evaporator Fan (Freezer Compartment) Replacement, Remove the freezer door: 4 단계, 이미지 2/3 Samsung Refrigerator Evaporator Fan (Freezer Compartment) Replacement, Remove the freezer door: 4 단계, 이미지 3/3
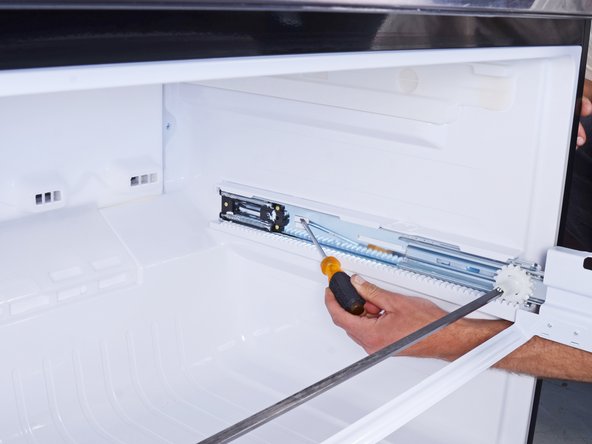
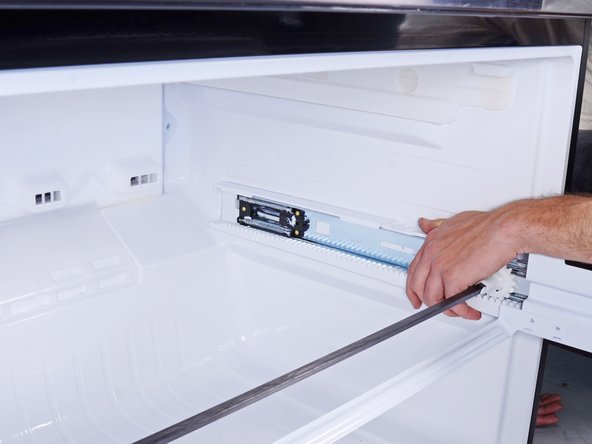
    • A plastic tab locks each drawer rail in place.

    • Use a flathead screwdriver to press in the plastic tab near the inner end of the drawer rail.

    • As you press the plastic tab, grasp the rail with your free hand and slide it towards you slightly to unlock the rail.

  5. Samsung Refrigerator Evaporator Fan (Freezer Compartment) Replacement: 5 단계, 이미지 1/2 Samsung Refrigerator Evaporator Fan (Freezer Compartment) Replacement: 5 단계, 이미지 2/2
    • Repeat the rail unlock procedure on the other drawer rail.

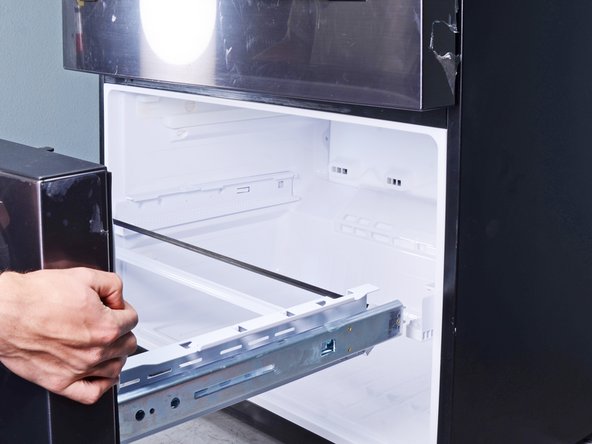
    • Once both rails are unlocked, firmly pull both rails to slide them out of the refrigerator wall guides.

    • Remove the freezer drawer.

    • To install the freezer drawer:

    • Push the geared torsion bar until it rests at the very end of the rails.

    • Align the drawer rails to the refrigerator wall guides.

    • Close the freezer drawer until the rails lock back in place.

    • If you don't hear a click, visually check if the plastic tabs have locked in place. You may need to push the rails in a little further with your fingers to set the tabs.

  6. Samsung Refrigerator Evaporator Fan (Freezer Compartment) Replacement, Remove the freezer compartment evaporator cover: 6 단계, 이미지 1/1
    • Remove the screws securing the freezer evaporator cover.

  7. Samsung Refrigerator Evaporator Fan (Freezer Compartment) Replacement: 7 단계, 이미지 1/3 Samsung Refrigerator Evaporator Fan (Freezer Compartment) Replacement: 7 단계, 이미지 2/3 Samsung Refrigerator Evaporator Fan (Freezer Compartment) Replacement: 7 단계, 이미지 3/3
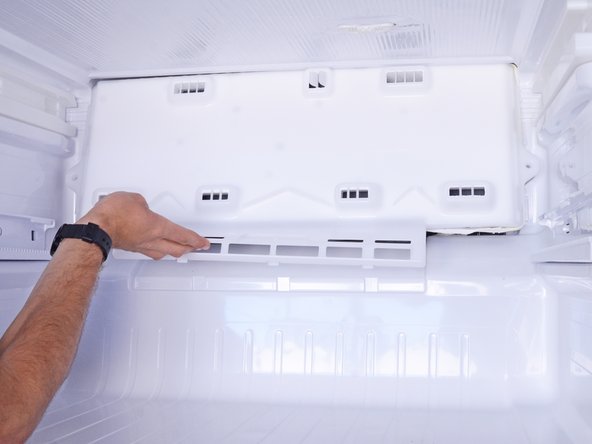
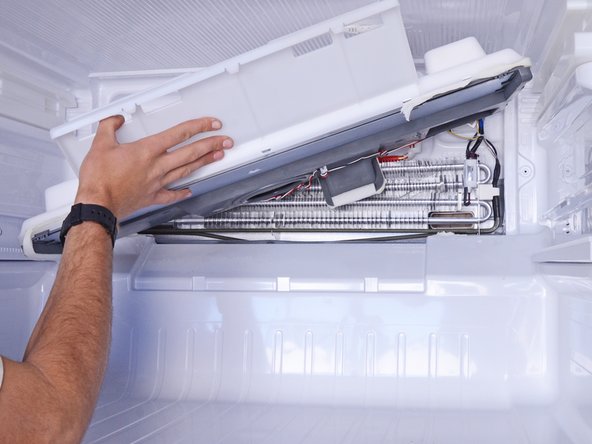
    • Don't try to fully remove the evaporator cover yet, as it's connected to the refrigerator by a few wires in the top right corner.

    • Use your hands to lift the bottom edge of the evaporator cover up to release the lower plastic tabs.

    • Swing the evaporator cover upwards to access the connected wires behind it.

  8. Samsung Refrigerator Evaporator Fan (Freezer Compartment) Replacement: 8 단계, 이미지 1/2 Samsung Refrigerator Evaporator Fan (Freezer Compartment) Replacement: 8 단계, 이미지 2/2
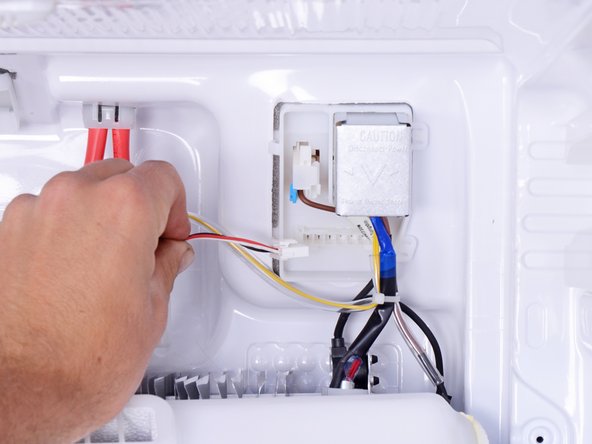
    • Use your fingers to squeeze and disconnect the fan cable connector from the back wall of the freezer.

  9. Samsung Refrigerator Evaporator Fan (Freezer Compartment) Replacement: 9 단계, 이미지 1/1
    • Remove the evaporator cover.

  10. Samsung Refrigerator Evaporator Fan (Freezer Compartment) Replacement, Remove the freezer evaporator fan: 10 단계, 이미지 1/3 Samsung Refrigerator Evaporator Fan (Freezer Compartment) Replacement, Remove the freezer evaporator fan: 10 단계, 이미지 2/3 Samsung Refrigerator Evaporator Fan (Freezer Compartment) Replacement, Remove the freezer evaporator fan: 10 단계, 이미지 3/3
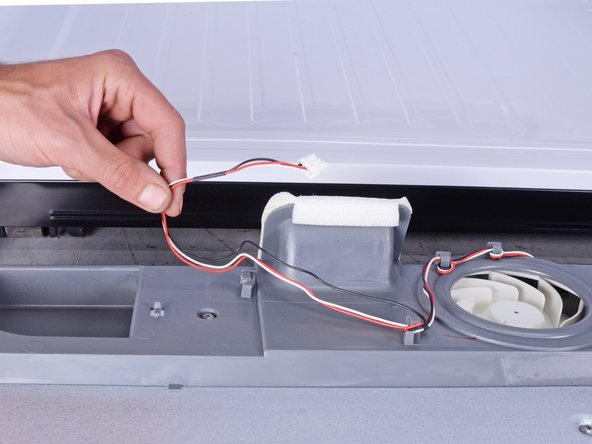
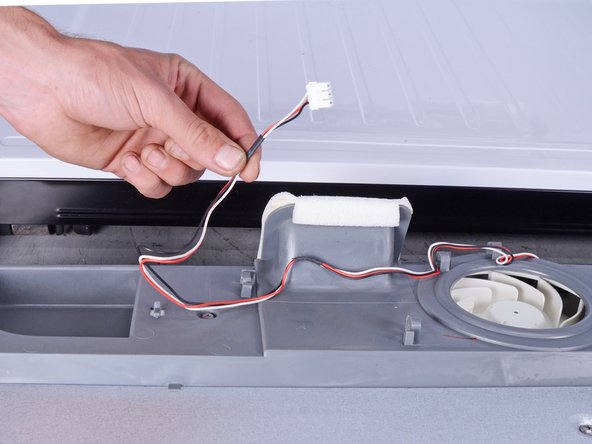
    • Guide the fan cable from the evaporator cover clips.

    • If you have trouble getting the cable out of the clips, squeeze the clips with pliers to create a wider gap.

  11. Samsung Refrigerator Evaporator Fan (Freezer Compartment) Replacement: 11 단계, 이미지 1/1
    • Remove the screws securing the back panel to the evaporator cover.

  12. Samsung Refrigerator Evaporator Fan (Freezer Compartment) Replacement: 12 단계, 이미지 1/3 Samsung Refrigerator Evaporator Fan (Freezer Compartment) Replacement: 12 단계, 이미지 2/3 Samsung Refrigerator Evaporator Fan (Freezer Compartment) Replacement: 12 단계, 이미지 3/3
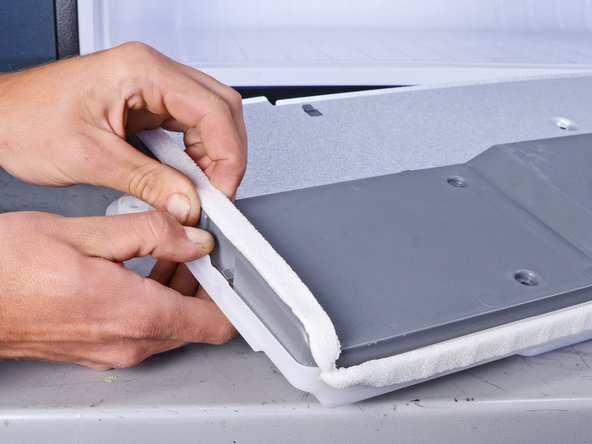
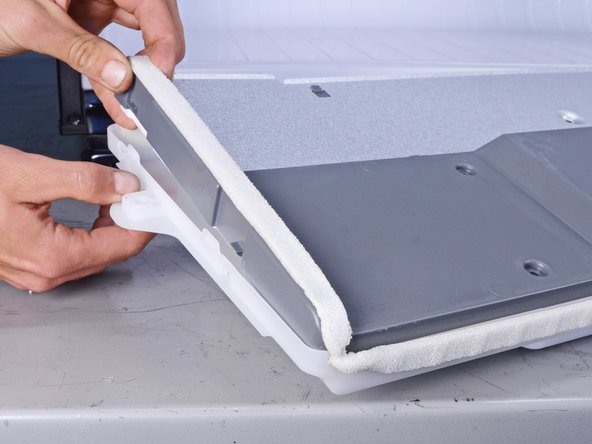
    • Use your fingers to pry and release the clips along the short edge of the evaporator cover.

    • If the perimeter foam insulation prevents you from releasing the clips, cut the foam with scissors.

  13. Samsung Refrigerator Evaporator Fan (Freezer Compartment) Replacement: 13 단계, 이미지 1/3 Samsung Refrigerator Evaporator Fan (Freezer Compartment) Replacement: 13 단계, 이미지 2/3 Samsung Refrigerator Evaporator Fan (Freezer Compartment) Replacement: 13 단계, 이미지 3/3
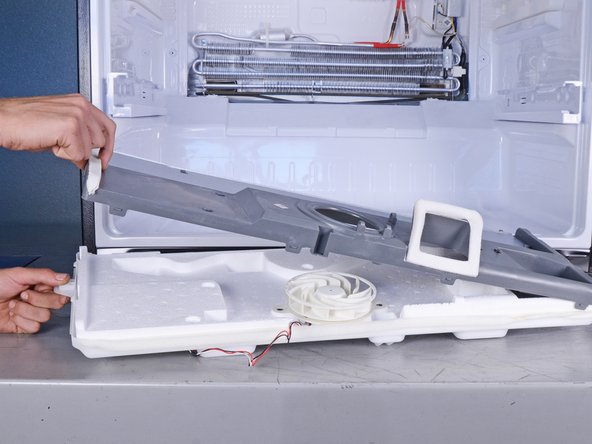
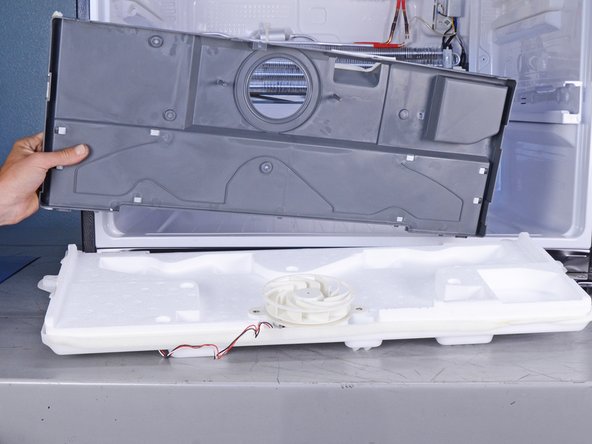
    • Lift and separate the back panel from the evaporator cover.

  14. Samsung Refrigerator Evaporator Fan (Freezer Compartment) Replacement: 14 단계, 이미지 1/1
    • Remove the screws securing the fan to the evaporator cover.

  15. Samsung Refrigerator Evaporator Fan (Freezer Compartment) Replacement: 15 단계, 이미지 1/1
    • Lift and remove the evaporator fan.

    • During reassembly, be sure to install the fan in the right orientation: the side with the center label should face down towards the evaporator cover.

결론

To reassemble your device, follow these instructions in reverse order.

Take your e-waste to an R2 or e-Stewards certified recycler.

Repair didn’t go as planned? Ask our Answers Community for help.

nicO

회원 가입일: 04/14/15

15,927 평판

안내서 88개 작성하였습니다

Global Fixers Global Fixers 회원

Community

33 회원들

안내서 549개 작성하였습니다

댓글 0개

댓글 쓰기

조회 통계:

24 시간 전: 7

7일 전: 53

30일 전: 219

전체 시간: 1,796