이 안내서에는 최근 변경 사항이 더 있습니다. 최신 비검증 버전으로 전환하십시오.
소개
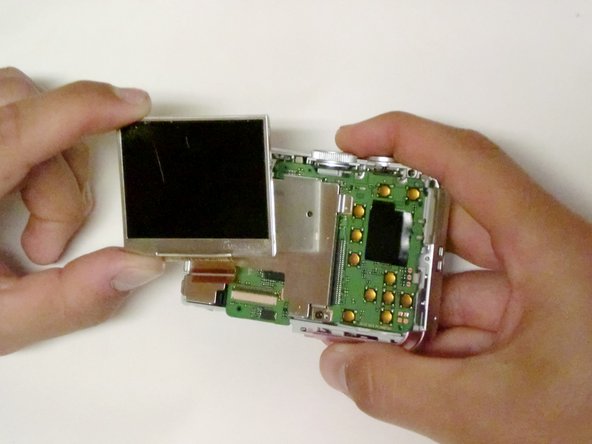
You will take the camera apart in order to replace the damaged LCD screen and restore functionality.
필요한 것
-
-
Remove all screws along the edges of the camera, using a #00 Phillips screwdriver.
-
-
-
-
Carefully pull the back case (the side showing the LCD screen) away from the front half.
-
There are clips securing the top of the back case. Do not be afraid to use the proper amount of force to remove the back case.
-
Turn the camera around to the front (the lens side). Carefully remove the front case.
-
There are also clips on the lens' side as well, so do not be afraid to use force.
-


To reassemble your device, follow these instructions in reverse order.
To reassemble your device, follow these instructions in reverse order.
다른 3명이 해당 안내서를 완성하였습니다.
팀

Cal Poly, Team 33-72, Johann Spring 2010 Cal Poly, Team 33-72, Johann Spring 2010 회원
CPSU-JOHANN-S10S33G72
4 회원들
안내서 6개 작성하였습니다