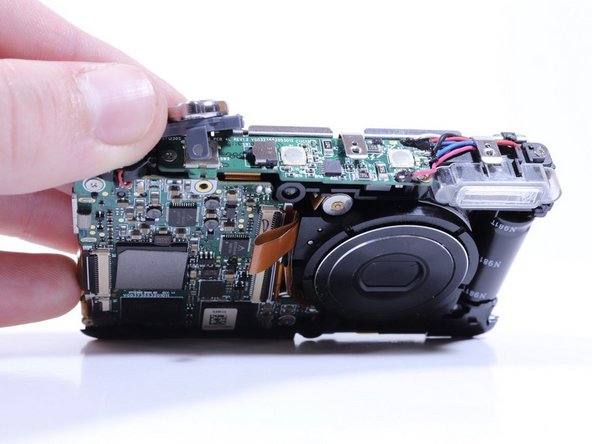
주요 콘텐츠로 건너뛰기

Samsung SCV-VLUUST50 Flash Bulb Replacement

필요한 것

  1. Samsung SCV-VLUUST50 Flash Bulb Replacement, Cover: 1 단계, 이미지 1/3 Samsung SCV-VLUUST50 Flash Bulb Replacement, Cover: 1 단계, 이미지 2/3 Samsung SCV-VLUUST50 Flash Bulb Replacement, Cover: 1 단계, 이미지 3/3
    • Unscrew all visible screws indicated by red circles with a #00 Phillips driver.

    • Slide memory card cover and unscrew hidden screw underneath with a #00 Phillips driver.

  2. Samsung SCV-VLUUST50 Flash Bulb Replacement: 2 단계, 이미지 1/3 Samsung SCV-VLUUST50 Flash Bulb Replacement: 2 단계, 이미지 2/3 Samsung SCV-VLUUST50 Flash Bulb Replacement: 2 단계, 이미지 3/3
    • Remove the flat side panel by applying gentle pressure toward the bottom of the camera.

    • Remove the corner panel by applying pressure away from the shutter button.

    • The memory card cover will come off with the corner panel.

    • Remove the top panel by applying gentle pressure away from the shutter button.

  3. Samsung SCV-VLUUST50 Flash Bulb Replacement: 3 단계, 이미지 1/1
    • Remove screws beneath the top panel indicated by red circles with a #00 Phillips driver.

  4. Samsung SCV-VLUUST50 Flash Bulb Replacement: 4 단계, 이미지 1/2 Samsung SCV-VLUUST50 Flash Bulb Replacement: 4 단계, 이미지 2/2
    • Remove the front and back covers by pulling them straight apart.

  5. Samsung SCV-VLUUST50 Flash Bulb Replacement, Flash Bulb: 5 단계, 이미지 1/2 Samsung SCV-VLUUST50 Flash Bulb Replacement, Flash Bulb: 5 단계, 이미지 2/2
    • Remove the screw securing the shutter button to the camera frame.

    • Lift the shutter button to remove it.

  6. Samsung SCV-VLUUST50 Flash Bulb Replacement: 6 단계, 이미지 1/2 Samsung SCV-VLUUST50 Flash Bulb Replacement: 6 단계, 이미지 2/2
    • Remove the screws from the circuitry with a Phillips #000 driver.

    • Remove the screw connecting the flash housing to the camera frame with the same driver.

  7. Samsung SCV-VLUUST50 Flash Bulb Replacement: 7 단계, 이미지 1/2 Samsung SCV-VLUUST50 Flash Bulb Replacement: 7 단계, 이미지 2/2
    • Pull the flash housing away from the camera frame.

    • Cut the wires connecting the flash module to the circuitry.

    • Connect the new flash module to the circuitry with a soldering iron and electrical solder.

결론

To reassemble your device, follow these instructions in reverse order.

Jade Withrow

회원 가입일: 02/08/18

255 평판

안내서 2개 작성하였습니다

댓글 0개

댓글 쓰기

조회 통계:

24 시간 전: 0

7일 전: 0

30일 전: 0

전체 시간: 134