소개
Use this guide to replace your Samsung SGH A707 phone's display.
필요한 것
-
-
-
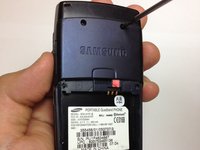
Press on the markings on the cover and pull it down to reveal the battery.
 FixBot에 문의하기
-
-
-
Use your fingers to pull the battery out of its position. You may also flip the phone and the battery will fall out.
-
-
-
-
-
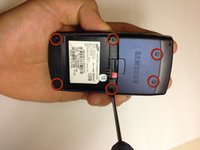
Unscrew the six screws on the back of the phone using the Phillips #0 screw driver.
-
-
-
-
-
-
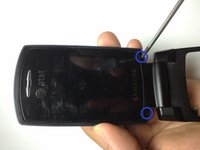
Use the Phillips #0 screw driver to remove the two screws.
-
Place the screws in a safe place.
-
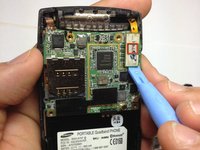
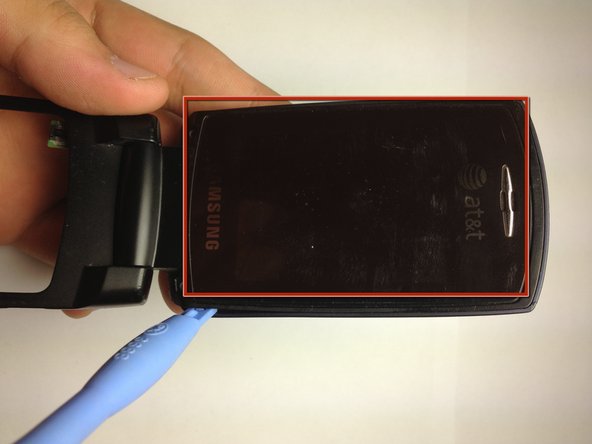
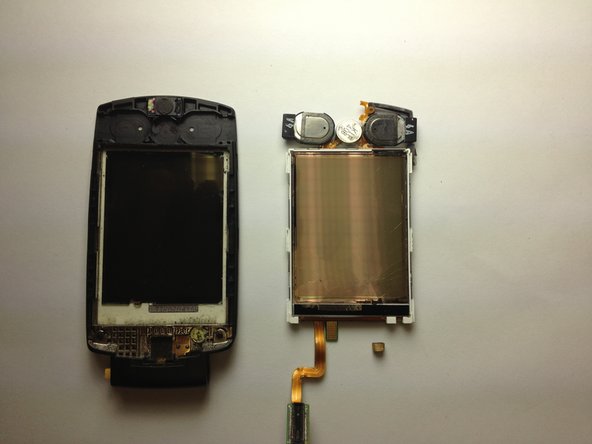
Use the prying tool to gently pry the screen off, by slowly moving the prying tool around the entire edge of the screen (roughly highlighted with a red rectangle). You must be very gentle, otherwise the screen will crack.
-
-
-
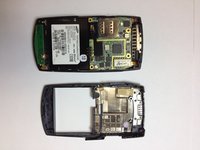
Now we have access to the camera.
-
We also have access to the speakers.
-
Disconnect the flat cable to separate the two pieces.
-
-
-
-
-
Separate the two flaps to make handling easier.
-
Use a screw driver to press a latch in along the axis of the hinge and simultaneously pull the pieces apart.
-
Gently pull the flat cable through the hinge.
-
-
-
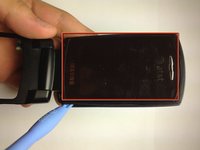
Use the prying tool to separate the screen from the rest of the phone.
-
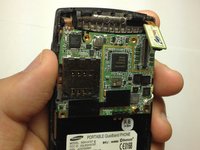
Be careful not to lose the little cube of foam and wire that is under the circuit board. It is important in connecting two different circuits and must be placed back when the phone is reassembled.
-
-


To reassemble your device, follow these instructions in reverse order. Take your e-waste to an R2 or e-Stewards certified recycler.
팀

University of Maryland, Team 1-1, Calloway Fall 2012 University of Maryland, Team 1-1, Calloway Fall 2012 회원
UMD-CALLOWAY-F12S1G1
4 회원들
안내서 42개를 작성함