주요 콘텐츠로 건너뛰기

Samsung SGH-E317 Motherboard Replacement

필요한 것

  1. Samsung SGH-E317 Motherboard Replacement, Battery: 1 단계, 이미지 1/1
    • Remove the back panel by pressing up on switch, located at the top on the back of the phone.

    • You may want to use a plastic opening tool to help pry the back panel off.

  2. Samsung SGH-E317 Motherboard Replacement, Motherboard: 2 단계, 이미지 1/1
    • Unscrew the four 4.5mm screws located on the back plate.

  3. Samsung SGH-E317 Motherboard Replacement: 3 단계, 이미지 1/1
    • Remove the rubber screw cover using your fingernail.

  4. Samsung SGH-E317 Motherboard Replacement: 4 단계, 이미지 1/1
    • Unscrew the 4.5mm screw located underneath the rubber cover.

  5. Samsung SGH-E317 Motherboard Replacement: 5 단계, 이미지 1/1
    • Wedge the end of a plastic opening tool into the crack between the back panel and the phone.

    • The panel should come off without much effort.

  6. Samsung SGH-E317 Motherboard Replacement: 6 단계, 이미지 1/1
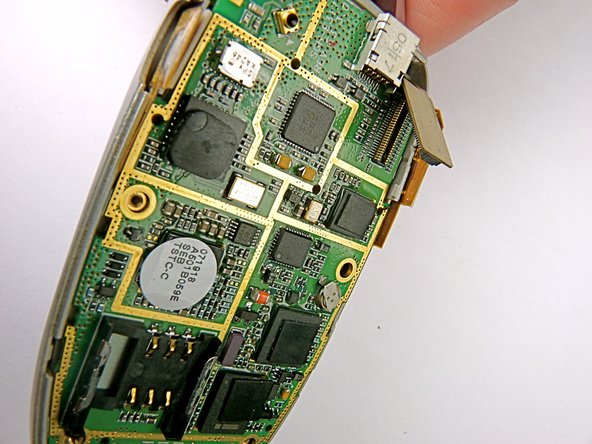
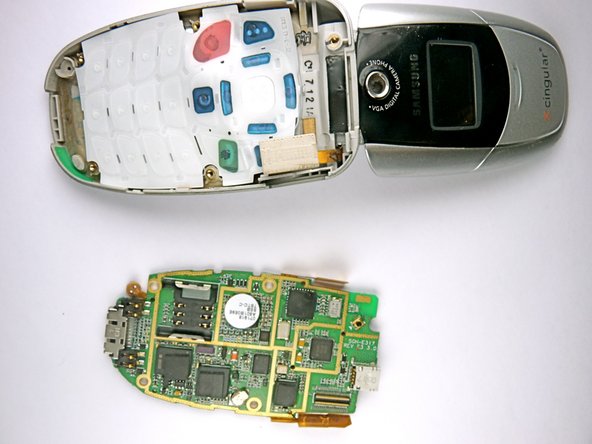
    • With the back panel removed, the motherboard should be fully exposed.

  7. Samsung SGH-E317 Motherboard Replacement: 7 단계, 이미지 1/2 Samsung SGH-E317 Motherboard Replacement: 7 단계, 이미지 2/2
    • Remove the camera and volume buttons and place them in a safe spot until reassembly.

  8. Samsung SGH-E317 Motherboard Replacement: 8 단계, 이미지 1/2 Samsung SGH-E317 Motherboard Replacement: 8 단계, 이미지 2/2
    • Using a plastic opening tool, unplug the ribbon cable connecting the front LCDs to the motherboard.

  9. Samsung SGH-E317 Motherboard Replacement: 9 단계, 이미지 1/2 Samsung SGH-E317 Motherboard Replacement: 9 단계, 이미지 2/2
    • Detach the motherboard by grabbing the edges of it and lifting it straight out of the phone.

결론

To reassemble your device, follow these instructions in reverse order.

Chris Dimler

회원 가입일: 01/22/11

124 평판

안내서 1개 작성함

Cal Poly, Team 11-23, Maness Winter 2011 Cal Poly, Team 11-23, Maness Winter 2011 회원

CPSU-MANESS-W11S11G23

4 회원들

안내서 10개 작성하였습니다

댓글 0개

댓글 쓰기

조회 통계:

24 시간 전: 1

7일 전: 1

30일 전: 4

전체 시간: 1,382