주요 콘텐츠로 건너뛰기

Samsung Series 7XE700T1A Battery Replacement

필요한 것

  1. Samsung Series 7XE700T1A Battery Replacement, Back panel: 1 단계, 이미지 1/1
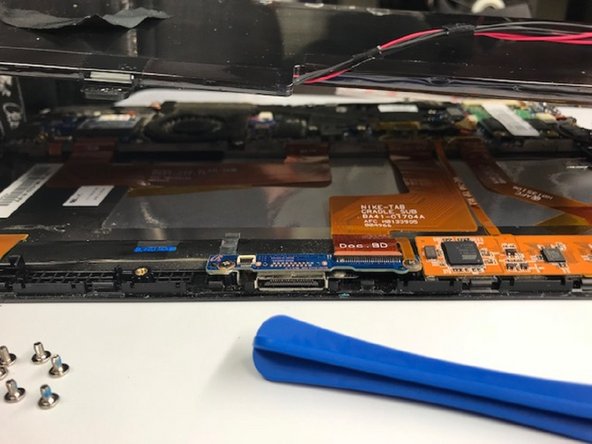
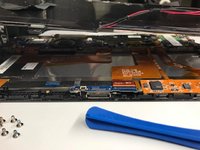
    • Remove the microSD card before attempting to open the device. Wedge the opening tools inside the device and move it around the perimeter (between the black and silver panels, not between the glass and the black panel) until you have loosened the adhesive that is keeping it together.

  2. Samsung Series 7XE700T1A Battery Replacement: 2 단계, 이미지 1/2 Samsung Series 7XE700T1A Battery Replacement: 2 단계, 이미지 2/2
    • With your hands, open up the back panel, separating it from the tablet.

  3. Samsung Series 7XE700T1A Battery Replacement, Battery: 3 단계, 이미지 1/1
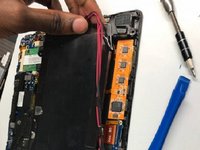
    • With the back panel removed, take the tape off the battery restricting it from coming loose.

  4. Samsung Series 7XE700T1A Battery Replacement: 4 단계, 이미지 1/1
    • Using the FH000 phillip screwdriver, unscrew the screw that connects the battery to the motherboard, releasing the battery.

  5. Samsung Series 7XE700T1A Battery Replacement: 5 단계, 이미지 1/1
    • Lift the clamp that is holding on to the red and black wires by using a spudger.

    • Remove the wires from the clamp.

  6. Samsung Series 7XE700T1A Battery Replacement: 6 단계, 이미지 1/2 Samsung Series 7XE700T1A Battery Replacement: 6 단계, 이미지 2/2
    • After all the screws are removed, and all wires are detached, lift the battery away from the tablet.

결론

To reassemble your device, follow these instructions in reverse order.

james

회원 가입일: 09/25/17

463 평판

안내서 4개 작성하였습니다

댓글 0개

댓글 쓰기

조회 통계:

24 시간 전: 0

7일 전: 3

30일 전: 36

전체 시간: 1,920