이 버전에는 잘못된 편집 사항이 있을 수 있습니다. 최신 확인된 스냅샷으로 전환하십시오.
필요한 것
-
이 단계는 번역되지 않았습니다. 번역을 도와주십시오
-
Start by removing the screen bezel.
-
Use a pair of spudgers to pry between the cover and the rest of the monitor.
-
Lay monitor on its back and pull off screen cover.
-
-
이 단계는 번역되지 않았습니다. 번역을 도와주십시오
-
Flip the monitor over so that it is facedown.
-
Remove the single screw in the middle using a #2 Phillips screwdriver.
-
Remove backing to reveal signal/power board in center.
-
-
-
이 단계는 번역되지 않았습니다. 번역을 도와주십시오
-
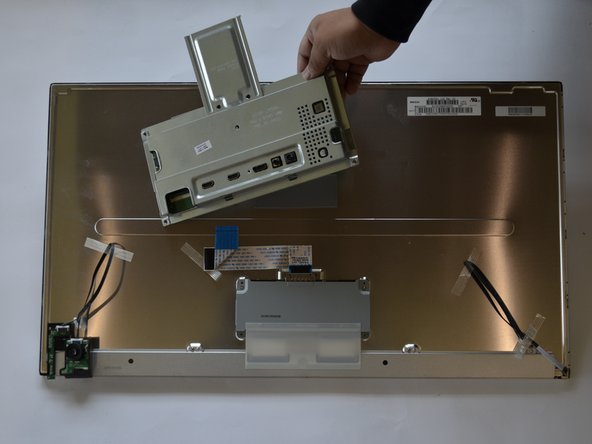
Unplug wires connected to supply (one on the left and one on right).
-
Disconnect the signal ribbon cable.
-
Pull the motherboard shield off—it's adhered in place by tape, so some force may be needed.
-
-
이 단계는 번역되지 않았습니다. 번역을 도와주십시오
-
Lay piece upside down.
-
Use a #2 Phillips screwdriver to remove the two screws that secure the motherboard.
-
Lift the motherboard out of the metal shield.
-
다른 3명이 해당 안내서를 완성하였습니다.


