이 버전에는 잘못된 편집 사항이 있을 수 있습니다. 최신 확인된 스냅샷으로 전환하십시오.
필요한 것
-
이 단계는 번역되지 않았습니다. 번역을 도와주십시오
-
Locate the interlocking pegs along the seam of the device's casings.
-
Gently pry the pegs apart one at a time, working your way around the case.
-
-
이 단계는 번역되지 않았습니다. 번역을 도와주십시오
-
The battery contact springs may prevent the case from separating.
-
Push the battery contact springs down through the hole in the case.
-
-
-
이 단계는 번역되지 않았습니다. 번역을 도와주십시오
-
The casing protecting the USB and headphone jacks must be removed.
-
Locate and gently pry apart the two interlocking clips holding it in place.
-
The outer casings may now be removed and the MP3 player should separate.
-
-
이 단계는 번역되지 않았습니다. 번역을 도와주십시오
-
You now have access to all components found on the inside of the device!
-
-
이 단계는 번역되지 않았습니다. 번역을 도와주십시오
-
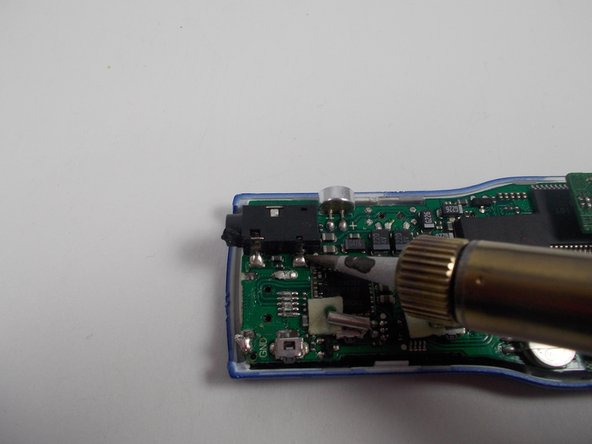
Ensure the hot end of the soldering iron is elevated on a metal stand when not in use to prevent burns.
-
-
이 단계는 번역되지 않았습니다. 번역을 도와주십시오
-
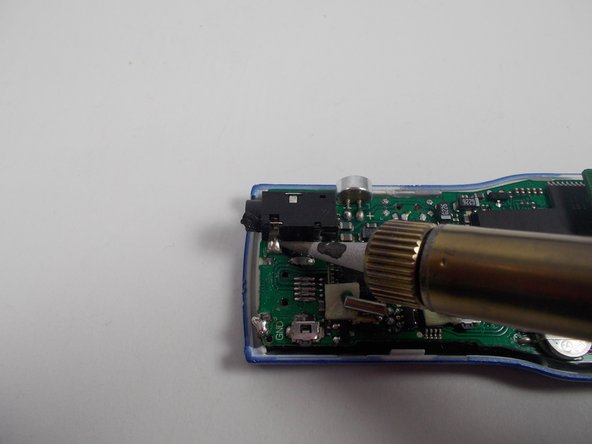
Use soldering iron to melt the existing solder at the three headphone jack connections.
-
-
이 단계는 번역되지 않았습니다. 번역을 도와주십시오
-
Align the new headphone jack appropriately on the motherboard for soldering.
-
-
이 단계는 번역되지 않았습니다. 번역을 도와주십시오
-
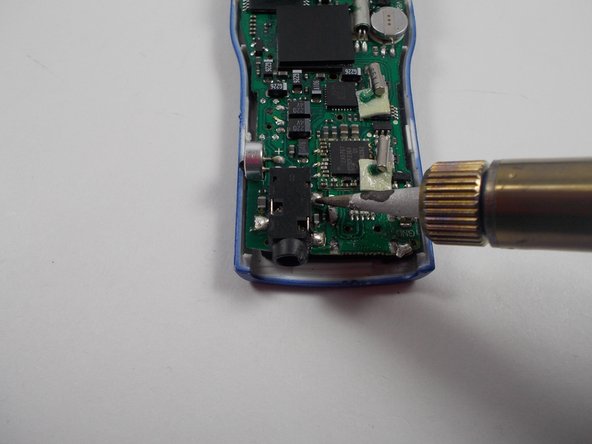
Use the soldering iron and solder to create three stable connections between the motherboard and the headphone jack.
-
Allow the new solder to cool and harden before reassembling the MP3 player.
-


팀

UMass Dartmouth, Team 1-8, Shastany Fall 2013 UMass Dartmouth, Team 1-8, Shastany Fall 2013 회원
UMASSD-SHASTANY-F13S1G8
3 회원들
안내서 6개 작성하였습니다