주요 콘텐츠로 건너뛰기

Sanyo-PM 8200 Back Casing Replacement

단지 전제 조건
이 안내서는 다른 가이드의 선행 작업으로 사용하기 위한 것입니다. 그 자체로는 불완전합니다.

필요한 것

  1. Sanyo-PM 8200 Back Casing Replacement, Back Casing: 1 단계, 이미지 1/1
    • Use a push pin or tweezers to remove the neoprene screw-cover located on the upper, left corner of the back casing.

  2. Sanyo-PM 8200 Back Casing Replacement: 2 단계, 이미지 1/1
    • Unscrew all four, 5mm Tri-Wing screws.

  3. Sanyo-PM 8200 Back Casing Replacement: 3 단계, 이미지 1/2 Sanyo-PM 8200 Back Casing Replacement: 3 단계, 이미지 2/2
    • Pry the back casing off the device using a spudger. Work your way along the edges to completely separate the back casing from the device.

    • This step may require extra force. But too much force could break the back casing.

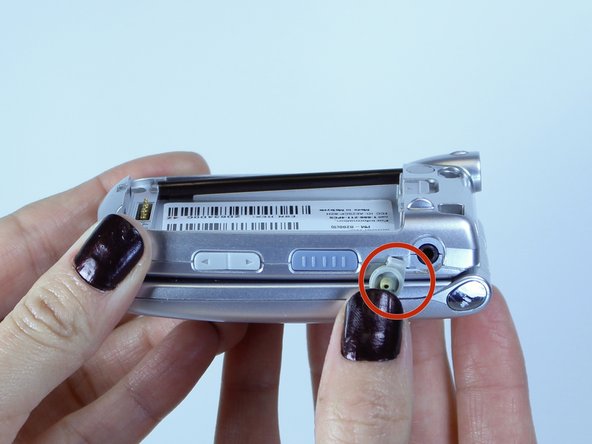
    • Remove the headphone jack cover when separating the back casing. The headphone jack is located on the opposite side of the antenna.

결론

To reassemble your device, follow these instructions in reverse order.

Cassandra Stavros

회원 가입일: 10/07/14

28 평판

안내서 2개 작성하였습니다

USF Tampa, Team 1-6, Leahy Fall 2014 USF Tampa, Team 1-6, Leahy Fall 2014 회원

USFT-LEAHY-F14S1G6

6 회원들

안내서 10개 작성하였습니다

댓글 0개

댓글 쓰기

조회 통계:

24 시간 전: 0

7일 전: 0

30일 전: 0

전체 시간: 43