이 버전에는 잘못된 편집 사항이 있을 수 있습니다. 최신 확인된 스냅샷으로 전환하십시오.
필요한 것
-
이 단계는 번역되지 않았습니다. 번역을 도와주십시오
-
Flip the console over on its back.
-
Take note of your model number, in case replacement parts are needed.
-
-
이 단계는 번역되지 않았습니다. 번역을 도와주십시오
-
Remove the expansion bay by applying pressure to the small clip on the expansion bay while prying it away from the console.
-
-
이 단계는 번역되지 않았습니다. 번역을 도와주십시오
-
Locate and remove all four black 12mm Phillips #02 screws from the underside of the console.
-
-
이 단계는 번역되지 않았습니다. 번역을 도와주십시오
-
Turn the console right side up.
-
Remove the top cover by gently lifting the upper portion of the console.
-
-
이 단계는 번역되지 않았습니다. 번역을 도와주십시오
-
Disconnect the white controller cable by gently pulling the the cable while wiggling it back and forth until it detaches from the controller board.
-
-
-
이 단계는 번역되지 않았습니다. 번역을 도와주십시오
-
Remove the four 14mm Philips #02 screws located on the controller board.
-
-
이 단계는 번역되지 않았습니다. 번역을 도와주십시오
-
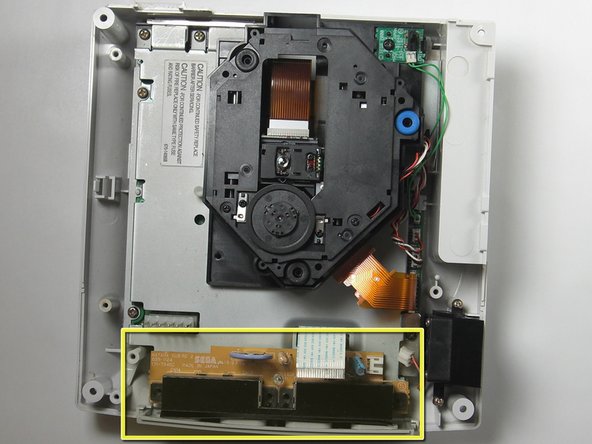
Flip the controller board on its underside so that the solder joints are exposed.
-
-
이 단계는 번역되지 않았습니다. 번역을 도와주십시오
-
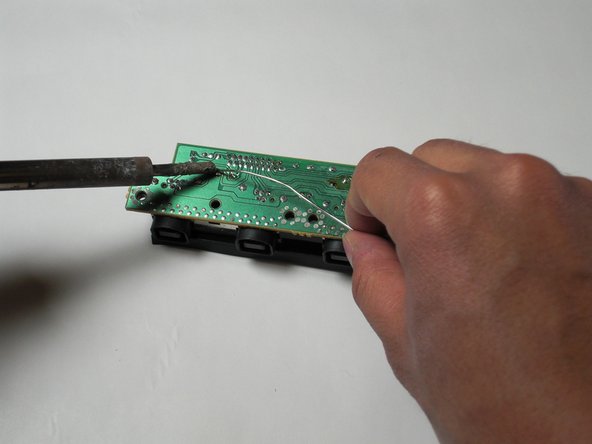
Remove the F1 fuse by using the soldering iron and desoldering wick.
-
The F1 fuse is clearly indicated on the topside of the controller board.
-
-
이 단계는 번역되지 않았습니다. 번역을 도와주십시오
-
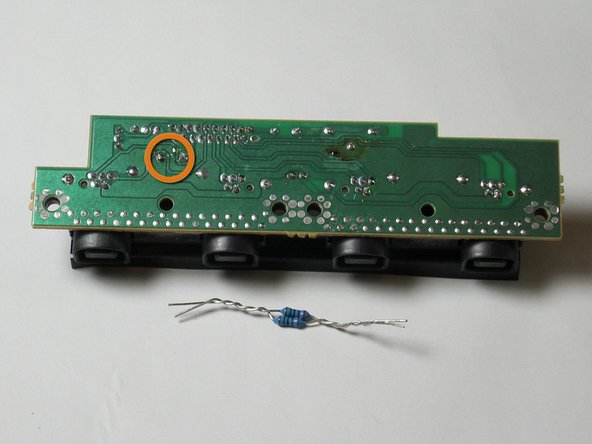
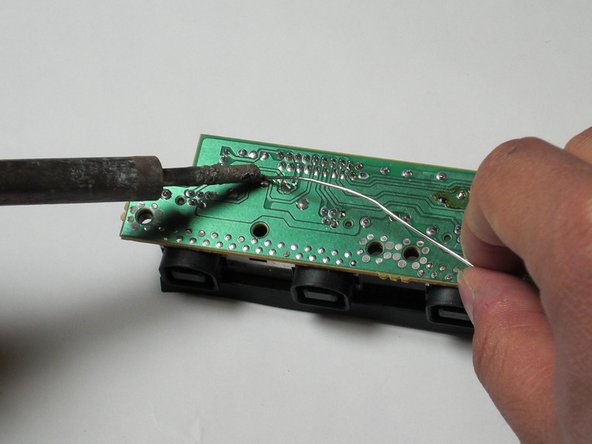
Insert and solder the parallel 10 ohm 1/4 watt resistors to the F1 socket.
-


다른 6명이 해당 안내서를 완성하였습니다.
팀

Cal Poly, Team 5-1, Regan Fall 2009 Cal Poly, Team 5-1, Regan Fall 2009 회원
CPSU-REGAN-F09S5G1
5 회원들
안내서 21개 작성하였습니다
댓글 6개
Hello, Darren. I am having the utmost difficulty doing this with two 1/4 watt resistors, as you have demonstrated. I have three dreamcast systems, I would like to repair (all with a bad controller port.) What would be the chance that I could send you the ports, packs of resistors and and solder and pay you to do this to all of them?
I would even be willing to give you two of them! I just want one working system!
djresree -
I need this board, were do I find one?