이 버전에는 잘못된 편집 사항이 있을 수 있습니다. 최신 확인된 스냅샷으로 전환하십시오.
필요한 것
-
이 단계는 번역되지 않았습니다. 번역을 도와주십시오
-
Examine the damage. Clip any loose threads and remove any debris from the tear.
-
Grab a trendy patch.
-
-
이 단계는 번역되지 않았습니다. 번역을 도와주십시오
-
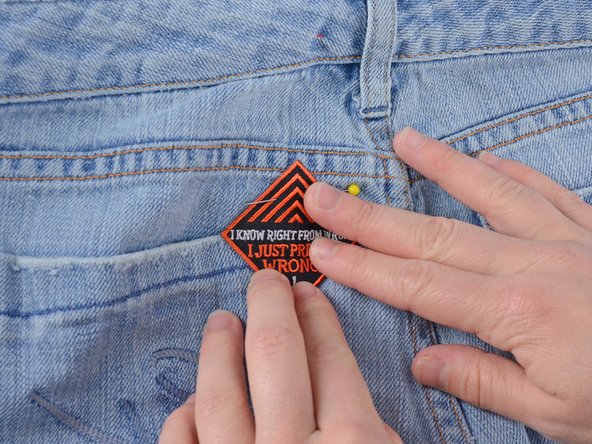
Position the patch over the hole.
-
Any patch you use should overlap the damage by at least 1/8".
-
-
-
이 단계는 번역되지 않았습니다. 번역을 도와주십시오
-
Slide the jeans into the sewing machine, positioning the needle over the edge of the patch.
-
-
이 단계는 번역되지 않았습니다. 번역을 도와주십시오
-
Lower the pressor foot.
-
Sew along the edge of the patch.
-
Remove the pins before you get to them.
-
-
이 단계는 번역되지 않았습니다. 번역을 도와주십시오
-
Continue sewing around the patch, lifting the pressor foot to turn at corners of the patch.
-
-
이 단계는 번역되지 않았습니다. 번역을 도와주십시오
-
When you come all the way around, overlap the first two or three stitches.
-
Lift the needle and pressor foot.
-
Slide the jeans out of the sewing machine.
-
Clip any threads, and admire your work.
-


다른 4명이 해당 안내서를 완성하였습니다.

