소개
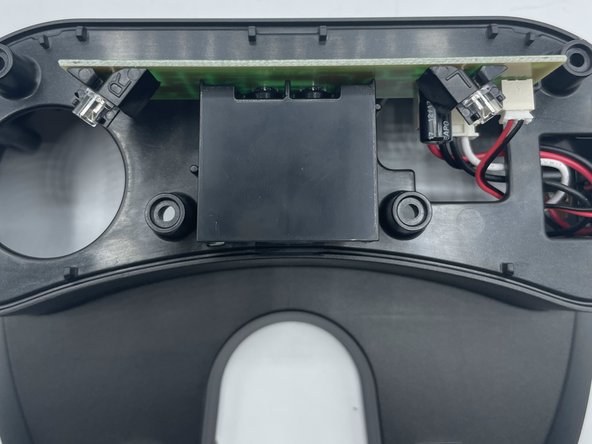
If you cannot charge your Shark ION Robot, there may be a problem with the charging dock motherboard, which requires a replacement.
Damage to the charging dock could cause damage to the battery when trying to charge it or even a heat reaction, which could cause fires or other malfunctions.
필요한 것
-
-
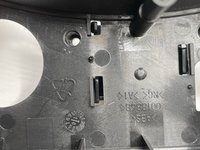
Remove the three Torx T6 screws on the underside of the charging dock.
-
Lift off the lower case.
-
-


결론
To reassemble your device, follow these instructions in reverse order.

팀

University of North Texas, Team 1-7, Kilpatrick Fall 2023 University of North Texas, Team 1-7, Kilpatrick Fall 2023 회원
UNT-KILPATRICK-F23S1G7
4 회원들
안내서 5개를 작성함