소개
Suppose the Shark ION R750‘s outer shell is cracked or damaged due to wear and tear, accidental drops, or other potentially damaging impacts. In that case, you must replace the casing to avoid further damage to the vacuum's internal components.
The Shark's outer shell protects the vacuum's internal components from debris, dust, and contaminants that will clog the vacuum, impact the motor, or damage the device's overall performance. Therefore, it is crucial to immediately replace the outer shell so the vacuum continues functioning correctly.
필요한 것
-
-
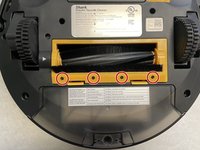
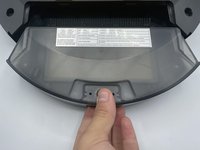
Flip over the vacuum on a flat and uncluttered service with the bottom facing upwards.
-
Remove all seven 9.1mm Torx T15 screws from the device’s front bumper.
-
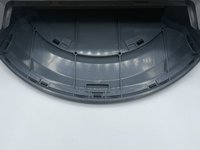
Remove the nine 9.1mm Torx T6 bolts from outer shell.
-
-


To reassemble your device, follow these instructions in reverse order.

팀

University of North Texas, Team 1-7, Kilpatrick Fall 2023 University of North Texas, Team 1-7, Kilpatrick Fall 2023 회원
UNT-KILPATRICK-F23S1G7
4 회원들
안내서 5개를 작성함