주요 콘텐츠로 건너뛰기

Shark Rocket Powerhead AH401 Filter Grille Replacement

필요한 것

  1. Shark Rocket Powerhead AH401 Filter Grille Replacement, Dust Cup: 1 단계, 이미지 1/3 Shark Rocket Powerhead AH401 Filter Grille Replacement, Dust Cup: 1 단계, 이미지 2/3 Shark Rocket Powerhead AH401 Filter Grille Replacement, Dust Cup: 1 단계, 이미지 3/3
    • Ensure the device is turned off and unplugged from any power source before beginning work.

    • Push down on the dust can lever to release the dust can in order to get to the filter grill.

  2. Shark Rocket Powerhead AH401 Filter Grille Replacement: 2 단계, 이미지 1/2 Shark Rocket Powerhead AH401 Filter Grille Replacement: 2 단계, 이미지 2/2
    • Remove the dust cup by lifting it off the dock.

  3. Shark Rocket Powerhead AH401 Filter Grille Replacement, Filter Grille: 3 단계, 이미지 1/2 Shark Rocket Powerhead AH401 Filter Grille Replacement, Filter Grille: 3 단계, 이미지 2/2
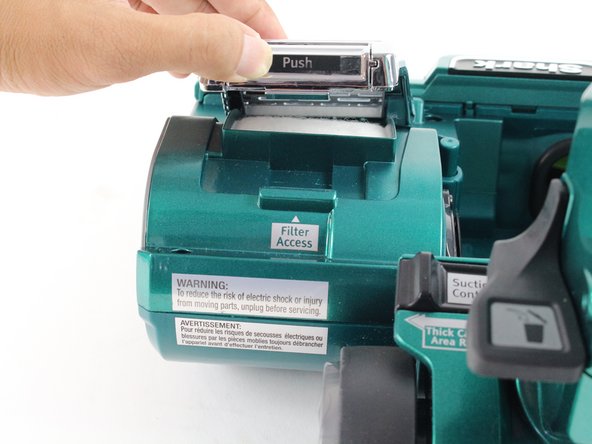
    • Push inward on the top of the filter grille where it says "Push."

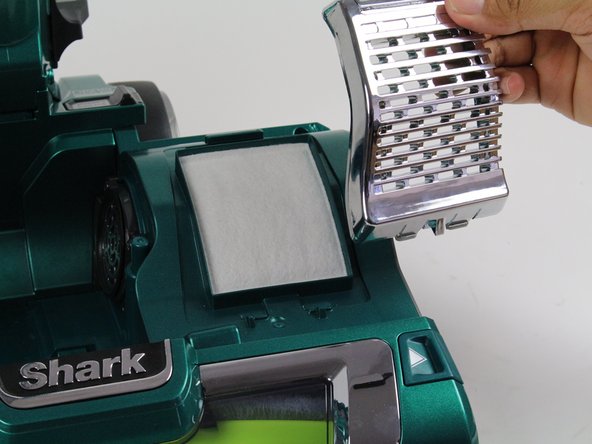
    • Lift the filter grille upward.

  4. Shark Rocket Powerhead AH401 Filter Grille Replacement: 4 단계, 이미지 1/2 Shark Rocket Powerhead AH401 Filter Grille Replacement: 4 단계, 이미지 2/2
    • Lift gently and pull the grille up towards you until it releases.

    • The post-motor filter is underneath the filter grille.

결론

To reassemble your device, follow these instructions in reverse order.

Shobhit Dabral

회원 가입일: 01/24/18

913 평판

안내서 6개 작성하였습니다

Cal Poly, Team S19-G3, Livingston Winter 2018 Cal Poly, Team S19-G3, Livingston Winter 2018 회원

CPSU-LIVINGSTON-W18S19G3

4 회원들

안내서 18개 작성하였습니다

댓글 0개

댓글 쓰기

조회 통계:

24 시간 전: 0

7일 전: 0

30일 전: 7

전체 시간: 304