이 버전에는 잘못된 편집 사항이 있을 수 있습니다. 최신 확인된 스냅샷으로 전환하십시오.
필요한 것
-
이 단계는 번역되지 않았습니다. 번역을 도와주십시오
-
Turn the vacuum on its side.
-
Using a quarter, twist the three green locks to the unlock position.
-
Pull the bottom roller brush cover to open the vacuum.
-
-
이 단계는 번역되지 않았습니다. 번역을 도와주십시오
-
Using a T20 screwdriver, remove the five 15.9 mm screws on the outside cover.
-
-
이 단계는 번역되지 않았습니다. 번역을 도와주십시오
-
Remove the two 14.3 mm screws under the wheels with a T20 screwdriver bit.
-
-
이 단계는 번역되지 않았습니다. 번역을 도와주십시오
-
Remove the two 15.9 mm screws from behind the wheels with a T20 bit screwdriver.
-
-
이 단계는 번역되지 않았습니다. 번역을 도와주십시오
-
Remove the single 13.4 mm small screw behind the roller brush with a PH0 screwdriver bit.
-
-
-
이 단계는 번역되지 않았습니다. 번역을 도와주십시오
-
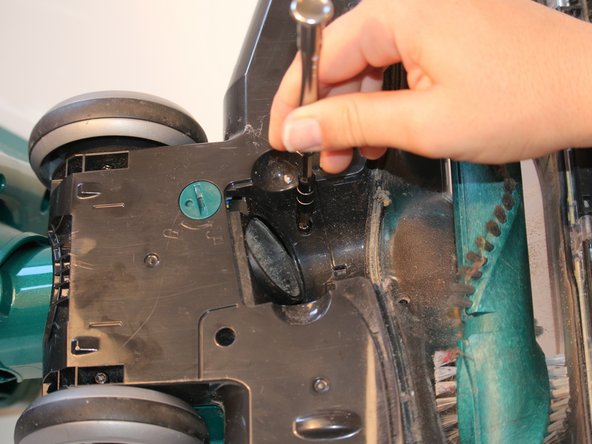
Remove the single 13.4 mm screw from behind the belted end of the roller brush with a T20 screwdriver bit.
-
-
이 단계는 번역되지 않았습니다. 번역을 도와주십시오
-
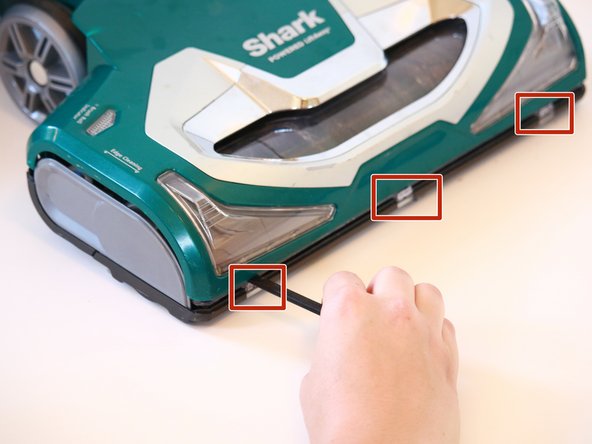
Turn the vacuum around.
-
Using a spudger, pry the top of the vacuum cover off. There are three tabs behind each of the clear rectangles below the headlights.
-
-
이 단계는 번역되지 않았습니다. 번역을 도와주십시오
-
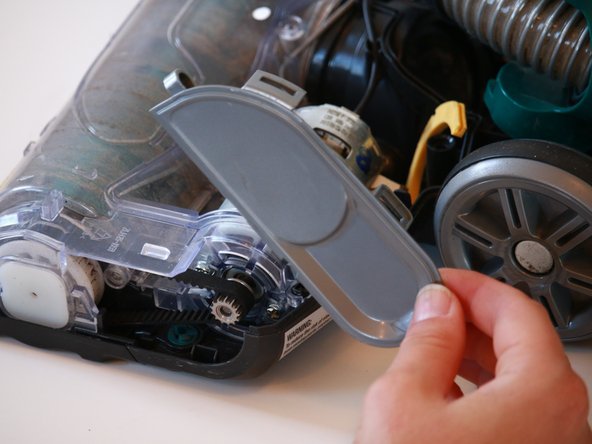
Remove the grey side panel on the motor side of the vaccum with a spudger. Pry under each tab to release the side panel.
-
-
이 단계는 번역되지 않았습니다. 번역을 도와주십시오
-
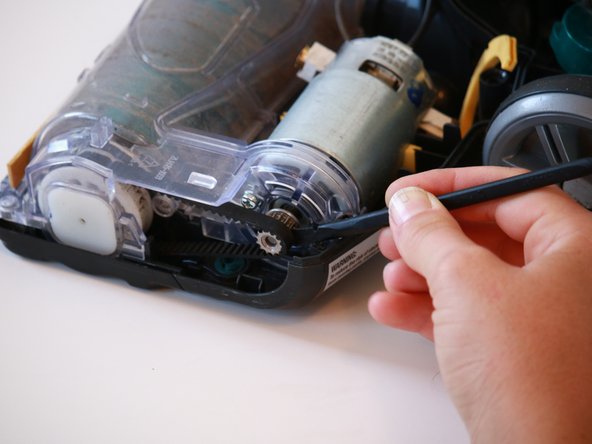
Remove the single 13.4 mm screw located next to where the belt was detached, securing the motor in place, with a PH1 screwdriver.
-
-
이 단계는 번역되지 않았습니다. 번역을 도와주십시오
-
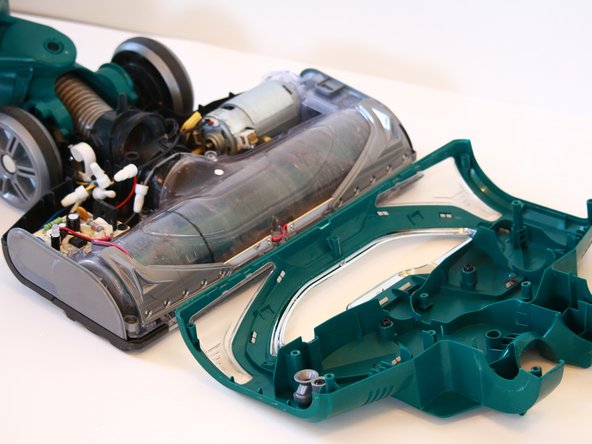
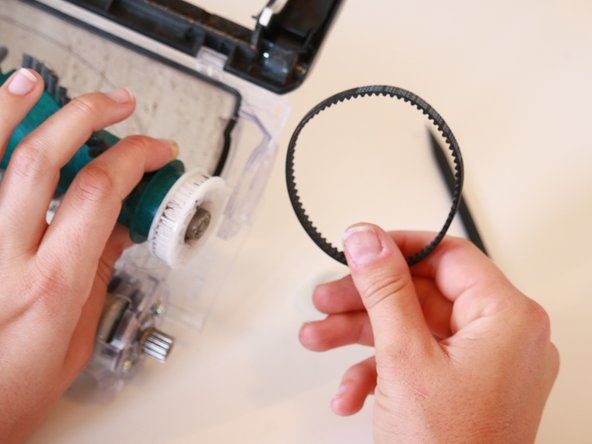
Remove the grey panel from the opposite side, by uncrewing the single 13.4 mm screw with a PH1 screwdriver. This will release the container for the roller brush and belt motor.
-
-
이 단계는 번역되지 않았습니다. 번역을 도와주십시오
-
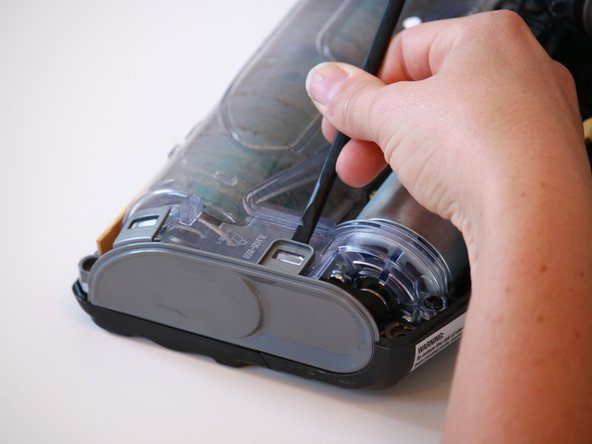
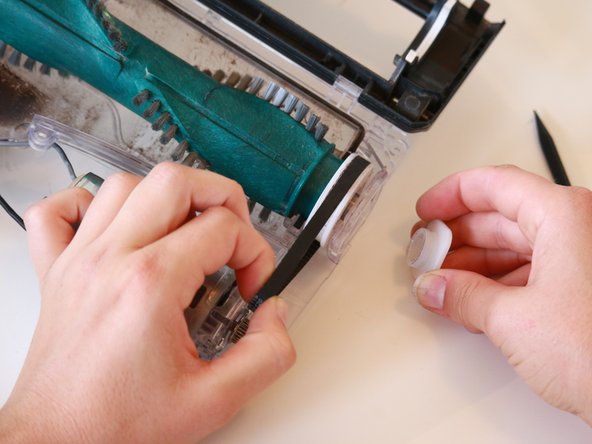
Using the spudger, push the white end cap out of the clear plastic by placing the spudger on the roller brush side and pushing the cap outward.
-


다른 2명이 해당 안내서를 완성하였습니다.
팀

Cal Poly, Team S4-G6, White Fall 2018 Cal Poly, Team S4-G6, White Fall 2018 회원
CPSU-WHITE-F18S4G6
4 회원들
안내서 12개 작성하였습니다
댓글 2개
Where can we buy belts in UK?
where cn i get a belt for this vaccum