소개
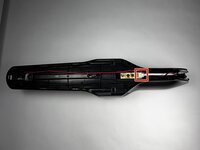
This guide will provide instruction for how to replace the power control board. The battery life of the Shark UltraCyclone CH951 is 15 minutes per 6 hours of charging. If you notice that the vacuum does not turn on at all, or is not staying on while fully charged, you may need to replace the power switch.
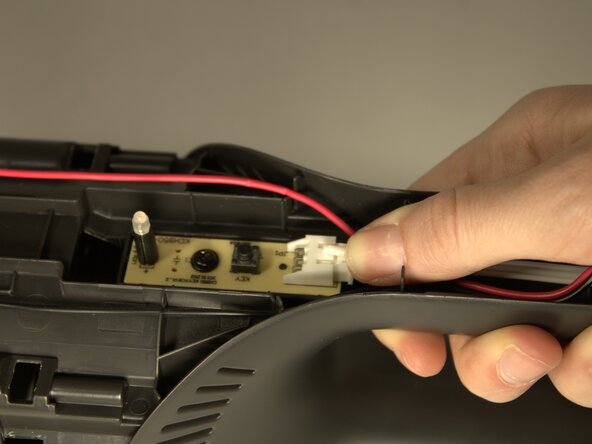
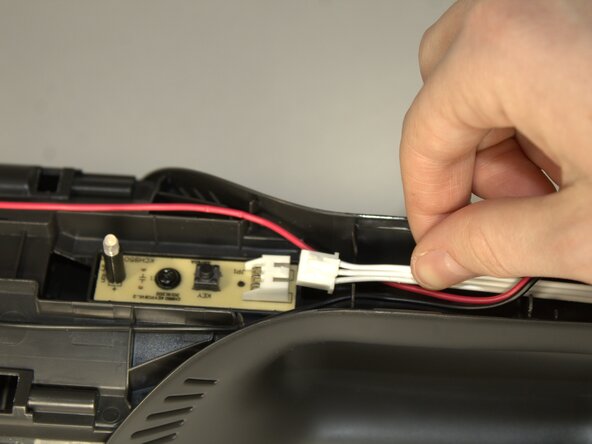
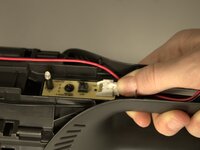
Please note that you must remove the battery connection first, as dealing with electric components could be potentially hazardous. However, the entire battery does not need to be removed.
필요한 것
-
-
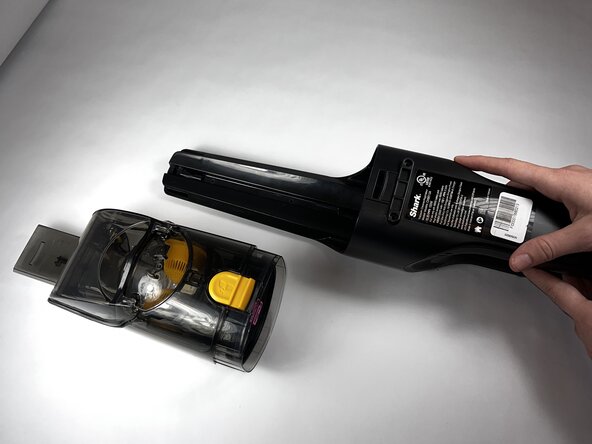
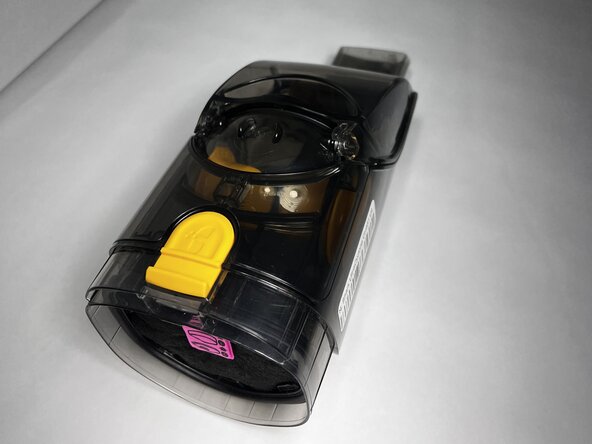
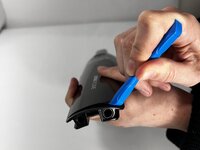
Press the dust cup release button and gently pull the dust cup away from the body of the vacuum.
-
-
-
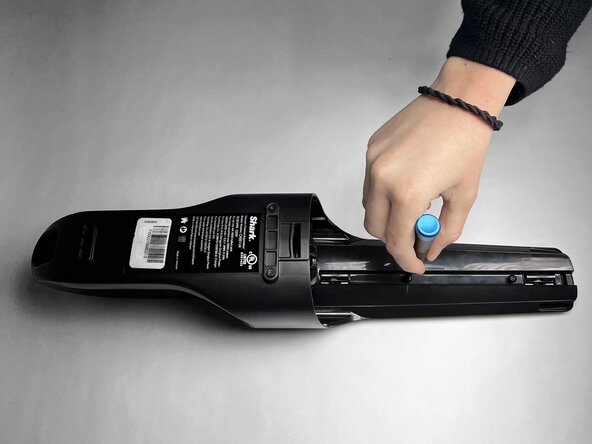
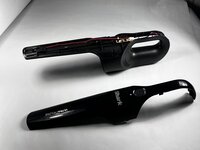
Use a TR9 Torx screwdriver to remove the two 8.7 mm screws previously behind the dust cup.
-
-


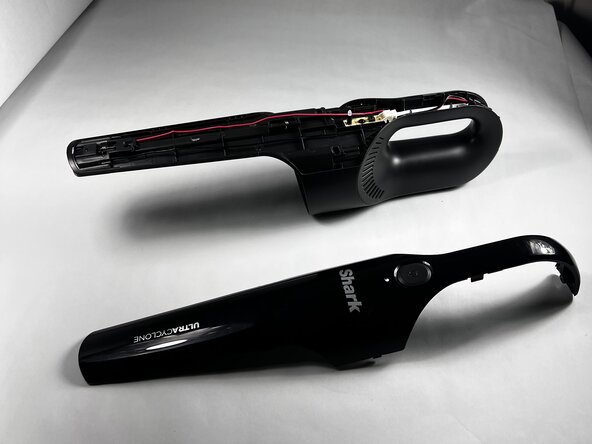


To reassemble your device, follow these instructions in reverse order.
다른 한 분이 해당 안내서를 완성하였습니다.

팀

Colorado Mesa University, Team 1-3, Kinney Spring 2025 Colorado Mesa University, Team 1-3, Kinney Spring 2025 회원
CMU-KINNEY-S25S1G3
3 회원들
안내서 6개를 작성함