소개
The user will learn how to:
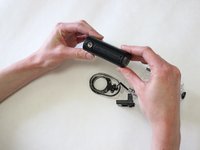
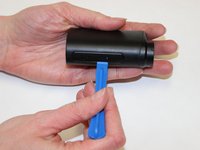
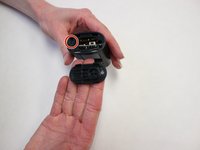
- Remove the device from the case
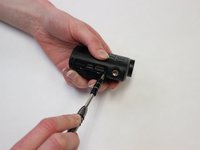
- Completely tear down the device
- Remove the lens
필요한 것
-
-
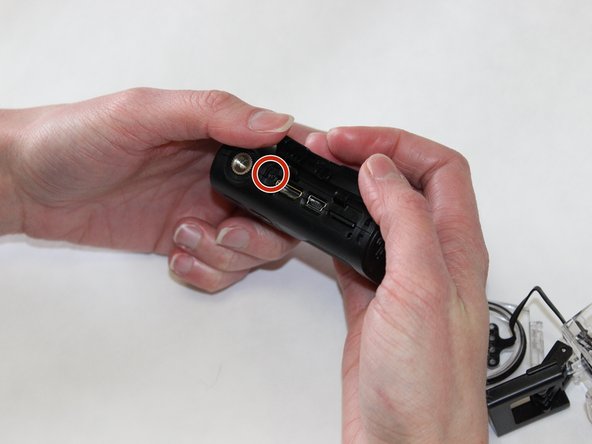
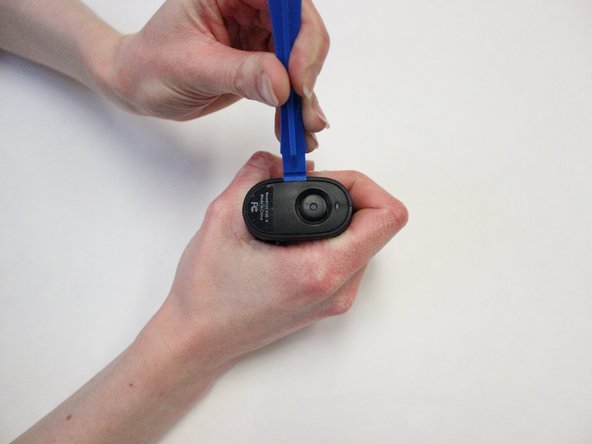
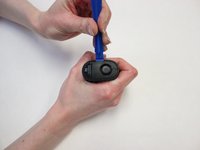
Use your thumb to push down on the lever that says "open" while simultaneously pushing up the latch with your other thumb.
-
-
-
-
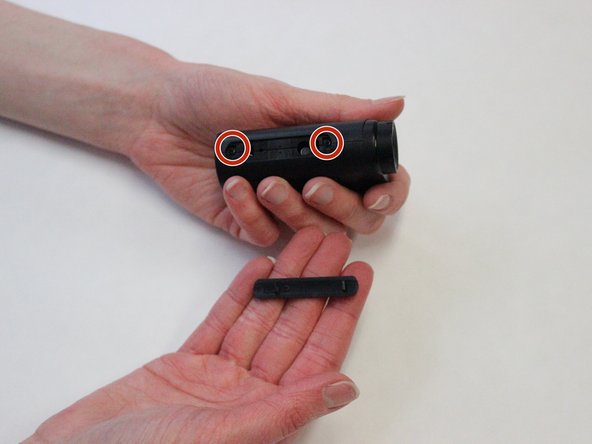
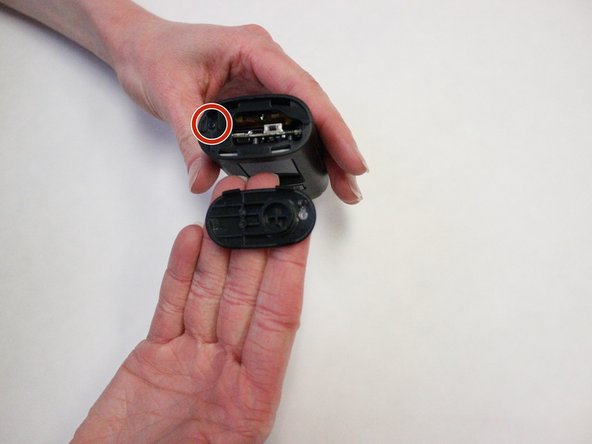
Behind the lens, use the metal screwdriver to unscrew the two screws holding the lens in place on the circuit board.
-


결론
To reassemble your device, follow these instructions in reverse order.
다른 한 분이 해당 안내서를 완성하였습니다.
팀

University of Kentucky Louisville, Team 1-6, Matravers Spring 2016 University of Kentucky Louisville, Team 1-6, Matravers Spring 2016 회원
LOUISVILLE-MATRAVERS-S16S1G6
4 회원들
안내서 6개를 작성함