소개
Use this guide to restore the power loss caused by a misplaced sensor on a Simagic Alpha Mini Direct Drive Wheelbase.
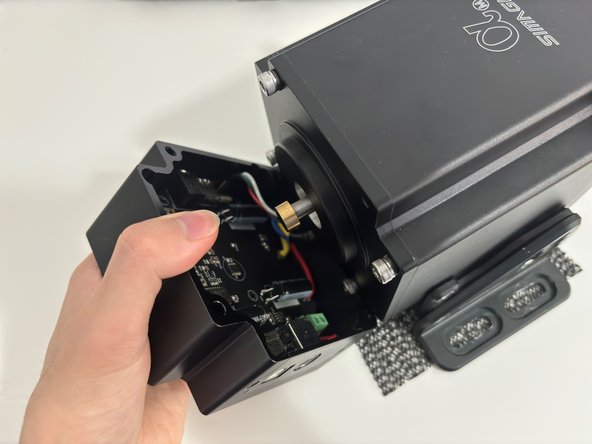
Frequent usage can misalign the positional sensor, reducing its power output, which is further exacerbated by the rotating motors during operation. As a result, the inertia and dampening of the wheelbase can be affected, leading to less than desired hardware performance.
Before beginning, be sure that your Simagic firmware is up to date and FFB (Forced Feedback) settings are correctly calibrated.
Alongside following these instructions, you should refer to this device's user manual to make installation and use quick and convenient while adhering to its safe operation guidelines.
필요한 것


To reassemble your device, follow these instructions in reverse order.
To reassemble your device, follow these instructions in reverse order.
팀

York University, Team M-6, Allen Winter 2024 York University, Team M-6, Allen Winter 2024 회원
YORK-ALLEN-W24SMG6
3 회원들
안내서 1개 작성하였습니다