소개
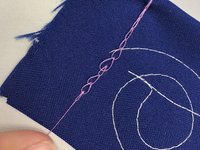
This guide is intended to demonstrate how to perform a backstitch using a Singer EZ-Stitch. A backstitch is a form of sewing that uses overlapping stitches to hold the thread in place. The Singer EZ-Stitch can only do what’s known as a chainstitch. That means that it uses just one spool of thread rather than the traditional bobbin and spool that most machines use.
필요한 것


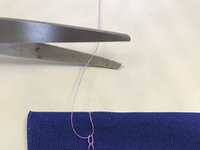
You have finished a line of stitching using the Singer EZ-Stitch.
You have finished a line of stitching using the Singer EZ-Stitch.
다른 2명이 해당 안내서를 완성하였습니다.
팀

University of Maine, Team 2-6, Diaz Fall 2016 University of Maine, Team 2-6, Diaz Fall 2016 회원
UMAINE-DIAZ-F16S2G6
2 회원들
안내서 1개 작성
댓글 한 개
Need manual got singer EZ-stich plastic toy and I need a manual to teach granddaughter how to use it