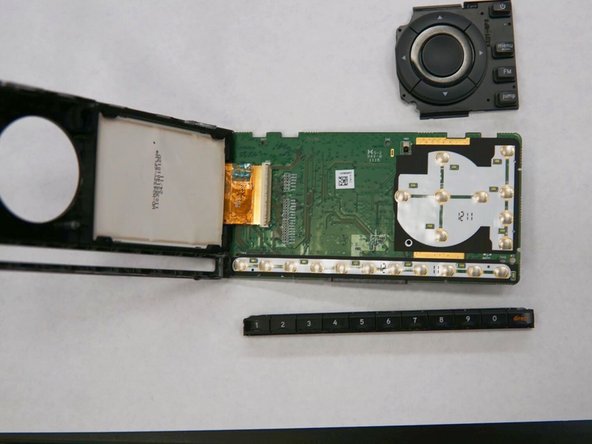
주요 콘텐츠로 건너뛰기

SiriusXM Onyx Button Replacement

필요한 것

  1. SiriusXM Onyx Button Replacement, Button: 1 단계, 이미지 1/1
    • Take the iFixit opening tool and place it between the crevice as shown.

  2. SiriusXM Onyx Button Replacement: 2 단계, 이미지 1/2 SiriusXM Onyx Button Replacement: 2 단계, 이미지 2/2
    • Apply pressure to the iFixit opening tool, pushing down until the the plastic casing pops off.

  3. SiriusXM Onyx Button Replacement: 3 단계, 이미지 1/2 SiriusXM Onyx Button Replacement: 3 단계, 이미지 2/2
    • The buttons are on the opposite side of the motherboard. To remove the motherboard, use a 0.8~0.9 mm Phillips #00 screwdriver to remove the three screws that attach the motherboard to the front part of the plastic casing.

  4. SiriusXM Onyx Button Replacement: 4 단계, 이미지 1/2 SiriusXM Onyx Button Replacement: 4 단계, 이미지 2/2
    • The buttons are resting in the corresponding sections of the motherboard, so pull them off.

결론

To reassemble your device, follow these instructions in reverse order.

다른 한 분이 해당 안내서를 완성하였습니다.

Christina Tao

회원 가입일: 10/17/17

319 평판

안내서 3개 작성하였습니다

UC Santa Barbara, Team S2-G8, Weedon Fall 2017 UC Santa Barbara, Team S2-G8, Weedon Fall 2017 회원

UCSB-WEEDON-F17S2G8

5 회원들

안내서 4개 작성하였습니다

댓글 0개

댓글 쓰기

조회 통계:

24 시간 전: 0

7일 전: 0

30일 전: 2

전체 시간: 226