주요 콘텐츠로 건너뛰기

Skirt Lining Replacement

필요한 것

  1. Skirt Lining Replacement, Lining: 1 단계, 이미지 1/2 Skirt Lining Replacement, Lining: 1 단계, 이미지 2/2
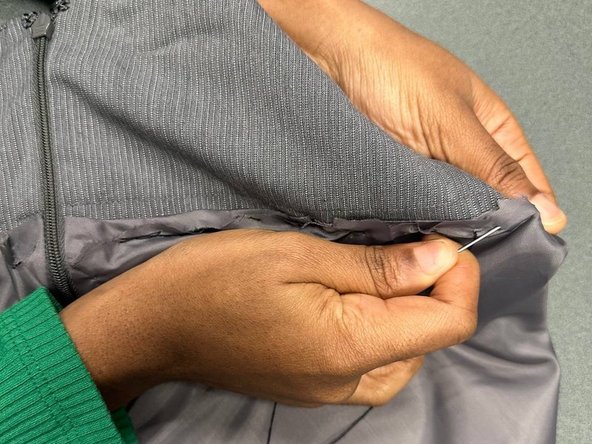
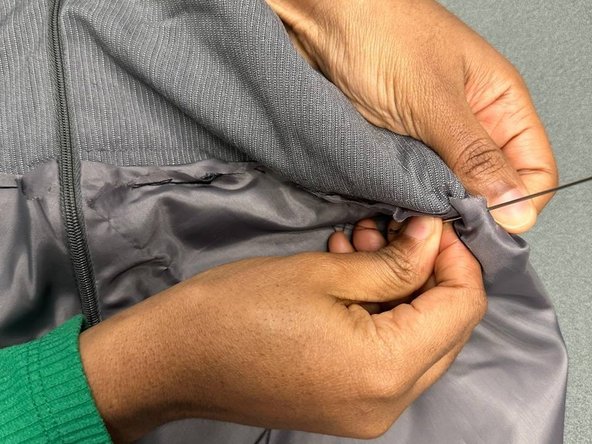
    • Cut out the old or damaged skirt lining. This can be done using a pair of scissors, or a razor blade/seam ripper if you have one.

    • Blades might give you a neater finish after this step but take longer to use.

    • Be careful when using sharp objects.

  2. Skirt Lining Replacement: 2 단계, 이미지 1/2 Skirt Lining Replacement: 2 단계, 이미지 2/2
    • After threading the needle, take some new lining (chiffon or silk material), iron it out, and make sure the lining isn't longer than the actual skirt.

  3. Skirt Lining Replacement: 3 단계, 이미지 1/3 Skirt Lining Replacement: 3 단계, 이미지 2/3 Skirt Lining Replacement: 3 단계, 이미지 3/3
    • Gently insert the threaded needle. Be careful not to prick your finger.

    • Push through the skirt fabric from below.

    • Pull the needle all the way out to form a stitch.

  4. Skirt Lining Replacement: 4 단계, 이미지 1/1
    • Continue with step 3 until you create stitches around the whole waistband of your skirt.

    • It should look somewhat like this when you make it halfway around the waistband of the skirt.

  5. Skirt Lining Replacement: 5 단계, 이미지 1/1
    • Cut out extra fabric if you have any, and here's what the waistline of your skirt should look like.

    • Try it on!

결승점

다른 한 분이 해당 안내서를 완성하였습니다.

Rena

회원 가입일: 01/11/24

121 평판

안내서 1개 작성함

York University, Team O-2, O'Regan Winter 2024 York University, Team O-2, O'Regan Winter 2024 회원

YORK-O'REGAN-W24SOG2

1 회원

안내서 1개 작성하였습니다

댓글 0개

댓글 쓰기

조회 통계:

24 시간 전: 0

7일 전: 2

30일 전: 24

전체 시간: 43