주요 콘텐츠로 건너뛰기

Skullcandy Lowrider Wiring Repair

필요한 것

  1. Skullcandy Lowrider Wiring Repair, Repairing a Severed or Damaged Wire: 1 단계, 이미지 1/3 Skullcandy Lowrider Wiring Repair, Repairing a Severed or Damaged Wire: 1 단계, 이미지 2/3 Skullcandy Lowrider Wiring Repair, Repairing a Severed or Damaged Wire: 1 단계, 이미지 3/3
    • If your wire is severed, the first step is removing the rubber coating to expose both ends of the severed wire.

    • Do this by wedging it in a sharp crevice and pulling at the rubber coating. It should strip just the rubber coating. The small wedge in a spudger should suffice.

  2. Skullcandy Lowrider Wiring Repair: 2 단계, 이미지 1/2 Skullcandy Lowrider Wiring Repair: 2 단계, 이미지 2/2
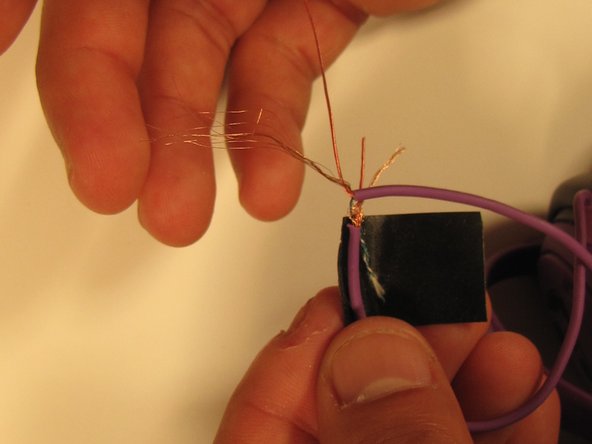
    • Now that the internal wires have been exposed, take one end and group all similarly colored wires together.

    • Do the same for the other severed wire.

  3. Skullcandy Lowrider Wiring Repair: 3 단계, 이미지 1/3 Skullcandy Lowrider Wiring Repair: 3 단계, 이미지 2/3 Skullcandy Lowrider Wiring Repair: 3 단계, 이미지 3/3
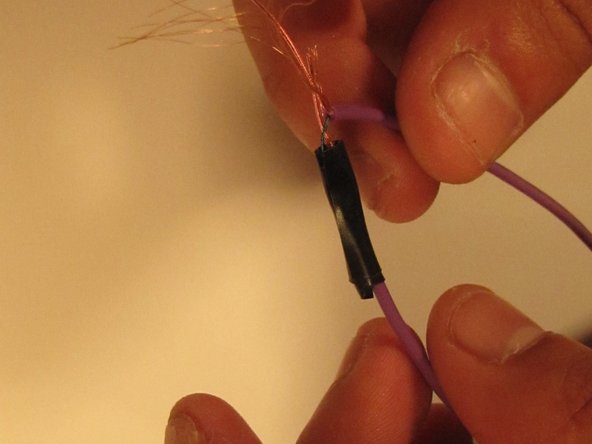
    • Twist the green wires from both ends of the severed wire together.

    • Cover in electrical tape.

  4. Skullcandy Lowrider Wiring Repair: 4 단계, 이미지 1/1
    • Do the same for all matching wires on both ends.

    • Cover completely in electrical tape.

결론

To reassemble your device, follow these instructions in reverse order.

Ryley

회원 가입일: 01/16/15

273 평판

안내서 3개 작성하였습니다

USF Sarasota-Manatee, Team 1-2, Stewart Winter 2015 USF Sarasota-Manatee, Team 1-2, Stewart Winter 2015 회원

USFSM-STEWART-W15S1G2

4 회원들

안내서 11개 작성하였습니다

댓글 0개

댓글 쓰기

조회 통계:

24 시간 전: 0

7일 전: 4

30일 전: 7

전체 시간: 625