이 버전에는 잘못된 편집 사항이 있을 수 있습니다. 최신 확인된 스냅샷으로 전환하십시오.
필요한 것
-
이 단계는 번역되지 않았습니다. 번역을 도와주십시오
-
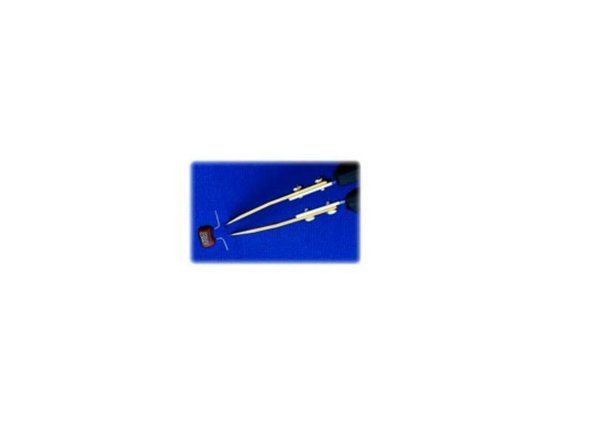
First, turn on the Smart Tweezers device by pressing the navigation button
-
-
이 단계는 번역되지 않았습니다. 번역을 도와주십시오
-
Small capacitance is best measured in 'Manual Mode' with 10 KHz testing frequency.
-
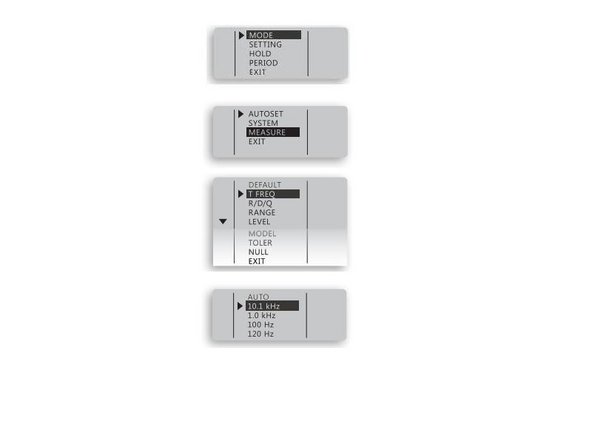
To Switch to 'Manual Mode', hold the navigation button down until the menu appears. Select and press MODE. Then MEASURE. Then select CAP.
-
The device is now in Capacitance Mode.
-
-
-
이 단계는 번역되지 않았습니다. 번역을 도와주십시오
-
Now the Test Frequency needs to be changed to 10KHz.
-
Press the Navigation button again, and select MEASURE. Then SETTING, then T.FREQ. Select 10KHz.
-
The number on the screen that appears is the capacitance between the two tweezer tips at their default distance. This is the Capacitance Offset.
-
The offset is varied by the distance between the tips. The smaller the component, the closer the tips are together, thus a higher offset evaluation.
-
-
이 단계는 번역되지 않았습니다. 번역을 도와주십시오
-
To store the offset so Smart Tweezers can automatically deduce it from measurements, first, enter the menu, select MODE, and set the device to manual CAP measurement.
-
Then select HOLD
-
Set the tweezer tips apart to a distance equal to the component to be measured. This is the offset.
-
Enter the NULL menu, and select SET.
-
An asterisk will appear beside the test mode indicator while measuring to indicate an offset has been stored.
-
-
이 단계는 번역되지 않았습니다. 번역을 도와주십시오
-
Now that an offset has been stored, Capacitance can be measured more accurately.
-
-
이 단계는 번역되지 않았습니다. 번역을 도와주십시오
-
When you are finished measuring, make sure to reset the offset and custom settings by selecting the menu, then pressing AUTOSET.
-


다른 한 분이 해당 안내서를 완성하였습니다.