이 버전에는 잘못된 편집 사항이 있을 수 있습니다. 최신 확인된 스냅샷으로 전환하십시오.
필요한 것
-
이 단계는 번역되지 않았습니다. 번역을 도와주십시오
-
Flip the lantern upside down.
-
Remove the four Phillips screws from the base.
-
Remove the base.
-
-
이 단계는 번역되지 않았습니다. 번역을 도와주십시오
-
Slide the black rubber sleeve off of the outside of the body of the lantern away from the LED globe.
-
-
이 단계는 번역되지 않았습니다. 번역을 도와주십시오
-
Remove 4 Phillips head screws from the front of the lantern body below the power button.
-
-
-
이 단계는 번역되지 않았습니다. 번역을 도와주십시오
-
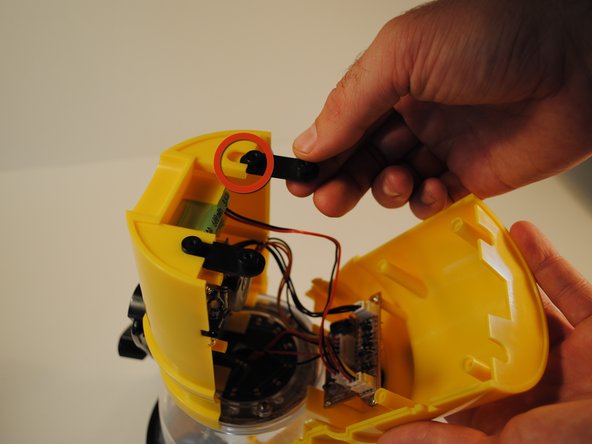
To disassemble the main body, grip the lantern so that the front half of the body with the power button on it is in your right hand and the back half with the hand crank is in your left.
-
Pinch the front half of the body on both sides with your thumb and index finger just below the first extruding rim of the front plate while simultaneously pulling the back half away. This may take some effort to do.
-
-
이 단계는 번역되지 않았습니다. 번역을 도와주십시오
-
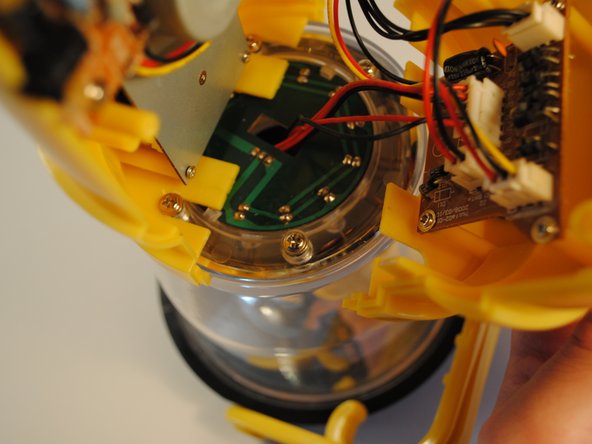
Disconnect all the wires from the main power board by removing the white clips from their corresponding sockets mounted on the board.
-
LED.
-
DC-in board.
-
Battery.
-
Crank.
-
With the Philips #0 screwdriver, unscrew the four screws mounting the board to the front plate. Remove the board from the front plate. Set aside screws for reassembly.
-
-
이 단계는 번역되지 않았습니다. 번역을 도와주십시오
-
Place the new main board so that the screw holes on the front plate line up with the holes on the board.
-
Replace screws that were set aside in the previous step.
-
-
이 단계는 번역되지 않았습니다. 번역을 도와주십시오
-
Replace all the wires from components into the new main board. Trace the wire from each component and insert where specified on the diagram.
-


팀

Cal Poly, Team 18-38, Regan Fall 2012 Cal Poly, Team 18-38, Regan Fall 2012 회원
CPSU-REGAN-F12S18G38
4 회원들
안내서 4개 작성하였습니다