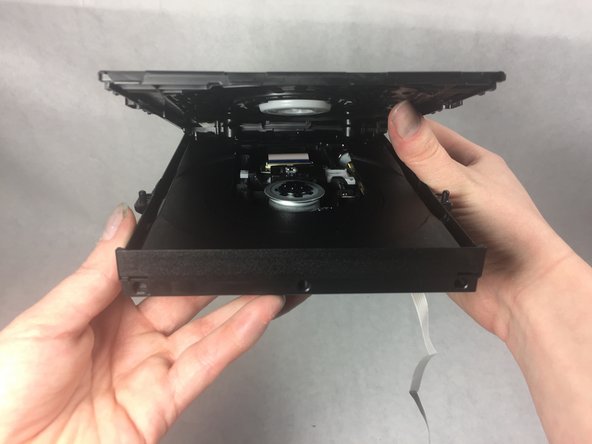
주요 콘텐츠로 건너뛰기

Sony BDP BX350 Disc Tray Replacement

필요한 것

  1. Sony BDP BX350 Disc Tray Replacement, Disc Assembly: 1 단계, 이미지 1/1
    • Remove the three 10mm Philips head screws on the back of the player.

  2. Sony BDP BX350 Disc Tray Replacement: 2 단계, 이미지 1/1
    • Using an opening tool lift up the tabs located on the bottom of the plastic front cover.

  3. Sony BDP BX350 Disc Tray Replacement: 3 단계, 이미지 1/1
    • Lift the tabs located on each side of the device to free the front cover. Begin to separate the front and metal back covers.

  4. Sony BDP BX350 Disc Tray Replacement: 4 단계, 이미지 1/1
    • Completely separate the front cover and the metal back cover from the grey casing.

    • The inner components should all be completely exposed after opening.

  5. Sony BDP BX350 Disc Tray Replacement: 5 단계, 이미지 1/1
    • Unscrew the two 8mm Philips head screws securing the disc assembly to the main casing.

  6. Sony BDP BX350 Disc Tray Replacement: 6 단계, 이미지 1/1
    • Pull the disc assembly out from under the metal tabs on the main casing.

  7. Sony BDP BX350 Disc Tray Replacement: 7 단계, 이미지 1/1
    • Remove disc assembly.

  8. Sony BDP BX350 Disc Tray Replacement, Disc Tray: 8 단계, 이미지 1/1
    • Take caution to not break plastic tabs.

    • Undo the four tabs on the disc tray assembly.

  9. Sony BDP BX350 Disc Tray Replacement: 9 단계, 이미지 1/2 Sony BDP BX350 Disc Tray Replacement: 9 단계, 이미지 2/2
    • Lift front until back separates.

  10. Sony BDP BX350 Disc Tray Replacement: 10 단계, 이미지 1/1
    • Remove disc from disc tray.

결론

To reassemble your device, follow these instructions in reverse order however do not put the disc back in.

Kristen Vezina

회원 가입일: 03/06/17

413 평판

안내서 4개 작성하였습니다

UMass Dartmouth, Team S8-G5, Catania Spring 2017 UMass Dartmouth, Team S8-G5, Catania Spring 2017 회원

UMASSD-CATANIA-S17S8G5

3 회원들

안내서 5개 작성하였습니다

댓글 0개

댓글 쓰기

조회 통계:

24 시간 전: 1

7일 전: 3

30일 전: 10

전체 시간: 437