주요 콘텐츠로 건너뛰기

Sony Cyber-shot DSC-HX1 Button Assembly Replacement

필요한 것

  1. Sony Cyber-shot DSC-HX1 Button Assembly Replacement, Battery: 1 단계, 이미지 1/1
    • Make sure the surface you place the screen on is clean of debris and dust. Otherwise you risk scratching your screen.

    • Place the camera with the bottom facing you and the lens facing up.

  2. Sony Cyber-shot DSC-HX1 Button Assembly Replacement: 2 단계, 이미지 1/1
    • Push down and away from the camera to the left on the indicated indentation in the battery cover. The compartment should slide open as shown.

  3. Sony Cyber-shot DSC-HX1 Button Assembly Replacement: 3 단계, 이미지 1/2 Sony Cyber-shot DSC-HX1 Button Assembly Replacement: 3 단계, 이미지 2/2
    • Push the blue tab towards the camera body to the right, while simultaneously pulling out the battery.

    • The battery is not shown here. However, normally the battery would be in the displayed compartment.

  4. Sony Cyber-shot DSC-HX1 Button Assembly Replacement, Button Assembly: 4 단계, 이미지 1/1
    • On the top of the inside the battery compartment, remove the #00 6.0 mm Phillips screw.

  5. Sony Cyber-shot DSC-HX1 Button Assembly Replacement: 5 단계, 이미지 1/2 Sony Cyber-shot DSC-HX1 Button Assembly Replacement: 5 단계, 이미지 2/2
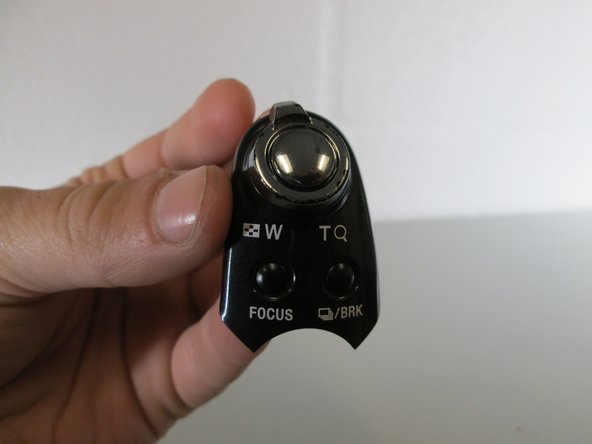
    • Lift the button housing from its position on top of the camera.

결론

To reassemble your device, follow these instructions in reverse order.

다른 한 분이 해당 안내서를 완성하였습니다.

Brianna Greenlaw

회원 가입일: 04/06/15

1,181 평판

안내서 5개 작성하였습니다

Cal Poly, Team 17-3, Forte Spring 2015 Cal Poly, Team 17-3, Forte Spring 2015 회원

CPSU-FORTE-S15S17G3

4 회원들

안내서 10개 작성하였습니다

댓글 0개

댓글 쓰기

조회 통계:

24 시간 전: 0

7일 전: 1

30일 전: 5

전체 시간: 844