주요 콘텐츠로 건너뛰기

Sony Ericsson Z500a Logic Board Replacement

필요한 것

  1. Sony Ericsson Z500a Logic Board Replacement, Keypad: 1 단계, 이미지 1/3 Sony Ericsson Z500a Logic Board Replacement, Keypad: 1 단계, 이미지 2/3 Sony Ericsson Z500a Logic Board Replacement, Keypad: 1 단계, 이미지 3/3
    • Remove the back cover by pulling it down, and then take out the battery.

    • Using a T6 Torx screwdriver, remove the 4 screws.

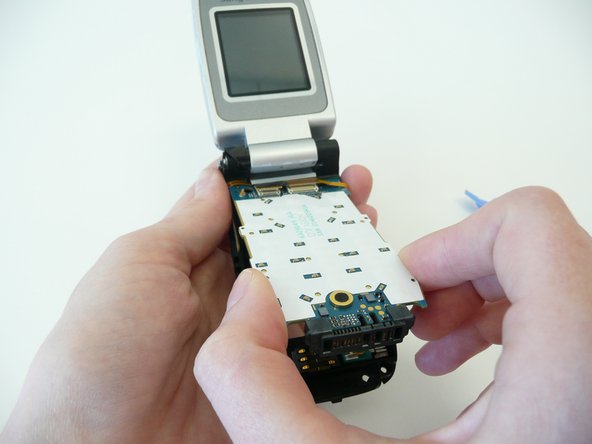
    • Keep the phone open with the back cover facing you.

  2. Sony Ericsson Z500a Logic Board Replacement: 2 단계, 이미지 1/1
    • Use the plastic opening tool and run it between the case and the body of the device to loosen the keyboard

    • There are 2 clamps that lock the keyboard to the case (1 on each side)

  3. Sony Ericsson Z500a Logic Board Replacement: 3 단계, 이미지 1/1
    • Flip the phone over and lift straight up on the key pad to remove it.

    • Be sure to hold the phone flat (parallel to the table) so that no loose parts fall out.

  4. Sony Ericsson Z500a Logic Board Replacement, Logic Board: 4 단계, 이미지 1/2 Sony Ericsson Z500a Logic Board Replacement, Logic Board: 4 단계, 이미지 2/2
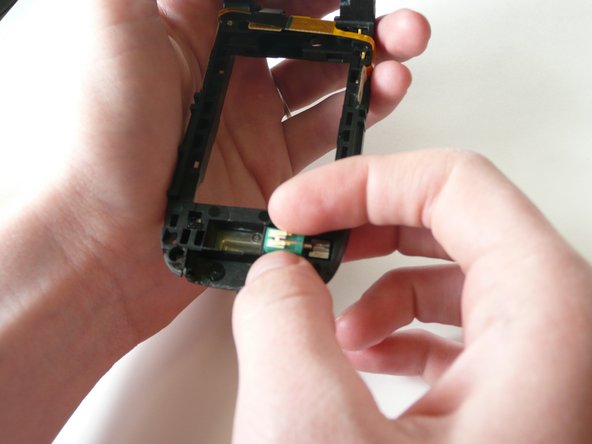
    • Use the opening tool to remove the 2 ribbon wires (boxed in the photo) from the logic board.

    • Gently lift the back of the logic board and then pull outwards. Be careful not to rip the ribbon wire.

  5. Sony Ericsson Z500a Logic Board Replacement: 5 단계, 이미지 1/2 Sony Ericsson Z500a Logic Board Replacement: 5 단계, 이미지 2/2
    • Remove the black sim card reader and green vibrator before continuing to ensure they do not fall out.

결론

To reassemble your device, follow these instructions in reverse order.

Tim

회원 가입일: 04/20/10

15 평판

안내서 2개 작성하였습니다

Cal Poly, Team 7-12, Maness Spring 2010 Cal Poly, Team 7-12, Maness Spring 2010 회원

CPSU-MANESS-S10S7G12

4 회원들

안내서 10개 작성하였습니다

댓글 0개

댓글 쓰기

조회 통계:

24 시간 전: 0

7일 전: 0

30일 전: 2

전체 시간: 1,652