주요 콘텐츠로 건너뛰기

Sony Handycam DCR-DVD650 LCD Touchscreen Replacement

보관된 가이드
해당 안내서는 단지 역사적인 목적으로 보관됩니다. 최신 버전 안내서를 사용하여 수리 하십시오.

필요한 것

  1. Sony Handycam DCR-DVD650 LCD Touchscreen  Replacement, LCD Touchscreen: 1 단계, 이미지 1/2 Sony Handycam DCR-DVD650 LCD Touchscreen  Replacement, LCD Touchscreen: 1 단계, 이미지 2/2
    • Remove the first screw located on the bottom of the LCD screen by using a cross tip screwdriver.

  2. Sony Handycam DCR-DVD650 LCD Touchscreen  Replacement: 2 단계, 이미지 1/1
    • Turn the LCD screen either clockwise or counterclockwise for a better view of the screw.

    • Remove the second screw.

  3. Sony Handycam DCR-DVD650 LCD Touchscreen  Replacement: 3 단계, 이미지 1/2 Sony Handycam DCR-DVD650 LCD Touchscreen  Replacement: 3 단계, 이미지 2/2
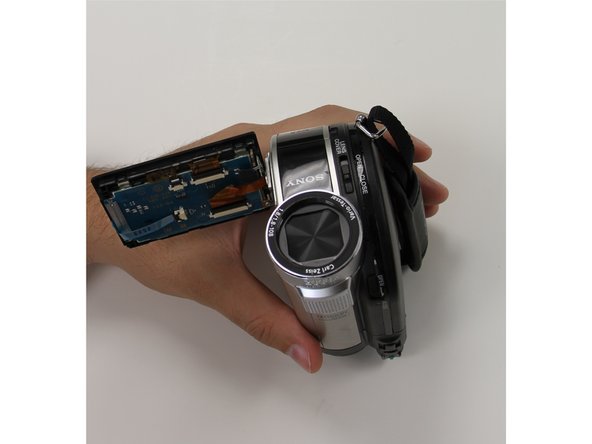
    • Place a plastic opening tool along the outside of the touchscreen.

    • Follow the path to remove the panel.

  4. Sony Handycam DCR-DVD650 LCD Touchscreen  Replacement: 4 단계, 이미지 1/2 Sony Handycam DCR-DVD650 LCD Touchscreen  Replacement: 4 단계, 이미지 2/2
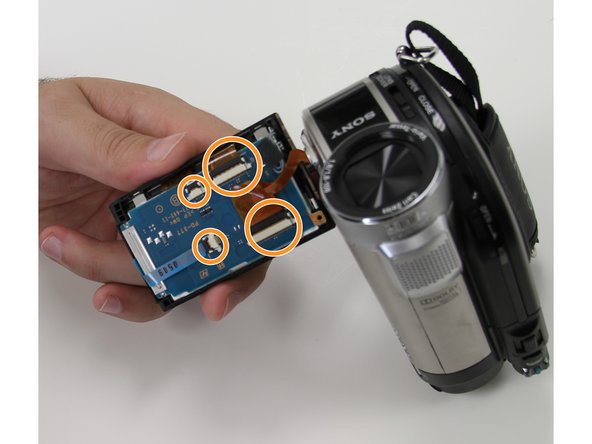
    • Remove each of the ribbon cables off by lifting up on the black tab.

    • Remove all ribbon cables before continuing unto the next step.

  5. Sony Handycam DCR-DVD650 LCD Touchscreen  Replacement: 5 단계, 이미지 1/2 Sony Handycam DCR-DVD650 LCD Touchscreen  Replacement: 5 단계, 이미지 2/2
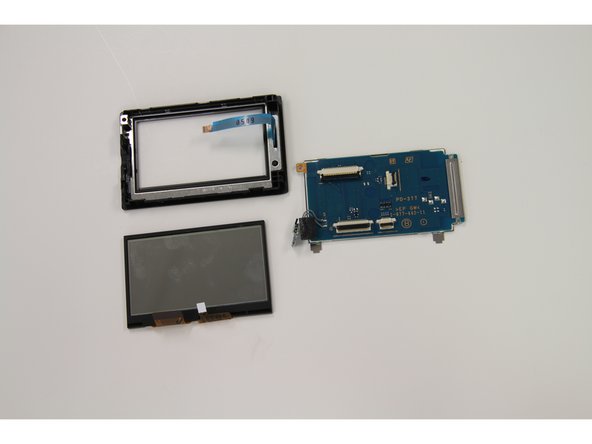
    • Unscrew the final screw located on the top left corner.

    • Remove the screen.

결론

To reassemble your device, follow these instructions in reverse order.

다른 한 분이 해당 안내서를 완성하였습니다.

santos guitron

회원 가입일: 09/24/15

144 평판

안내서 1개 작성함

Texas Tech, Team 22-1, Rauch Fall 2015 Texas Tech, Team 22-1, Rauch Fall 2015 회원

TTU-RAUCH-F15S22G1

3 회원들

안내서 1개 작성하였습니다

댓글 0개

댓글 쓰기

조회 통계:

24 시간 전: 0

7일 전: 1

30일 전: 4

전체 시간: 156