소개
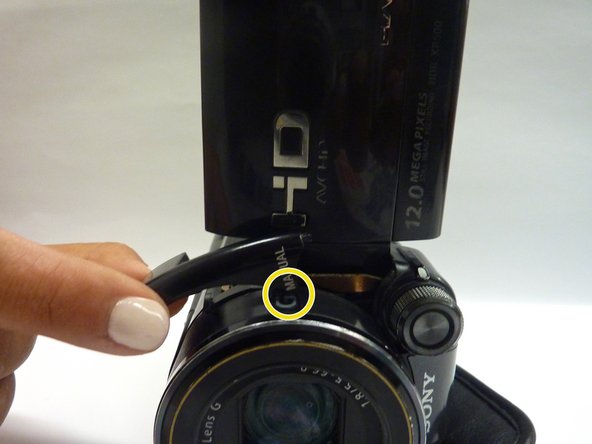
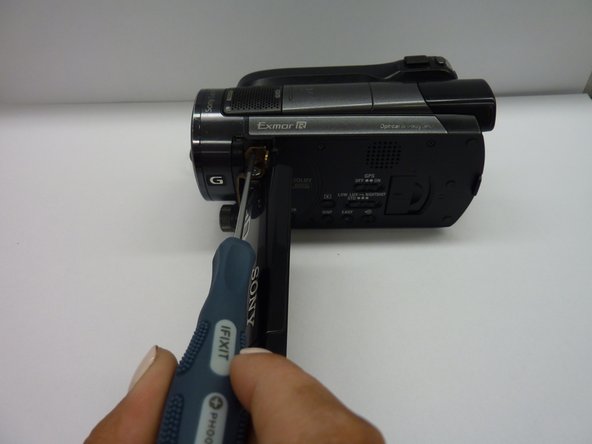
These instructions will guide you step-by-step to remove the door in order to get to the speakers inside
필요한 것


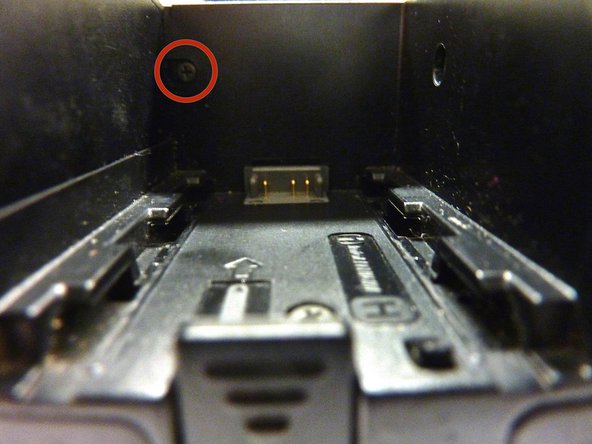


거의 끝나갑니다!
Your door will now be disassembled in order to replace parts inside and these steps in reverse order will also help you put the door back together
결론
Your door will now be disassembled in order to replace parts inside and these steps in reverse order will also help you put the door back together
팀

CSU Fullerton, Team 2-5, Bruce Fall 2014 CSU Fullerton, Team 2-5, Bruce Fall 2014 회원
CSUF-BRUCE-F14S2G5
4 회원들
안내서 2개 작성하였습니다