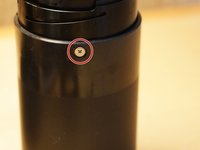
주요 콘텐츠로 건너뛰기

Sony SEL55210 Camera Lens Disassembly

필요한 것

  1. Sony SEL55210 Camera Lens Disassembly, Remove E-mount Bezel: 1 단계, 이미지 1개 중 1개
    • Remove the four screws holding the lens mount on.

  2. Sony SEL55210 Camera Lens Disassembly, Disconnect E-mount bezel: 2 단계, 이미지 1개 중 1개
    • Gently disconnect cable from ZIP connector.

    • iFixit connector guide.

    • Remove E-mount bezel.

    • Avoid stressing flat cables.

    • Sensitive electronics - avoid static discharge.

  3. Sony SEL55210 Camera Lens Disassembly, Disconnect Cables: 3 단계, 이미지 1개 중 1개
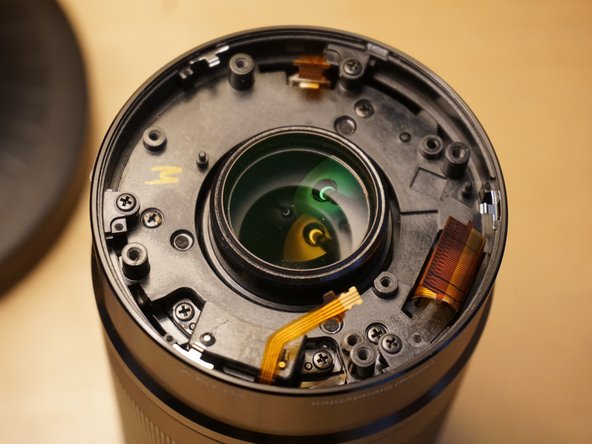
    • Gently disconnect three cables from ZIP connector.

    • The two wider connectors open from the cable side, the thinner connector opens from the back side.

    • iFixit connector guide.

  4. Sony SEL55210 Camera Lens Disassembly, Remove PCB: 4 단계, 이미지 3개 중 1개 Sony SEL55210 Camera Lens Disassembly, Remove PCB: 4 단계, 이미지 3개 중 2개 Sony SEL55210 Camera Lens Disassembly, Remove PCB: 4 단계, 이미지 3개 중 3개
    • Remove three screws

    • Remove printed circuit board.

    • Sensitive electronics - avoid static discharge.

  5. Sony SEL55210 Camera Lens Disassembly, Remove Outer Bezel: 5 단계, 이미지 3개 중 1개 Sony SEL55210 Camera Lens Disassembly, Remove Outer Bezel: 5 단계, 이미지 3개 중 2개 Sony SEL55210 Camera Lens Disassembly, Remove Outer Bezel: 5 단계, 이미지 3개 중 3개
    • Remove three screws from outer bezel ears.

    • Gently remove bezel.

    • Be mindful of cables when removing bezel.

  6. Sony SEL55210 Camera Lens Disassembly, Remove Lens Park Sensor: 6 단계, 이미지 3개 중 1개 Sony SEL55210 Camera Lens Disassembly, Remove Lens Park Sensor: 6 단계, 이미지 3개 중 2개 Sony SEL55210 Camera Lens Disassembly, Remove Lens Park Sensor: 6 단계, 이미지 3개 중 3개
    • Remove two screws from lens park sensor.

    • Remove lens park sensor.

  7. Sony SEL55210 Camera Lens Disassembly, Remove Lens Brackets: 7 단계, 이미지 2개 중 1개 Sony SEL55210 Camera Lens Disassembly, Remove Lens Brackets: 7 단계, 이미지 2개 중 2개
    • Remove two screws from two lens brackets.

    • Remove brackets.

  8. Sony SEL55210 Camera Lens Disassembly, Loosen Telescope Sensor: 8 단계, 이미지 1개 중 1개
    • Loosen (or remove) two telescope sensor screws.

    • Do not remove this sensor - it is connected via a flat cable to the focus ring.

  9. Sony SEL55210 Camera Lens Disassembly, Remove External Lens Encasement: 9 단계, 이미지 3개 중 1개 Sony SEL55210 Camera Lens Disassembly, Remove External Lens Encasement: 9 단계, 이미지 3개 중 2개 Sony SEL55210 Camera Lens Disassembly, Remove External Lens Encasement: 9 단계, 이미지 3개 중 3개
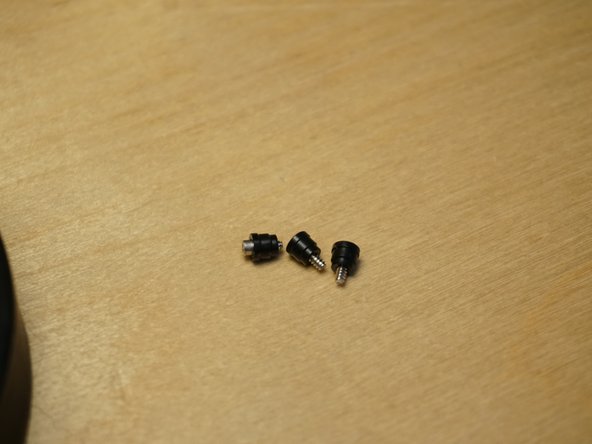
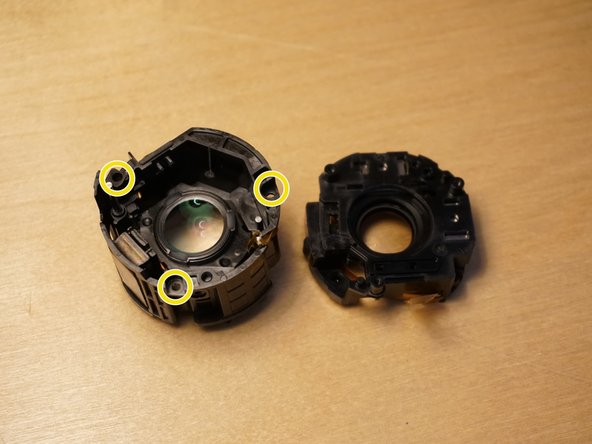
    • Remove three screws.

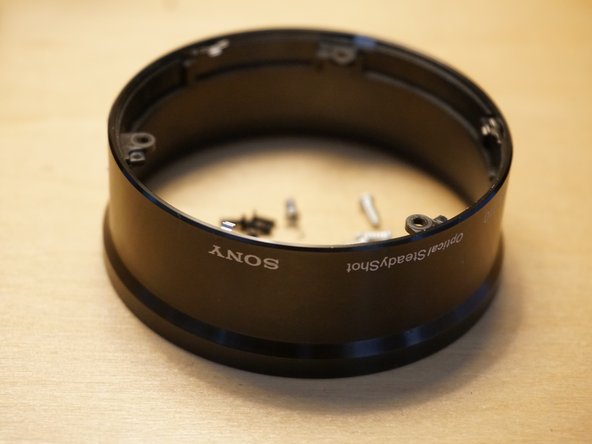
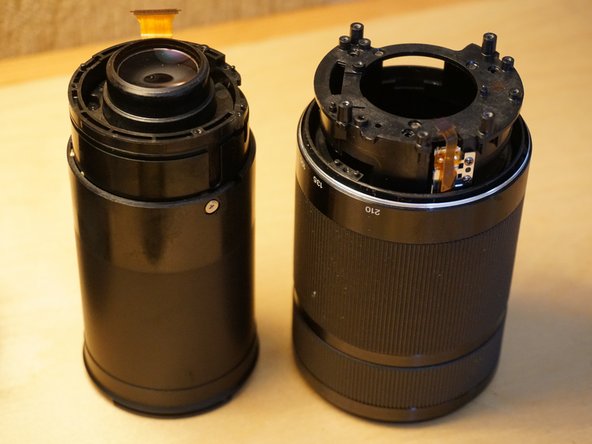
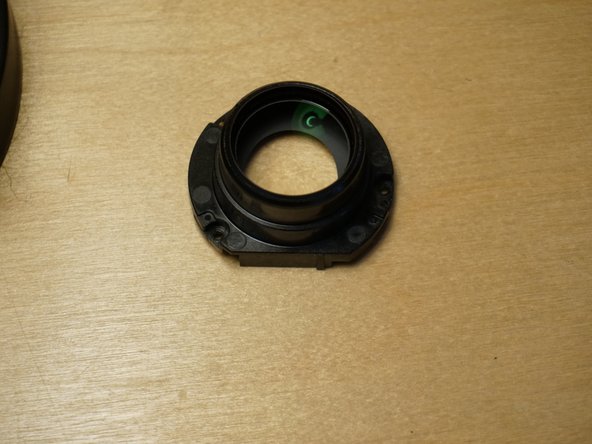
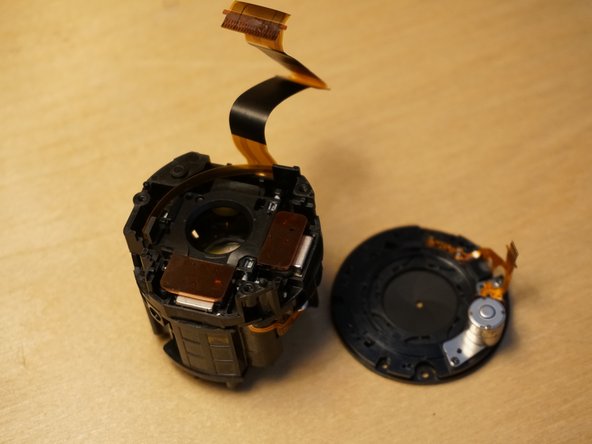
    • Pull lens out of external encasement.

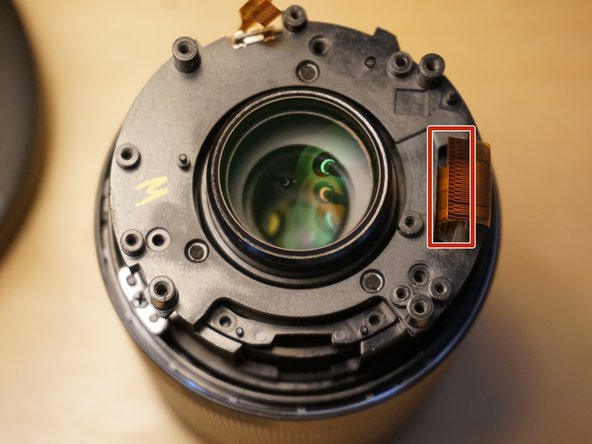
    • Maneuver the telescope sensor so that it unmates from the slot in the internal lens body

    • Carefully feed the OSS/AF motor wire through the slot.

  10. Sony SEL55210 Camera Lens Disassembly, Remove Lens Element: 10 단계, 이미지 2개 중 1개 Sony SEL55210 Camera Lens Disassembly, Remove Lens Element: 10 단계, 이미지 2개 중 2개
    • Remove three screws

    • Remove the lens element.

  11. Sony SEL55210 Camera Lens Disassembly, Remove OSS Retainer: 11 단계, 이미지 2개 중 1개 Sony SEL55210 Camera Lens Disassembly, Remove OSS Retainer: 11 단계, 이미지 2개 중 2개
    • Gently pry up magnetic OSS retaining bracket.

  12. Sony SEL55210 Camera Lens Disassembly, Remove Outer Lens Sleeve Fasteners: 12 단계, 이미지 3개 중 1개 Sony SEL55210 Camera Lens Disassembly, Remove Outer Lens Sleeve Fasteners: 12 단계, 이미지 3개 중 2개 Sony SEL55210 Camera Lens Disassembly, Remove Outer Lens Sleeve Fasteners: 12 단계, 이미지 3개 중 3개
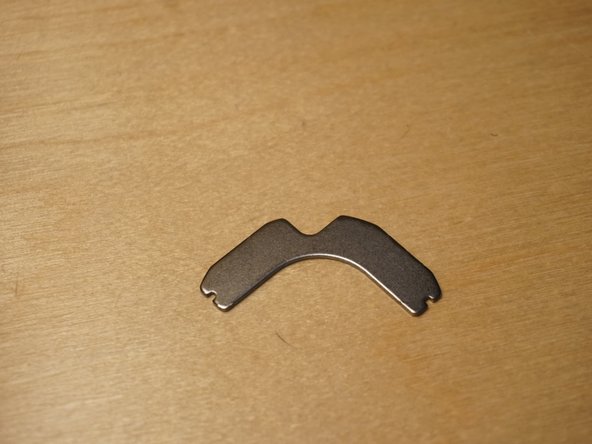
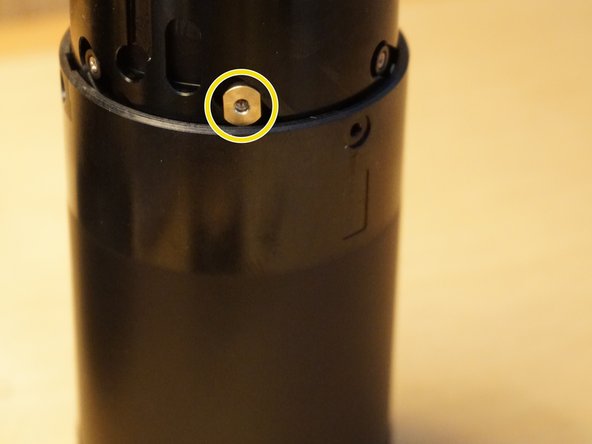
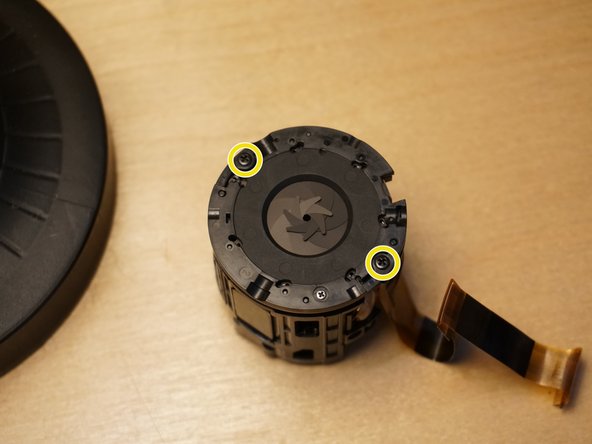
    • Remove three screws from the aperture end of the telescoping mechanism.

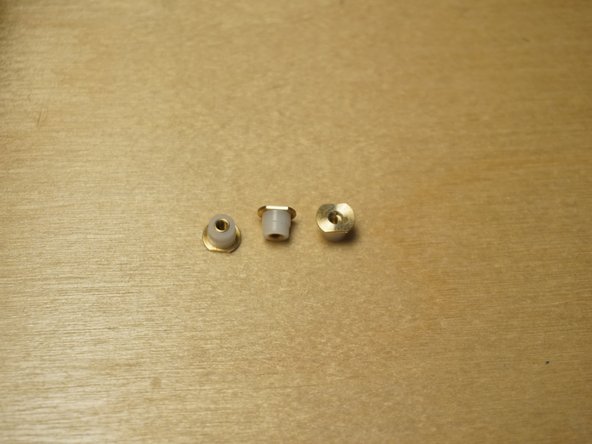
    • Lift lens to reveal and remove three brass/nylon nuts.

  13. Sony SEL55210 Camera Lens Disassembly, Remove Outer Optical Lens Sleeve: 13 단계, 이미지 1개 중 1개
    • Remove outer optical lens sleeve.

  14. Sony SEL55210 Camera Lens Disassembly, Remove Slide Guides: 14 단계, 이미지 2개 중 1개 Sony SEL55210 Camera Lens Disassembly, Remove Slide Guides: 14 단계, 이미지 2개 중 2개
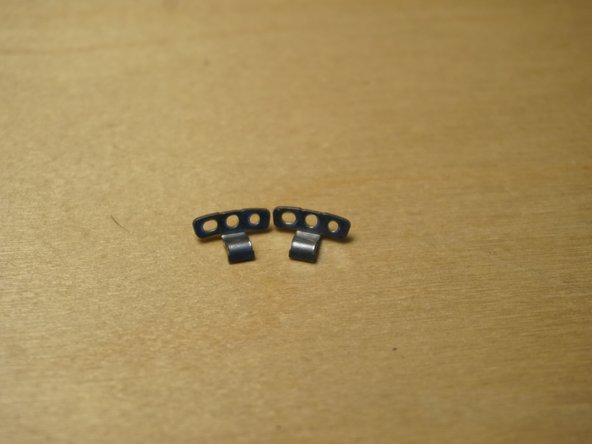
    • Remove three screws from the slide guides on the aperture end of the lens.

    • Remove three black nylon slide washers from the lens encasement.

  15. Sony SEL55210 Camera Lens Disassembly, Remove OSS/AF Mechanism: 15 단계, 이미지 1개 중 1개
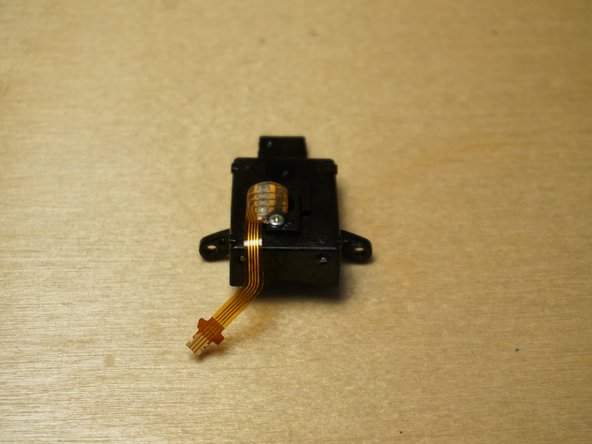
    • Remove the OSS/AF mechanism.

    • Gently pull the cable up and out from the lens encasement groove.

  16. Sony SEL55210 Camera Lens Disassembly, Remove Aperture Mechanism: 16 단계, 이미지 3개 중 1개 Sony SEL55210 Camera Lens Disassembly, Remove Aperture Mechanism: 16 단계, 이미지 3개 중 2개 Sony SEL55210 Camera Lens Disassembly, Remove Aperture Mechanism: 16 단계, 이미지 3개 중 3개
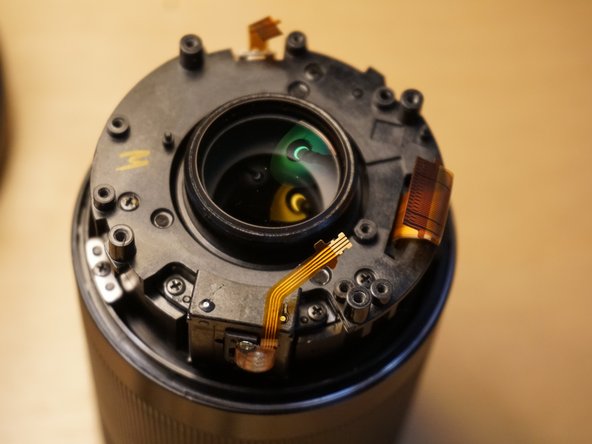
    • Remove Kapton tape from aperture motor connector.

    • Save tape for reassembly

    • Disconnect aperture connector.

    • Remove two screws from aperture ring.

    • Remove aperture mechanism.

  17. Sony SEL55210 Camera Lens Disassembly, Separate OSS Mechanism: 17 단계, 이미지 2개 중 1개 Sony SEL55210 Camera Lens Disassembly, Separate OSS Mechanism: 17 단계, 이미지 2개 중 2개
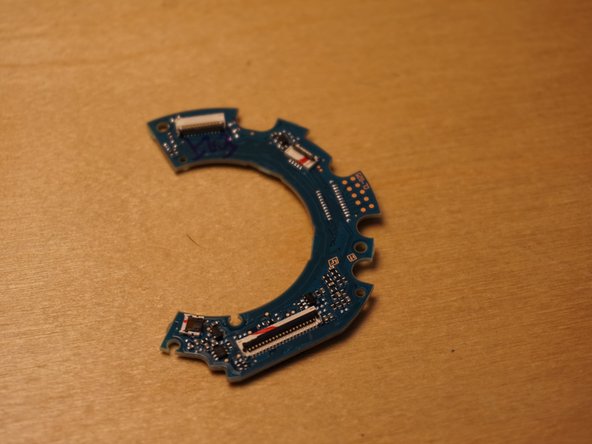
    • Disconnect three cables.

    • Remove three screws

    • Gently separate the OSS mechanism.

결론

To reassemble your device, follow these instructions in reverse order.

다른 5명이 해당 안내서를 완성하였습니다.

작성자

2다른 기여자 명과 함께

Nathan Rose

회원 가입일: 01/17/21

425 평판

안내서 1개를 작성함

5가이드 댓글

why did you need to dissasemble this lens. this lens looks similar to my 55mm lens which no longer focuses and the camera doesn’t recognize the lense anymore.

darren clyde - 답글

I need to know maddly, how can I have a reposition of the 6 spring there are on the first lense.

Is there any way?

If not, can you tell me specificcaly the size and the strength?

Pau Roqué Robert - 답글

To remove the flat cables theres a little trigger (im my case in grey) that opens up inversely to the cable that let you take the cables out, I pushed mines and they´re working but don´t do it like I did, it can ruin your lens, mine is now up and running.

I did it to clean the lens but most of the dust is in the front glass witch you have to rip the little plastic that is fixing it in place, de dual lens front glass is not supposed to be open but thats the way!

This guide is great, just try to remember where all the screw came of and dived them into jars, the black ones are all the same!

good luck to everyone!

Tiago Paiva - 답글

Kann man die Frontlinse auch abmontieren ohne das Objektiv von der E-Mount-Seite her zu demontieren?

Thomas - 답글

Yes, the nameplate is able to be popped off revealing three screws underneath it. This allows you to remove the front lens element. Here's a couple of YouTube videos I found that shows you the process:

[Deutsche Übersetzung]: Ja, das Typenschild lässt sich abnehmen und gibt drei darunterliegende Schrauben frei. Dadurch kann das vordere Linsenelement entfernt werden. Hier sind ein paar YouTube-Videos, die den Vorgang zeigen:

https://www.youtube.com/watch?v=YGRoaHwt...

https://www.youtube.com/watch?v=lyyatPQR...

https://www.youtube.com/watch?v=zDXdhS92...

Zephosk -

댓글 쓰기

조회 통계:

지난 24시간: 0

지난 7일: 29

지난 30일: 135

전체 시간: 5,959