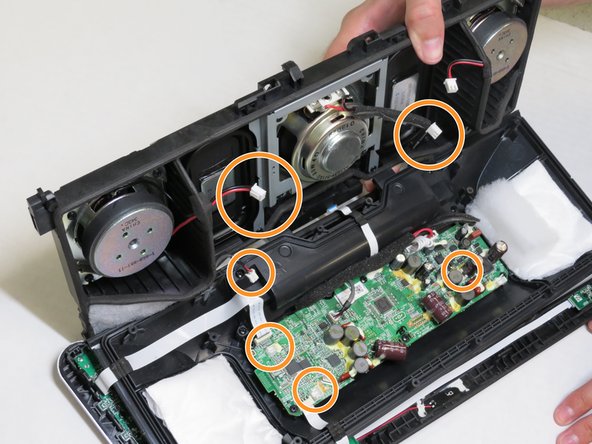
주요 콘텐츠로 건너뛰기

Sony SRS-BTX500 Motherboard Replacement

필요한 것

  1. Sony SRS-BTX500 Motherboard Replacement, Battery: 1 단계, 이미지 1/3 Sony SRS-BTX500 Motherboard Replacement, Battery: 1 단계, 이미지 2/3 Sony SRS-BTX500 Motherboard Replacement, Battery: 1 단계, 이미지 3/3
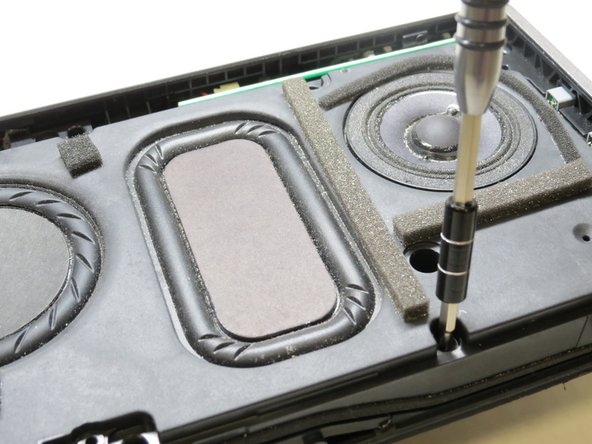
    • Locate the four rubber grips on the bottom of the speaker. Use the plastic opening tool to remove the grips, exposing the underlying screws.

  2. Sony SRS-BTX500 Motherboard Replacement: 2 단계, 이미지 1/2 Sony SRS-BTX500 Motherboard Replacement: 2 단계, 이미지 2/2
    • Using a Phillips #1 screwdriver, remove the four 5mm screws that were underneath the four rubber grips.

  3. Sony SRS-BTX500 Motherboard Replacement: 3 단계, 이미지 1/3 Sony SRS-BTX500 Motherboard Replacement: 3 단계, 이미지 2/3 Sony SRS-BTX500 Motherboard Replacement: 3 단계, 이미지 3/3
    • Use the plastic opening tool to run along the outside edges of the speaker. Pry along the seams until you can remove the side panel of the speaker, exposing the battery.

  4. Sony SRS-BTX500 Motherboard Replacement: 4 단계, 이미지 1/3 Sony SRS-BTX500 Motherboard Replacement: 4 단계, 이미지 2/3 Sony SRS-BTX500 Motherboard Replacement: 4 단계, 이미지 3/3
    • Use the plastic opening tool to remove the battery from casing.

    • Unclasp the battery from the speaker. Remove and replace.

  5. Sony SRS-BTX500 Motherboard Replacement, Motherboard: 5 단계, 이미지 1/3 Sony SRS-BTX500 Motherboard Replacement, Motherboard: 5 단계, 이미지 2/3 Sony SRS-BTX500 Motherboard Replacement, Motherboard: 5 단계, 이미지 3/3
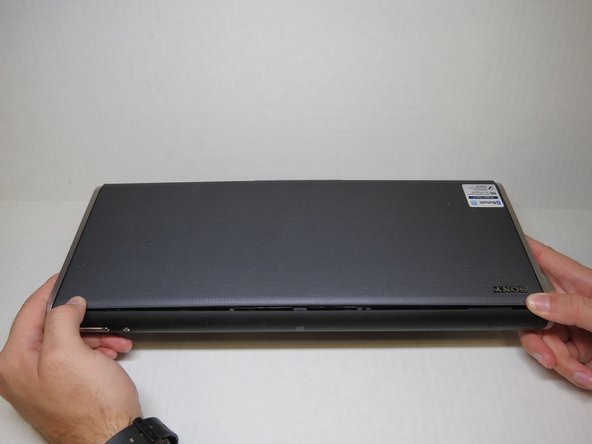
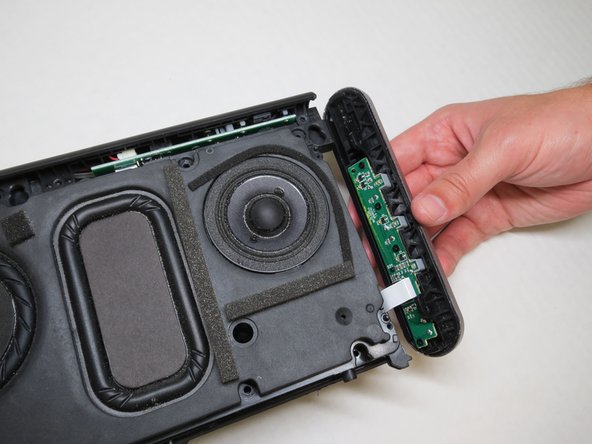
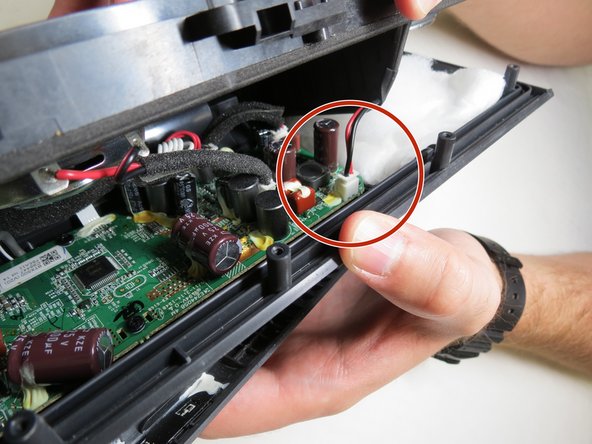
    • With the front of the speaker facing you, run the plastic opening tool along the bottom of the speaker. Then push the face of the speaker at both ends before lifting it off.

  6. Sony SRS-BTX500 Motherboard Replacement: 6 단계, 이미지 1/3 Sony SRS-BTX500 Motherboard Replacement: 6 단계, 이미지 2/3 Sony SRS-BTX500 Motherboard Replacement: 6 단계, 이미지 3/3
    • Remove the two covers on the left and right with the small plastic opening tool to expose hidden screws.

    • Use a Phillips #1 screwdriver to remove the 14 indicated screws size 7mm.

    • Use a Phillips #1 screwdriver to remove the 8 indicated screws size 5mm.

  7. Sony SRS-BTX500 Motherboard Replacement: 7 단계, 이미지 1/3 Sony SRS-BTX500 Motherboard Replacement: 7 단계, 이미지 2/3 Sony SRS-BTX500 Motherboard Replacement: 7 단계, 이미지 3/3
    • Lift off the casing on the left, right, and top of the speaker.

  8. Sony SRS-BTX500 Motherboard Replacement: 8 단계, 이미지 1/3 Sony SRS-BTX500 Motherboard Replacement: 8 단계, 이미지 2/3 Sony SRS-BTX500 Motherboard Replacement: 8 단계, 이미지 3/3
    • Pull apart the speaker from the top. Unplug the indicated exposed wire that connects the speakers and the motherboard.

    • After the first wire is disconnected, separate the other connecting wires.

결론

To reassemble your device, follow these instructions in reverse order.

다른 4명이 해당 안내서를 완성하였습니다.

Cody Moring

회원 가입일: 01/29/16

185 평판

안내서 1개 작성함

University of Alabama, Team 1-5, Sydow campbell Spring 2016 University of Alabama, Team 1-5, Sydow campbell Spring 2016 회원

UA-SYDOW CAMPBELL-S16S1G5

3 회원들

안내서 2개 작성하였습니다

댓글 0개

댓글 쓰기

조회 통계:

24 시간 전: 0

7일 전: 0

30일 전: 9

전체 시간: 1,970