필요한 것
-
이 단계는 번역되지 않았습니다. 번역을 도와주십시오
-
There are 6 screws under the rubber feet on the bottom. Removing them allows the bottom plate to be removed, and then from there, the front panel, front cover, and battery compartment.
-
if you need higher reslution photos please leave a comment.
-
-
이 단계는 번역되지 않았습니다. 번역을 도와주십시오
-
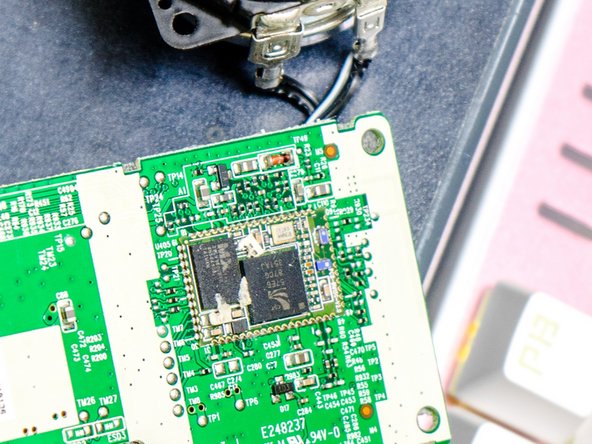
Photos of the Main PCB. IC part numbers can be read off the photos.
-
DC to DC power supply and Yamaha audio amp chip/output filter inductors are the main parts of this side
-
-
-
이 단계는 번역되지 않았습니다. 번역을 도와주십시오
-
More images of the main board assembly.
-
The pinouts of the main flex are actually stated on the board which is a huge plus.
-
A CSR Bluetooth SoC and MXIC flash are provided.
-
-
이 단계는 번역되지 않았습니다. 번역을 도와주십시오
-
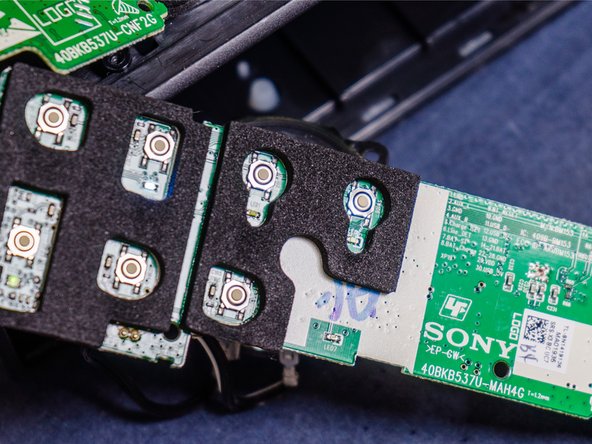
The battery pack is on a connector and can be removed before all of this is taken out.
-
Battery is a 2 cell 18650 pack with protection built in; 7.4V
-
-
이 단계는 번역되지 않았습니다. 번역을 도와주십시오
-
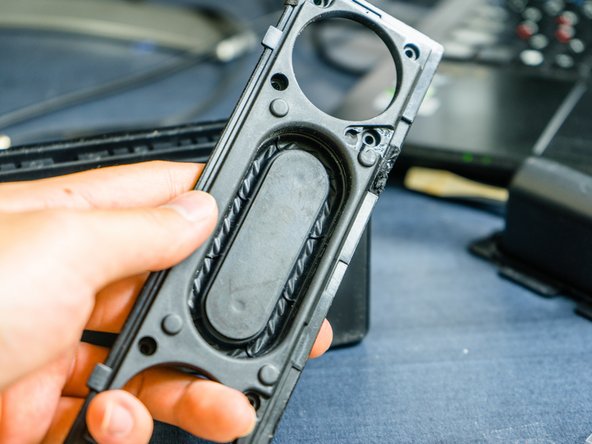
Two 7W speakers with strong magnets are included in this speaker; it is marketed with a 20W power output. Excursion is about 7-10mm at its peak.
-
-
이 단계는 번역되지 않았습니다. 번역을 도와주십시오
-
Two passive radiators are present inside the device. They're fairly heavy but rubberized, and they resonate and are tuned for low frequency reproduction. These move a LOT when it's playing. 7-10mm per side.
-


댓글 10개
This is great, thank you Larry. I'd wondered about the possibility of upgrading the battery to one that lasts longer between charges but I had no idea how to open the case. It didn't occur to me that the screws would be under the rubber feet!
Larry,
My mini connector for dc into the board has broken. Replace connector or the whole Board? Where can I get a Power Board?
Where could I find the replacement speaker? My right speaker is buzzing a little on certain songs. Thanks!
Aaron Todd - 답글