주요 콘텐츠로 건너뛰기

Sony VAIO PCG-933A Floppy Disk Drive Replacement

  1. Sony VAIO PCG-933A Floppy Disk Drive Replacement, Battery: 1 단계, 이미지 1/2 Sony VAIO PCG-933A Floppy Disk Drive Replacement, Battery: 1 단계, 이미지 2/2
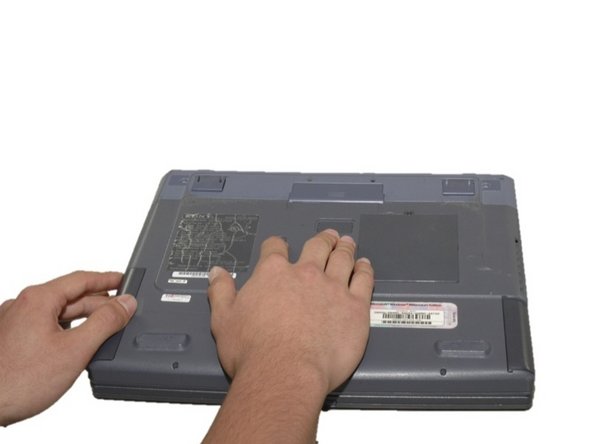
    • Turn the laptop upside down so that the top is sitting on a flat surface.

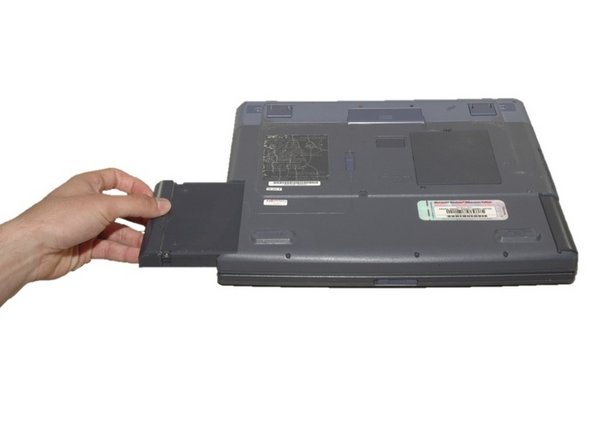
    • If you are looking at the bottom of the laptop the battery is located on the front right side of the laptop; the opposite side from the floppy disk drive.

  2. Sony VAIO PCG-933A Floppy Disk Drive Replacement: 2 단계, 이미지 1/3 Sony VAIO PCG-933A Floppy Disk Drive Replacement: 2 단계, 이미지 2/3 Sony VAIO PCG-933A Floppy Disk Drive Replacement: 2 단계, 이미지 3/3
    • As shown by the arrow, slide the plastic cover up and then pull out and downwards.

    • You should now be able to pull the battery out.

  3. Sony VAIO PCG-933A Floppy Disk Drive Replacement, Floppy Disk Drive: 3 단계, 이미지 1/1
    • With the laptop facing you, turn the laptop upside down.

  4. Sony VAIO PCG-933A Floppy Disk Drive Replacement: 4 단계, 이미지 1/3 Sony VAIO PCG-933A Floppy Disk Drive Replacement: 4 단계, 이미지 2/3 Sony VAIO PCG-933A Floppy Disk Drive Replacement: 4 단계, 이미지 3/3
    • Locate the release switch in the center of the laptop, shown here.

    • Slide the switch, and hold in place. The floppy disk drive is now free and should easily slide out.

  5. Sony VAIO PCG-933A Floppy Disk Drive Replacement: 5 단계, 이미지 1/1
    • To replace, insert the new floppy disk drive with the wording facing down.

결론

To reassemble your device, follow these instructions in reverse order.

Sara Lillard

회원 가입일: 04/11/11

165 평판

안내서 8개 작성하였습니다

Cal Poly, Team 12-36, Maness Spring 2011 Cal Poly, Team 12-36, Maness Spring 2011 회원

CPSU-MANESS-S11S12G36

4 회원들

안내서 16개 작성하였습니다

댓글 0개

댓글 쓰기

조회 통계:

24 시간 전: 0

7일 전: 1

30일 전: 2

전체 시간: 1,994