주요 콘텐츠로 건너뛰기

Sony VAIO PCG-F360 Single Key Replacement

필요한 것

  1. Sony VAIO PCG-F360 Single Key Replacement, Battery: 1 단계, 이미지 1/1
    • Position the laptop screen-side down as shown.

    • In this position the battery housing will be located on the right hand side.

  2. Sony VAIO PCG-F360 Single Key Replacement: 2 단계, 이미지 1/1
    • Lift the panel up and then out to gain access to the battery.

  3. Sony VAIO PCG-F360 Single Key Replacement: 3 단계, 이미지 1/1
    • Use the indentations to pull the old battery out.

  4. Sony VAIO PCG-F360 Single Key Replacement: 4 단계, 이미지 1/1
    • The battery is now removed and it is safe to move on to uninstalling other components.

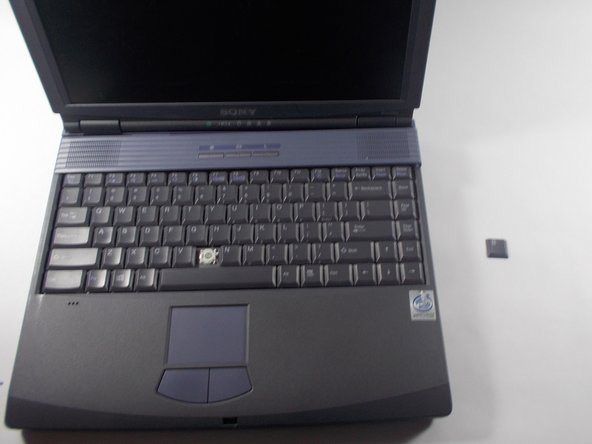
  5. Sony VAIO PCG-F360 Single Key Replacement, Single Key: 5 단계, 이미지 1/3 Sony VAIO PCG-F360 Single Key Replacement, Single Key: 5 단계, 이미지 2/3 Sony VAIO PCG-F360 Single Key Replacement, Single Key: 5 단계, 이미지 3/3
    • Use the pludger to pop off the key by prying under it.

    • You now can clean and replace the key.

결론

To reassemble your device, follow these instructions in reverse order.

Hannah Millea

회원 가입일: 03/11/14

401 평판

안내서 4개 작성하였습니다

UMass Dartmouth, Team 3-5, Calaway Spring 2014 UMass Dartmouth, Team 3-5, Calaway Spring 2014 회원

UMASSD-CALAWAY-S14S3G5

2 회원들

안내서 4개 작성하였습니다

댓글 0개

댓글 쓰기

조회 통계:

24 시간 전: 0

7일 전: 0

30일 전: 3

전체 시간: 189