이 버전에는 잘못된 편집 사항이 있을 수 있습니다. 최신 확인된 스냅샷으로 전환하십시오.
필요한 것
-
이 단계는 번역되지 않았습니다. 번역을 도와주십시오
-
Position the laptop screen-side down as shown.
-
In this position the battery housing will be located on the right hand side.
-
-
-
이 단계는 번역되지 않았습니다. 번역을 도와주십시오
-
The battery is now removed and it is safe to move on to uninstalling other components.
-
-
이 단계는 번역되지 않았습니다. 번역을 도와주십시오
-
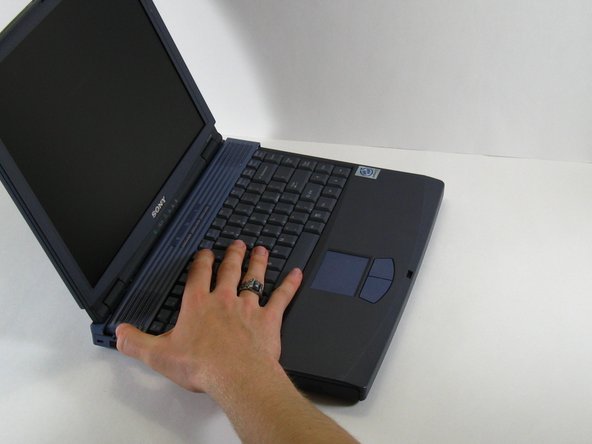
There are two screws on the left hand side of the laptop near the IR receiver. remove them using a #00 Philips head screwdriver.
-
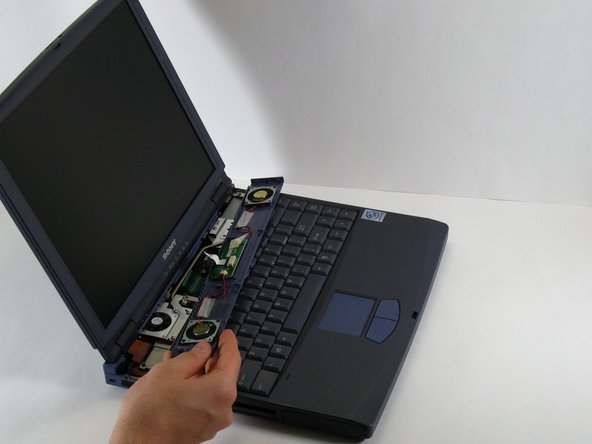
Slide the speaker panel towards the left, then carefully flip it over onto the keyboard.
-
Make sure not to pull the speaker panel away from the computer just yet - it is still connected!
-
-
이 단계는 번역되지 않았습니다. 번역을 도와주십시오
-
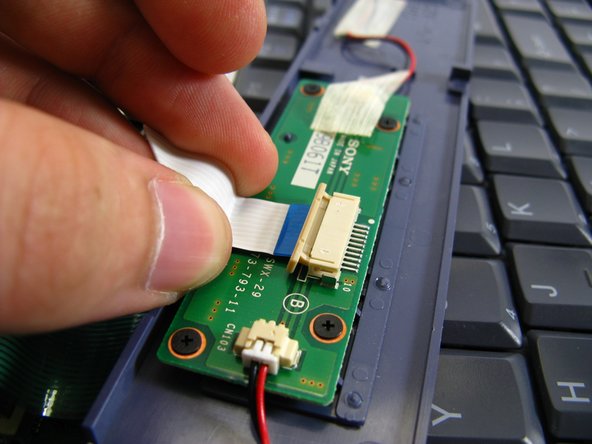
Push the beige tab in the direction of the ribbon. it should only move a small amount
-
Remove the ribbon by gently pulling on it, there should be little or no resistance.
-
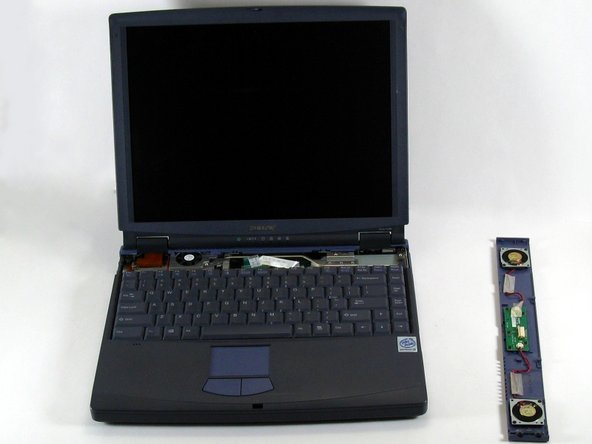
Now the speaker panel can be set aside.
-
-
이 단계는 번역되지 않았습니다. 번역을 도와주십시오
-
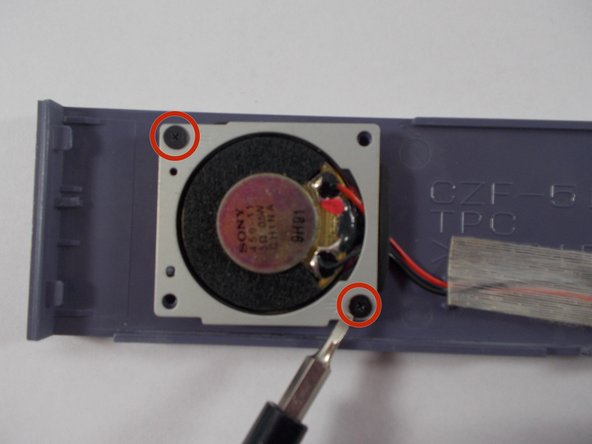
The two speakers are located on the ends of the panel.
-
There are two screws holding each speaker. Remove them using a #00 Philips head screw driver.
-


팀

UMass Dartmouth, Team 3-5, Calaway Spring 2014 UMass Dartmouth, Team 3-5, Calaway Spring 2014 회원
UMASSD-CALAWAY-S14S3G5
2 회원들
안내서 4개 작성하였습니다