주요 콘텐츠로 건너뛰기

Sony VPL-HW55ES-SXRD Filter Replacement and Maintenance

필요한 것

  1. Sony VPL-HW55ES-SXRD Filter Replacement and Maintenance, Filter: 1 단계, 이미지 1/2 Sony VPL-HW55ES-SXRD Filter Replacement and Maintenance, Filter: 1 단계, 이미지 2/2
    • Turn off the projector and unplug it from the outlet or power source.

  2. Sony VPL-HW55ES-SXRD Filter Replacement and Maintenance: 2 단계, 이미지 1/2 Sony VPL-HW55ES-SXRD Filter Replacement and Maintenance: 2 단계, 이미지 2/2
    • Use a soft cloth or duster to gently dust off the surface of the filter cover on the back of the projector.

    • The filter cover is located on the top of the projector near the air intake vents.

  3. Sony VPL-HW55ES-SXRD Filter Replacement and Maintenance: 3 단계, 이미지 1/1
    • Remove the filter cover by pushing in the two latches on either side of the filter protector.

    • Lift up gently and it should come out nice and smooth.

  4. Sony VPL-HW55ES-SXRD Filter Replacement and Maintenance: 4 단계, 이미지 1/2 Sony VPL-HW55ES-SXRD Filter Replacement and Maintenance: 4 단계, 이미지 2/2
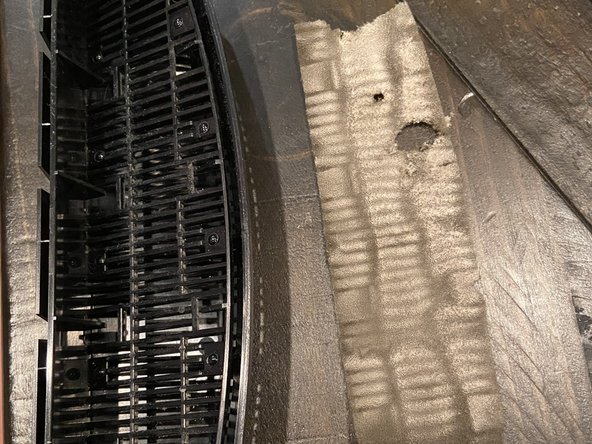
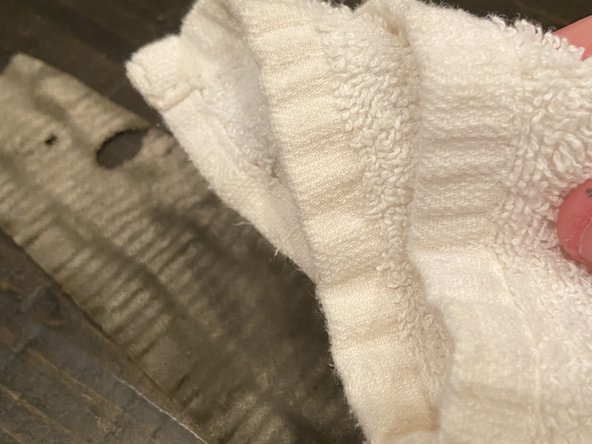
    • Inspect the filter and look for any areas that are excessively dusty or dirty.

    • In this case, the filter is worn out and needs replacement.

  5. Sony VPL-HW55ES-SXRD Filter Replacement and Maintenance: 5 단계, 이미지 1/1
    • If your filter is just dirty and only needs to be cleaned, start by gently tapping the filter over the garbage can to get all the loose dust off.

    • If additional cleaning is necessary, use a soft cloth to wash the filter with a mild detergent solution and let it dry in a shaded place.

  6. Sony VPL-HW55ES-SXRD Filter Replacement and Maintenance: 6 단계, 이미지 1/3 Sony VPL-HW55ES-SXRD Filter Replacement and Maintenance: 6 단계, 이미지 2/3 Sony VPL-HW55ES-SXRD Filter Replacement and Maintenance: 6 단계, 이미지 3/3
    • Reattach the filter cover by pushing in the latches and placing the filter cover back where it was.

  7. Sony VPL-HW55ES-SXRD Filter Replacement and Maintenance: 7 단계, 이미지 1/1
    • Plug in the power cord of your projector and turn it on using the remote. Ensure that your image is now clear, with no dirt or dust streaks.

결론

Hopefully, this guide has shown you how to replace or clean your filter within a very short amount of time. Make sure to do this at least once a month and your projector will be very happy!

Tyler Petty

회원 가입일: 09/19/23

145 평판

안내서 1개 작성함

Austin Community College, Team 1-9, Watkins Fall 2023 Austin Community College, Team 1-9, Watkins Fall 2023 회원

AUSTINCC-WATKINS-F23S1G9

1 회원

안내서 1개 작성하였습니다

댓글 0개

댓글 쓰기

조회 통계:

24 시간 전: 7

7일 전: 30

30일 전: 97

전체 시간: 341