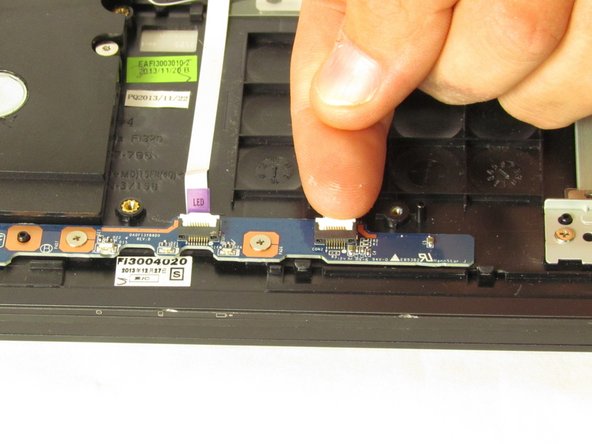
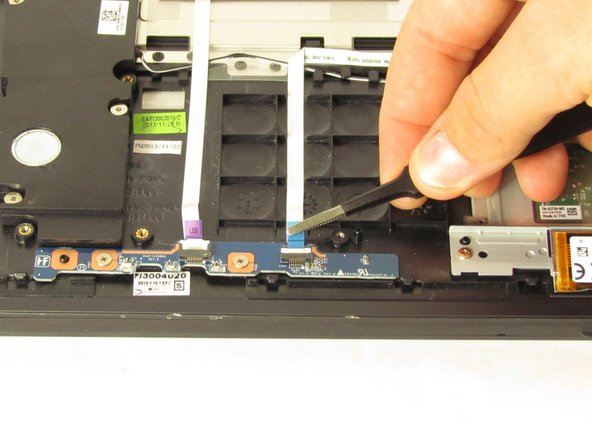
주요 콘텐츠로 건너뛰기

Sony Vaio Fit SVF15N26CXB Speaker Replacement

필요한 것

  1. Sony Vaio Fit SVF15N26CXB Speaker Replacement, Battery: 1 단계, 이미지 1/2 Sony Vaio Fit SVF15N26CXB Speaker Replacement, Battery: 1 단계, 이미지 2/2
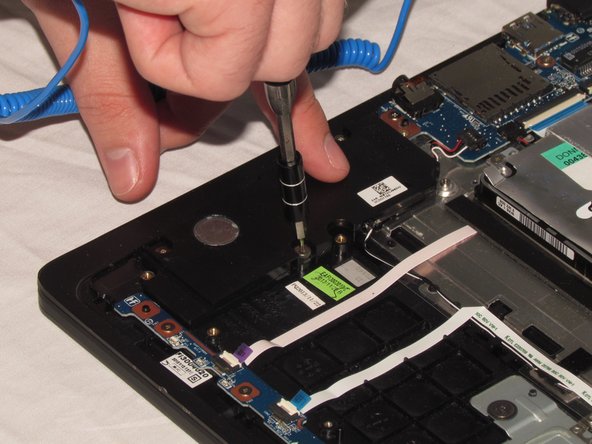
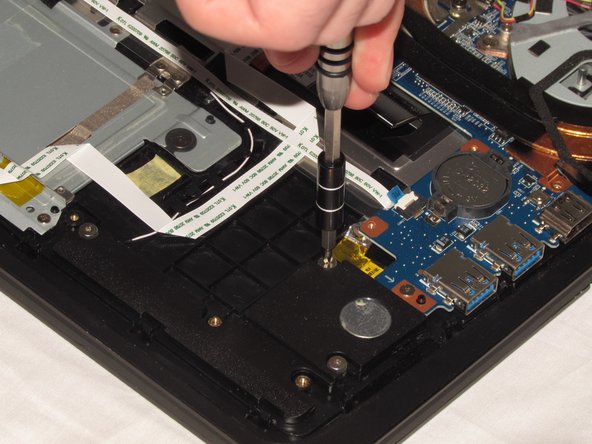
    • Remove the following ten screws from the bottom case of the laptop:

    • Two 6.5mm Phillips #00 Phillips screws.

    • Four 8.95mm Phillips #00 screws.

    • Four 6.25mm Phillips #00 screws.

    • The screws may be hidden underneath a rubber foot that can be removed with a spudger.

  2. Sony Vaio Fit SVF15N26CXB Speaker Replacement: 2 단계, 이미지 1/2 Sony Vaio Fit SVF15N26CXB Speaker Replacement: 2 단계, 이미지 2/2
    • Use a plastic opening tool to separate the bottom cover from the laptop.

    • Lift the lower cover and pull away from the laptop.

  3. Sony Vaio Fit SVF15N26CXB Speaker Replacement: 3 단계, 이미지 1/3 Sony Vaio Fit SVF15N26CXB Speaker Replacement: 3 단계, 이미지 2/3 Sony Vaio Fit SVF15N26CXB Speaker Replacement: 3 단계, 이미지 3/3
    • Remove the eight Phillips #00 screws from the battery:

    • Six 4.65mm screws.

    • Two 4.65mm screws.

  4. Sony Vaio Fit SVF15N26CXB Speaker Replacement: 4 단계, 이미지 1/1
    • Lift the battery up and pull it out of the laptop.

  5. Sony Vaio Fit SVF15N26CXB Speaker Replacement, Speaker: 5 단계, 이미지 1/3 Sony Vaio Fit SVF15N26CXB Speaker Replacement, Speaker: 5 단계, 이미지 2/3 Sony Vaio Fit SVF15N26CXB Speaker Replacement, Speaker: 5 단계, 이미지 3/3
    • Remove six 5.75mm Phillips #00 screws from the speakers.

  6. Sony Vaio Fit SVF15N26CXB Speaker Replacement: 6 단계, 이미지 1/3 Sony Vaio Fit SVF15N26CXB Speaker Replacement: 6 단계, 이미지 2/3 Sony Vaio Fit SVF15N26CXB Speaker Replacement: 6 단계, 이미지 3/3
    • Use a spudger to flip up the black latch on the four ZIF connectors.

    • Remove the four ribbon cables from the ZIF connectors.

    • Disconnect the speaker from the board.

  7. Sony Vaio Fit SVF15N26CXB Speaker Replacement: 7 단계, 이미지 1/2 Sony Vaio Fit SVF15N26CXB Speaker Replacement: 7 단계, 이미지 2/2
    • Using tweezers, carefully unwind the speakers' wires from the plastic brackets holding them.

    • Where the wire is stuck under tape, gently pull the tape up until the wire is free.

    • Do not remove the tape.

  8. Sony Vaio Fit SVF15N26CXB Speaker Replacement: 8 단계, 이미지 1/1
    • Remove the speakers by picking the left and right pieces up and lifting them up and out of the computer.

결론

To reassemble your device, follow these instructions in reverse order.

다른 한 분이 해당 안내서를 완성하였습니다.

Althea McDavid

회원 가입일: 02/14/18

857 평판

안내서 6개 작성하였습니다

USF Tampa, Team S2-G4, Nance Spring 2018 USF Tampa, Team S2-G4, Nance Spring 2018 회원

USFT-NANCE-S18S2G4

4 회원들

안내서 12개 작성하였습니다

댓글 0개

댓글 쓰기

조회 통계:

24 시간 전: 1

7일 전: 1

30일 전: 1

전체 시간: 481