주요 콘텐츠로 건너뛰기

Sony Vaio PCG-41216L Battery Replacement

필요한 것

  1. Sony Vaio PCG-41216L Battery Replacement, Battery: 1 단계, 이미지 1/2 Sony Vaio PCG-41216L Battery Replacement, Battery: 1 단계, 이미지 2/2
    • Flip the laptop over to begin the process.

    • Make sure the laptop is turned off and unplugged from the power cable.

  2. Sony Vaio PCG-41216L Battery Replacement: 2 단계, 이미지 1/3 Sony Vaio PCG-41216L Battery Replacement: 2 단계, 이미지 2/3 Sony Vaio PCG-41216L Battery Replacement: 2 단계, 이미지 3/3
    • Remove the two 7mm Phillips #1 screws holding the battery cover.

  3. Sony Vaio PCG-41216L Battery Replacement: 3 단계, 이미지 1/3 Sony Vaio PCG-41216L Battery Replacement: 3 단계, 이미지 2/3 Sony Vaio PCG-41216L Battery Replacement: 3 단계, 이미지 3/3
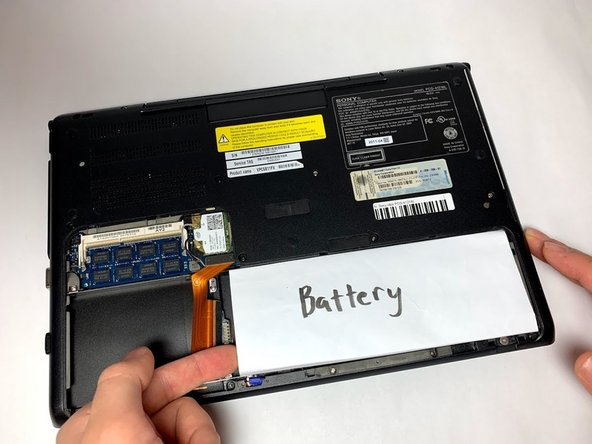
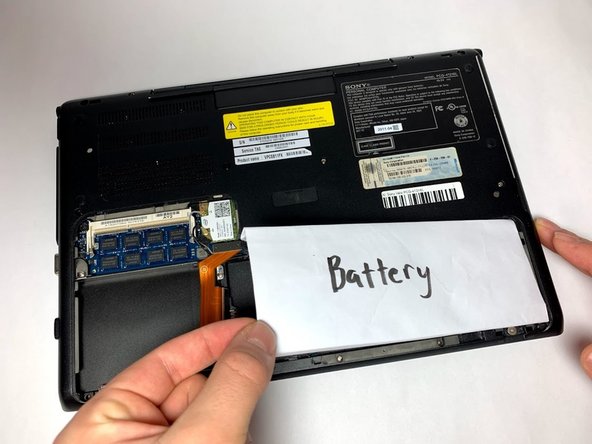
    • Remove the battery cover and set it aside. Carefully remove the non-functioning battery and insert the new battery in its place.

    • Make sure to reattach the battery in the right position with the power port, so that the power connector lines up with the battery’s port.

결론

To reassemble your device, follow these instructions in reverse order.

다른 2명이 해당 안내서를 완성하였습니다.

Aaron B

회원 가입일: 01/10/19

220 평판

안내서 2개 작성하였습니다

댓글 0개

댓글 쓰기

조회 통계:

24 시간 전: 1

7일 전: 4

30일 전: 16

전체 시간: 1,050